Real Estate Photography Camera Settings: Pro Tips & Setup Guide (2025)
Discover the best real estate photography camera settings in 2025. Whether you’re shooting luxurious interiors, exterior landscapes, or twilight golden-hour shots, this guide will walk you through the ideal camera settings to capture stunning, market-ready real estate photos. We’ll break down exactly which settings to use for each situation—interiors, exteriors, twilight, HDR—and why each choice matters. Scroll down to see the full real estate photography camera settings breakdown for every scenario.
Why Real Estate Photography Camera Settings Matter
Great real estate photos don’t happen by accident—they’re crafted with precision. In an industry where visuals can directly influence buying decisions, poorly exposed or blurry images can seriously undermine a property’s appeal.
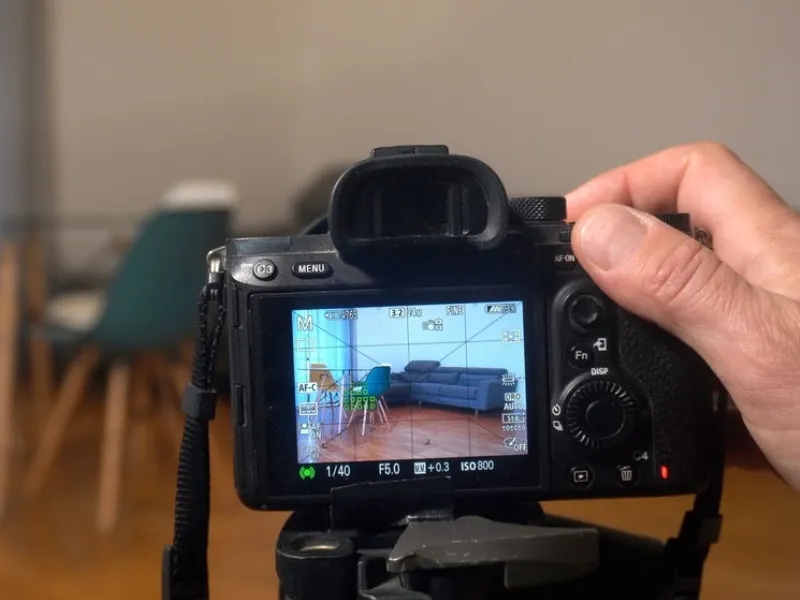
Unlike portrait or event photography, real estate photography demands technical accuracy. The lines must be straight, lighting balanced, and details tack-sharp from edge to edge. Relying on automatic modes can result in blown-out windows, dark corners, noisy shadows, or inconsistent color temperature.
Mastering your real estate photography camera settings gives you full control over exposure, depth of field, and white balance—allowing you to:
- Capture rooms with the correct depth and balance
- Control exposure in challenging lighting
- Deliver consistent, high-quality results that build client trust
- Reduce post-production time significantly
With the right real estate photography camera settings, your images become a strategic advantage, not just a visual asset.
Understand the Exposure Triangle First
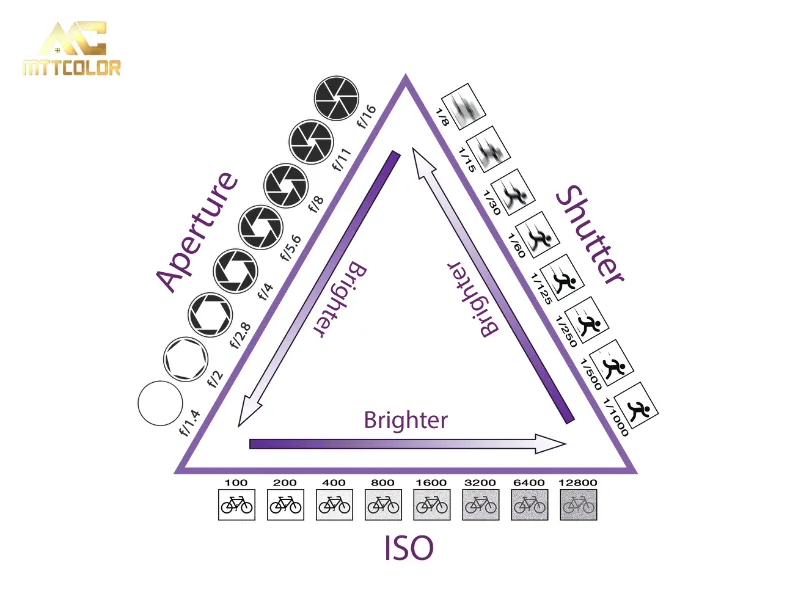
The foundation of real estate photography settings lies in the exposure triangle: aperture, shutter speed, and ISO. Getting this right ensures your images are well-lit and clean, without sacrificing detail.
Aperture
- Use f/7.1 to f/11 to ensure deep focus across the room.
- Avoid wide apertures (f/1.8, f/2.8) that create shallow depth.
Shutter Speed
- Ranges between 1/4s to 1/60s for interior shots (tripod required).
- Faster speeds (1/200s or more) for exterior daylight shots.
ISO
- Keep ISO as low as possible (ISO 100–400) to prevent grain.
- Bump it slightly in low light but stay below ISO 800.
Essential Camera Modes to Use in Estate Photography Camera Settings
Full control over all settings; perfect for mixed lighting scenarios.
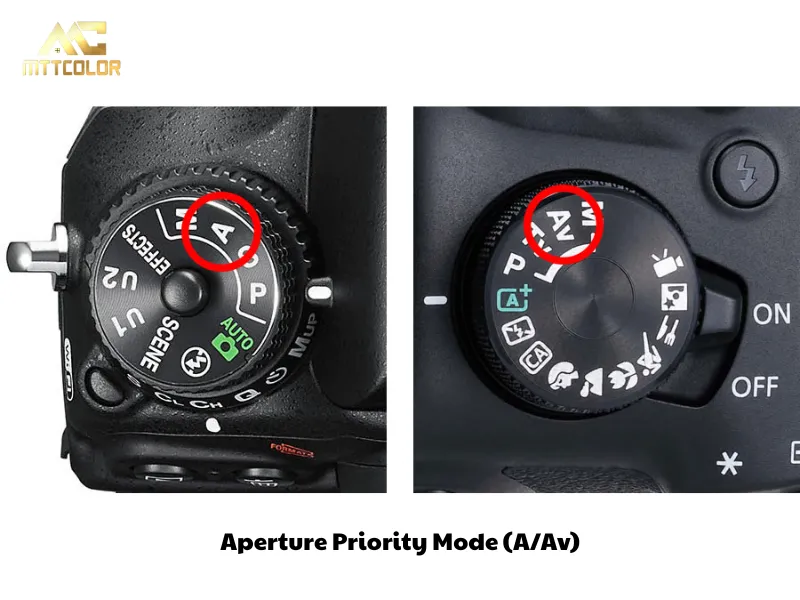
Aperture Priority Mode (A/Av)
Efficient for quick setups—camera adjusts shutter speed while you set aperture.
RAW Image Format
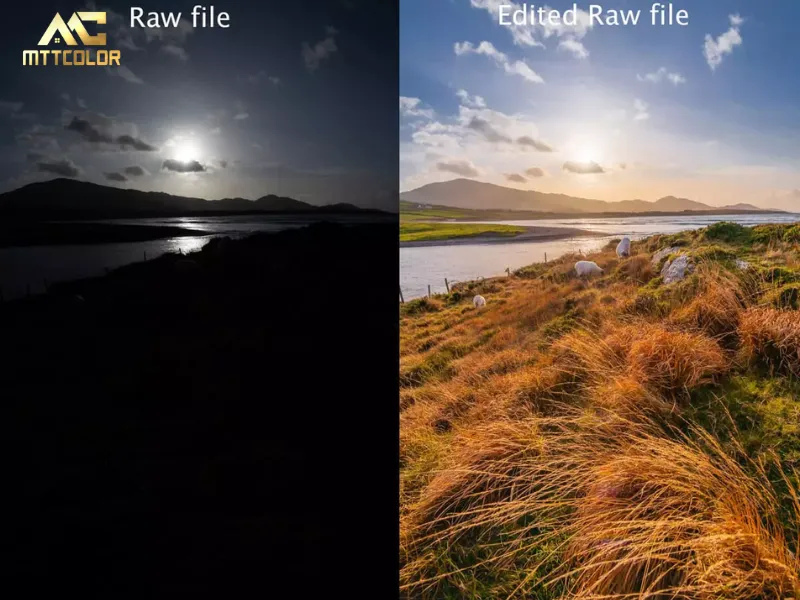
Always shoot RAW for maximum flexibility during editing.
White Balance
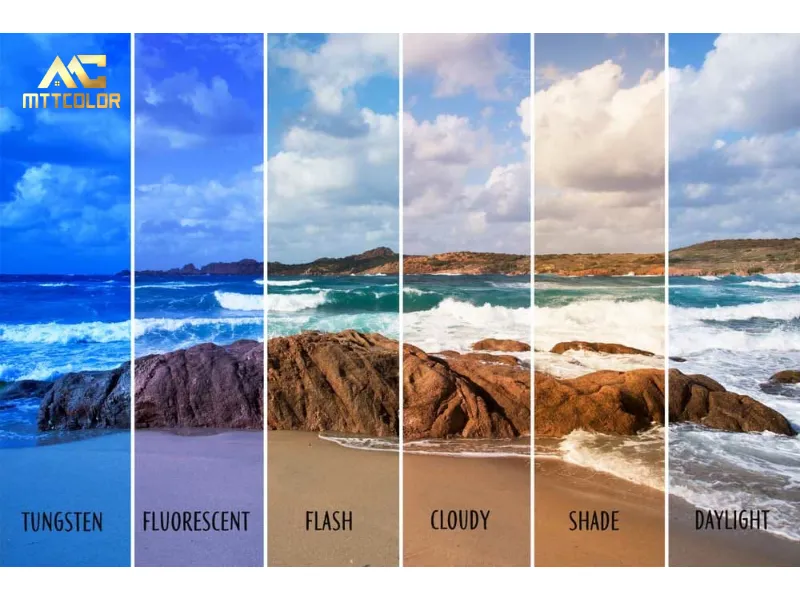
- Use Custom WB or set to Daylight / Tungsten based on room lighting.
- Avoid Auto White Balance—it often shifts between shots.
Recommended Real Estate Photography Camera Settings by Scenario
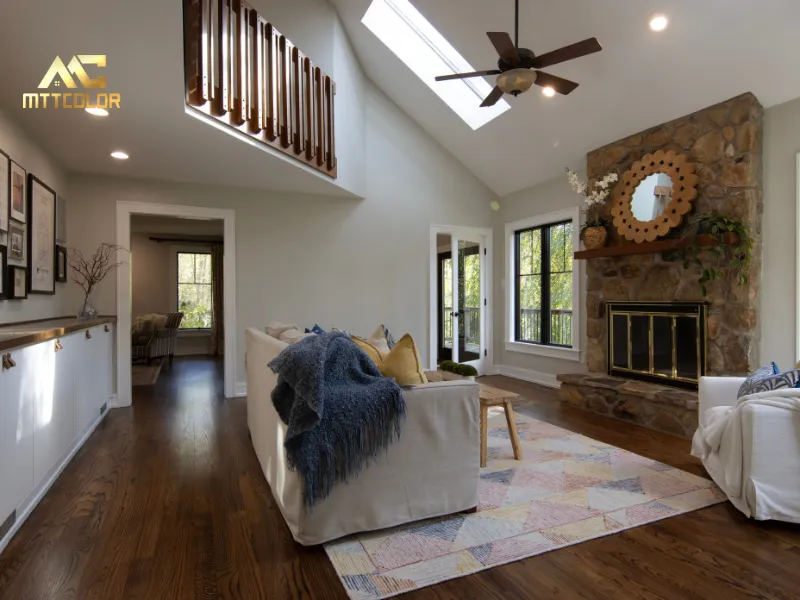
Interior Photography
- Aperture: f/8
- ISO: 100–400
- Shutter: 1/4s – 1/60s
- Tip: Use window light as natural fill; avoid direct flash.
Exterior Photography (Daylight)
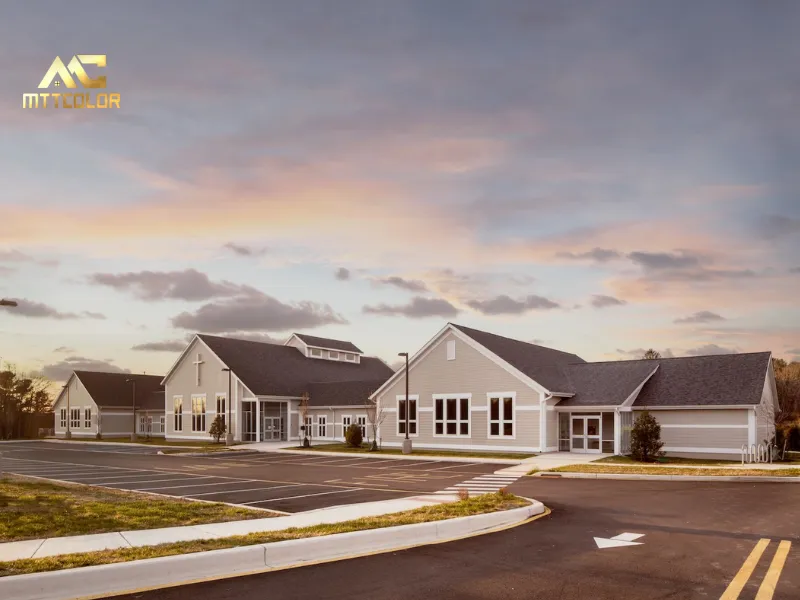
- Aperture: f/8
- ISO: 100
- Shutter: 1/200s or faster
- Tip: Shoot early morning or late afternoon for softer shadows.
Twilight Photography
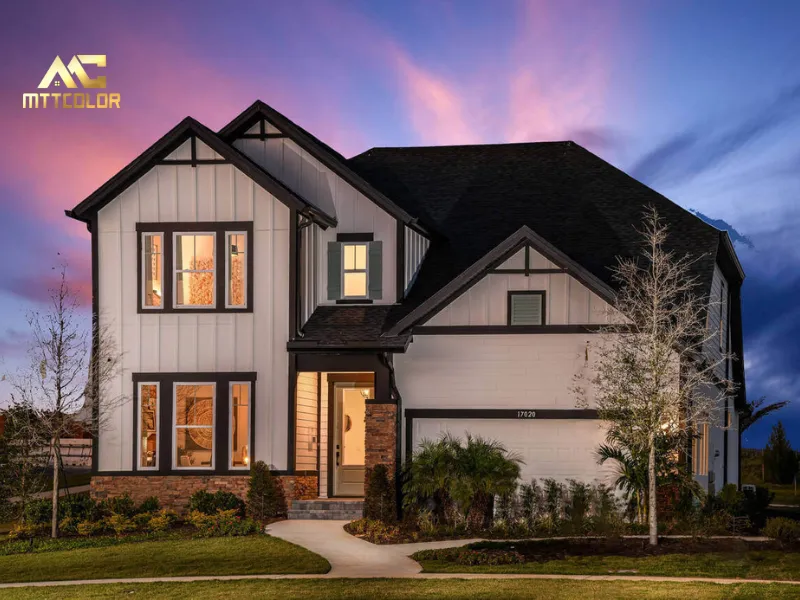
- Aperture: f/7.1 – f/11
- ISO: 400–800
- Shutter: 1/10s – 1s
- Tip: Bracket your shots and blend in post-production.
HDR & Bracketing
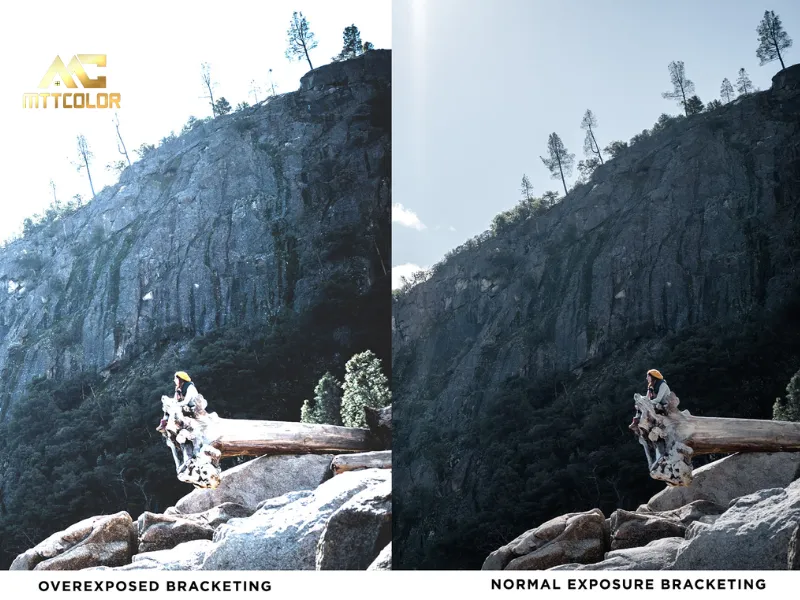
- Use AEB (Auto Exposure Bracketing) with 3–5 exposures.
- Recommended EV range: -2, 0, +2
- Perfect for high-contrast interiors or golden hour scenes.
Advanced Settings to Level Up Your Shots
- Focus Mode: Use AF-S (Single-shot) for static scenes.
- Metering Mode: Choose Evaluative / Matrix metering.
- Drive Mode: Use 2s or 10s timer or a remote shutter to avoid shake.
- Exposure Compensation: Adjust +/- 0.3 to 1.0 EV in tricky lighting.
Most Common Mistakes to Avoid
- 📉 Using ISO above 800 indoors — introduces noise.
- 📉 Shooting handheld at 1/10s — causes blur without tripod.
- 📉 Not checking white balance — leads to color inconsistency.
- 📉 Over-relying on Auto Mode — reduces image consistency.
Best Gear to Support Your Settings (Tripod, Lens, etc.)
Shooting with slower shutter speeds (especially indoors) requires a steady base. A tripod is your best friend.
- Tripod: Use stable models like Manfrotto 055 or Peak Design for sharpness.
- Tripod Head: Choose a geared or ball head for fine-tuned framing.
- Lens: Use wide-angle (14–30mm) with minimal distortion for interiors.
- Remote Trigger / Wireless App: Prevent shake during long exposures.
- Bubble Level: Ensure horizontal alignment, especially for architectural shots.
Image Format and Editing Tips to Complement Real Estate Photography Camera Settings
Always Shoot in RAW Format
JPEG files compress and discard image data. RAW files retain full color and detail, giving you far greater flexibility during post-processing—essential for real estate photography.
- Pros: More dynamic range, better shadow and highlight recovery, more accurate colors.
- Use RAW especially when bracketing or shooting twilight scenes.

Post-Processing Tips
- Use Lightroom for global adjustments, lens corrections, and batch edits.
- Use Photoshop or Luminar for detailed work like sky replacement, removing wires, or object cleanup.
- Manually blend HDR images for full control over exposure and tone mapping.
- Use Lightroom for global exposure and lens corrections.
- Use Photoshop or Luminar for sky replacement, object removal.
- Blend HDR shots manually for greater control.
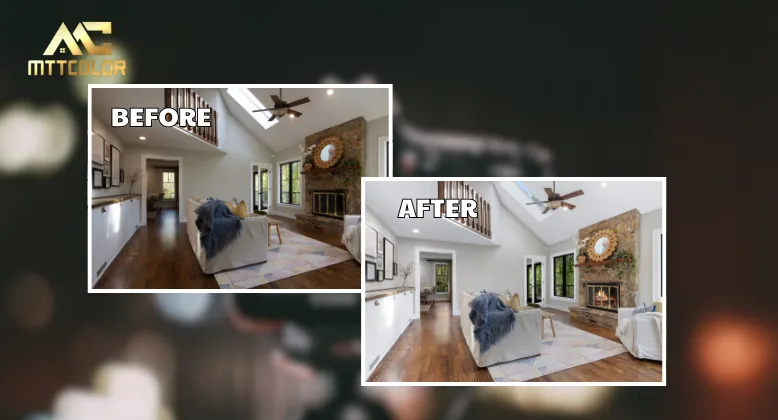
✅ Or leave editing to professionals – MTT Color delivers high-quality photo editing, HDR merge, and virtual staging.
Quick Settings Chart for Every Situation
| Scenario | Aperture | ISO | Shutter Speed | Notes |
| Bright Interior | f/8 | 100 | 1/10s | Use tripod |
| Dark Interior | f/5.6 | 400 | 1/4s | Consider HDR / bracketing |
| Exterior Daylight | f/8 | 100 | 1/200s | Best during golden hours |
| Twilight / Sunset | f/7.1 | 400 | 1/2s | Bracket for dynamic range |
FAQ: Common Questions About Real Estate Photography Camera Settings
1: What is the best aperture for real estate photography?
A: f/8 to f/11 ensures sharpness across the frame, especially for interiors.
Q2: Should I shoot in RAW or JPEG?
A: Always shoot in RAW—it gives you more editing flexibility.
Q3: What shutter speed works best indoors?
A: Between 1/4s and 1/60s; always use a tripod for stability.
Q4: How do I capture rooms with low light?
A: Use wider aperture (f/5.6), higher ISO (up to 400), and slow shutter speed.
Q5: Which metering mode should I use?
A: Evaluative or matrix metering works best in most real estate scenarios.
Related Posts
Tips & Trick for Real Estate Photography & Videography
0
Images Processed Everyday
0
Happy Customer
0
Year Experience
MTTCOLOR
is the leading real estate photo and video editing service, trusted by thousands of satisfied customers around the globe. With over 10 years of experience in both photo and video editing for real estate we specialize in helping clients buy, sell, or rent properties with stunning, professionally edited images and videos. Let us bring your dream home to life with our expert real estate editing services.
Frequently asked questions
How much do your services cost?
We cater to customers at various price points, ranging from around $0.50 per image to over $3 per image. We understand that you may have a specific budget in mind for outsourcing. That's why we're very flexible with pricing. Feel free to propose your numbers, and we'll do our best to accommodate. We're also open to discussing everything to ensure a smoother process.
Please note that in Vietnam, it is customary for the customer to cover PayPal fees (or any transaction fees), and we recommend doing so. On our end, we cover currency conversion fees, which are quite similar. Think of it like splitting the bill at a restaurant.
How can I send files?
Simply upload your images on Dropbox, Google Drive, or Wetransfer and send us the link in an email. To make things easier, you should specify the number of input files along with any special requirements.
How does the process work?
Before using our services, you can send us a test order of up to 10 images, and we’ll do it FREE of charge just to understand your style. After that, we can agree on the pricing and proceed from there.
Outsourcing post-production has never been easier:
Step 1: You can either fill out the test order form or send your input directly to our email via Dropbox, Google Drive, FTP, or Wetransfer. We’ll send you a confirmation email to let you know we’ve received your order.
Step 2: Your images/videos will go through thorough editing and quality checks.
Step 3: Receive your package and complete the payment transfer. You can also send us any revision requests if needed.
What are your working hours?
We work 24/7, always available to support you.
Can I request urgent orders?
Yes, with a large team of editors, we can prioritize and accommodate rush delivery if possible. Please give us a heads-up via email at mttcolor8@gmail.com at your earliest convenience so we can check the feasibility and timeline for these special orders.
