How to Choose lights for real estate photography for Beginners
As you embark on your journey into lights for real estate photography, one of the most crucial elements to consider is lighting. Choosing the right lighting not only enables you to capture stunning images but also highlights the beauty of each property, attracting potential buyers’ attention. In this article, Mttcolor will guide you through the process of selecting lighting for real estate photography, especially aimed at beginners. You’ll learn about different types of lighting, from natural light to professional flash setups, along with practical tips to create standout, impressive photos.
1. The Significance of Lighting in Interior Real Estate Photography
When it comes to interior real estate photography, lighting plays a pivotal role in shaping how a property is perceived. Here are three key reasons why lighting is essential:
The Significance of Lighting in Interior Real Estate Photography
Enhances the Home’s Natural Appeal
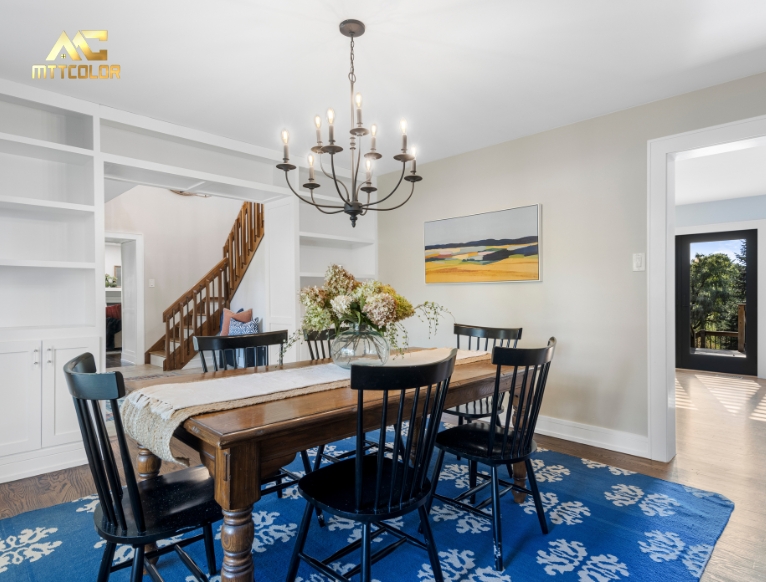
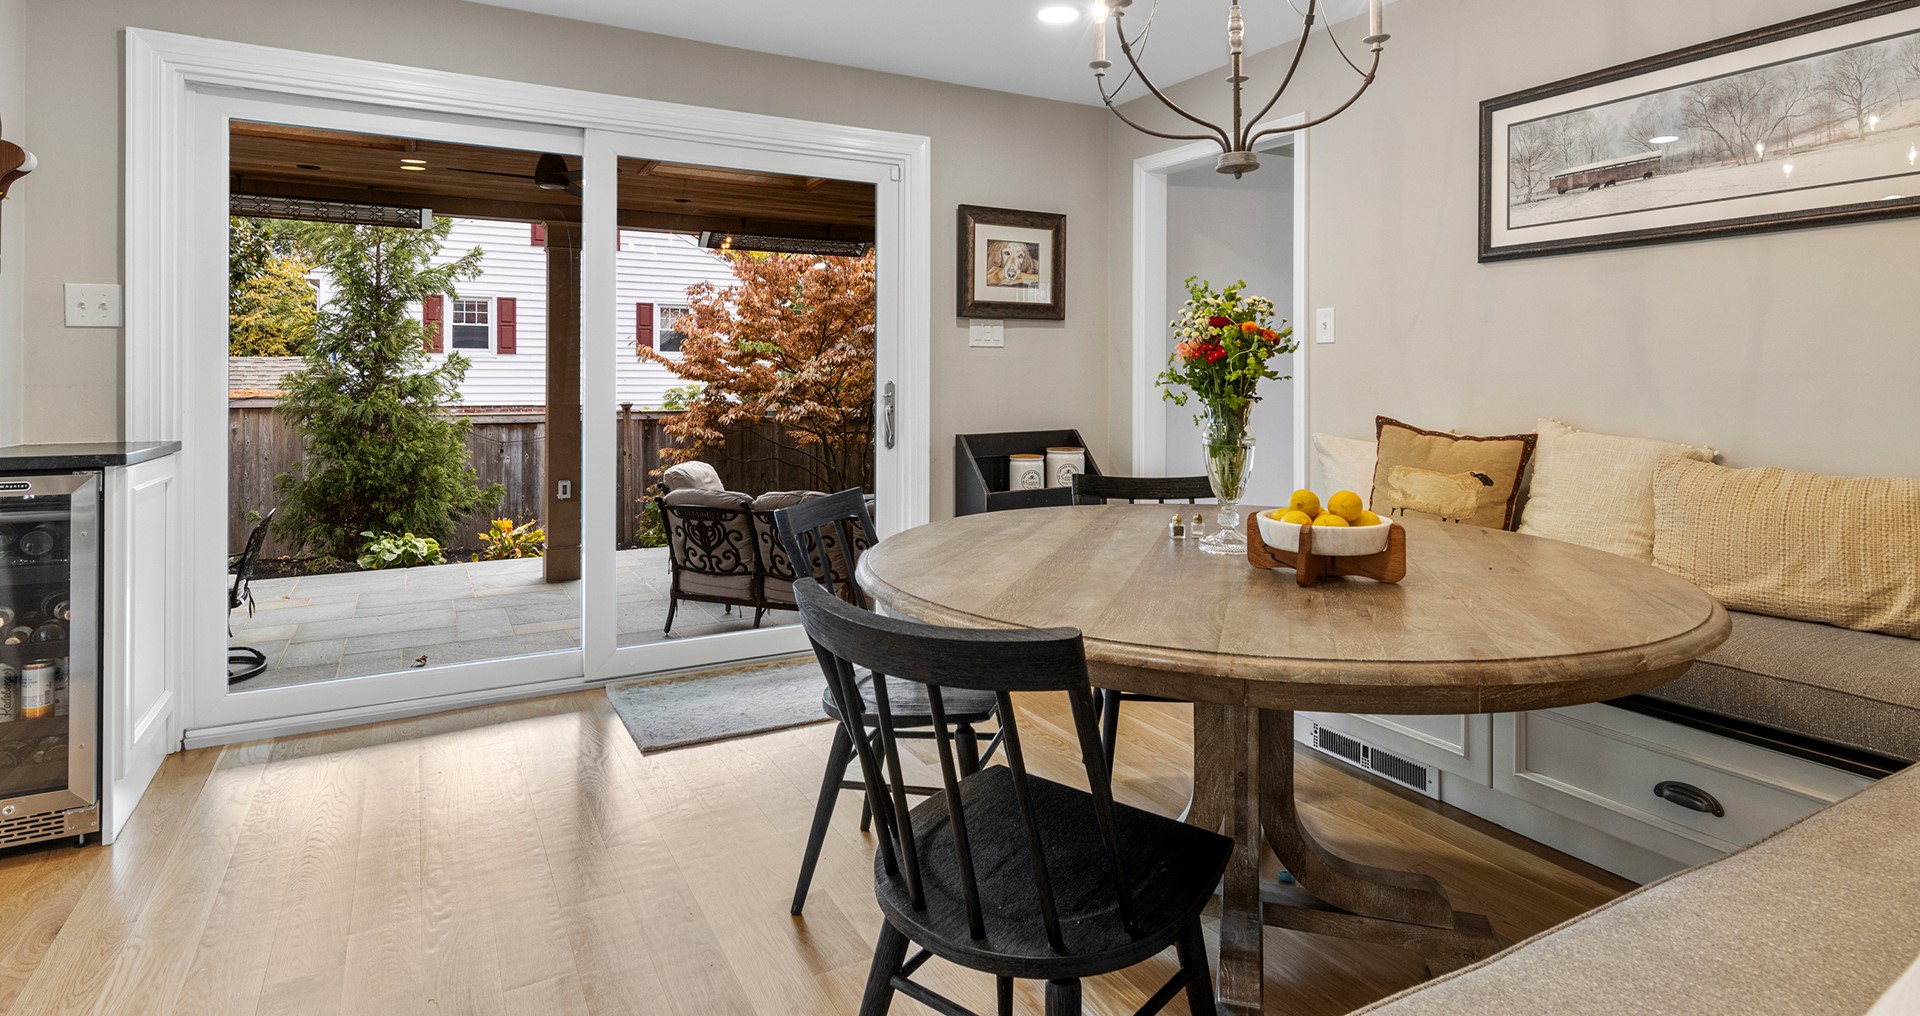
Good lighting brings out the unique features and charm of a home. It can highlight architectural details, textures, and colors, making the space appear more inviting and attractive. Whether it’s natural light streaming through large windows or strategically placed artificial lights, the right illumination can transform dull areas into vibrant focal points.
Creates a Favorable Impression on Prospective Buyers
First impressions are crucial, especially when it comes to real estate. Well-lit photographs evoke feelings of warmth and comfort, making potential buyers envision themselves living in the space. On the other hand, poorly lit rooms may give off an unwelcoming vibe, discouraging viewers from pursuing the property further. Effective use of lighting can create a positive emotional response that resonates with buyers.
Increases the Likelihood of Closing Deals
High-quality, well-lit photos significantly enhance a listing’s appeal, leading to increased engagement and interest. Properties that showcase their best features through proper lighting are more likely to attract potential buyers and facilitate quicker sales. By investing in good lighting techniques, sellers and real estate agents can maximize the impact of their listings, ultimately enhancing the chances of closing the deal.
2. Tips for Selecting the Right Lighting (6 Recommendations)
Tips for Selecting the Right Lighting
Choosing the right lighting is crucial for achieving stunning real estate photos. Here are six recommendations to help you select the best lighting options for your interior shots:
Natural Light Consideration
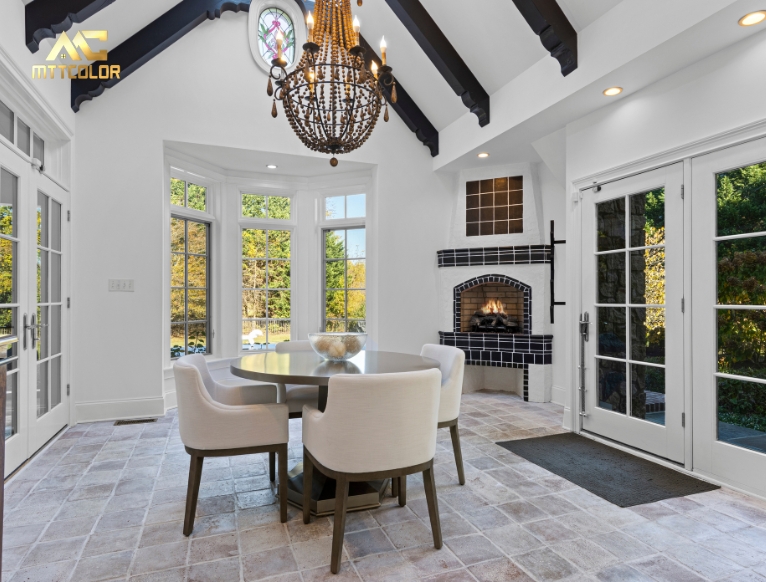
Always start by assessing the natural light available in the space. Open curtains and blinds to allow sunlight to illuminate the area. The best time to shoot is usually during the day when natural light is abundant, providing a warm and inviting atmosphere. Utilize soft, diffused light for a more flattering effect.
Utilizing a Single On-Camera Flash in Auto Mode
While natural light is preferred, a single on-camera flash can be helpful for smaller rooms. In auto mode, this flash will adjust based on the available light, providing a quick solution to boost illumination. However, keep in mind that relying solely on this method may lead to uneven lighting in larger spaces.
Employing Multiple Flashes with Manual Settings
For larger areas or when you want more control over the light, consider using multiple flashes set to manual mode. This allows you to position multiple light sources throughout the space, creating consistent and even lighting. While this approach requires more setup time, it provides better results and minimizes shadows.
Bouncing Flash Techniques
Bouncing the light from a flash off walls or ceilings can create a softer, more natural-looking illumination. Aim the flash towards a neutral-colored surface to diffuse the light, which helps to eliminate harsh shadows and brighten dark corners. This technique is especially effective in tight spaces.
Using Hot Lights
Hot lights, or continuous lighting, provide consistent illumination throughout your shoot. They allow you to see how the light will affect your images in real-time, making adjustments easier. Hot lights are particularly useful in larger rooms where ambient light may not suffice, but be mindful of their bulkiness and heat.
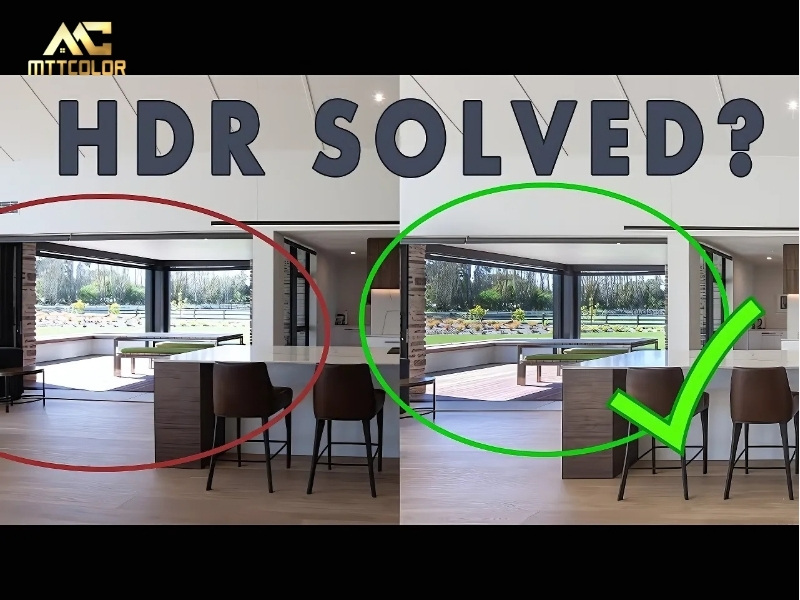
Integrating High Dynamic Range (HDR) Imaging
HDR photography involves capturing multiple exposures of the same scene and blending them to create a balanced image. This technique is invaluable in real estate photography, especially in rooms with varying light levels. By utilizing HDR, you can capture details both in the bright and dark areas, resulting in more vibrant and detailed images.
3. Common Questions About Lighting for Real Estate Photography
Lighting is a fundamental aspect of real estate photography that can greatly affect the quality and appeal of property images. Here are some common questions and answers regarding lighting for real estate photography:
Why is Proper Lighting Crucial for Real Estate Photographers?
Proper lighting is essential because it enhances the visual appeal of properties, creating inviting and attractive images. Well-lit photographs showcase a home’s features effectively, making it easier for potential buyers to envision themselves in the space. Good lighting can transform a bland image into a captivating one, ultimately influencing buyer engagement and decision-making.
What Lighting Should Beginners Use in Real Estate Photography?
Beginners should start with basic lighting setups such as natural light and on-camera flashes. Natural light provides a great foundation, while on-camera flashes can help fill in shadows. As skills develop, beginners can experiment with off-camera flashes and light modifiers like softboxes or diffusers to enhance the quality of their lighting.
What Essential Lighting Equipment Do Real Estate Photographers Need?
A well-rounded lighting kit for real estate photography typically includes off-camera flashes, light stands, softboxes, and umbrellas. These tools help create soft, diffused light, while reflectors can be used to bounce natural light effectively. Additionally, having a few LED panels for consistent fill lighting can also be advantageous.
How Do Experienced Professionals Capture Real Estate Images?
Experienced professionals often use a combination of off-camera lighting and natural light to achieve the best results. They may utilize multiple flashes with manual settings to control light direction and diffusion. Additionally, pro photographers leverage advanced techniques such as HDR imaging to capture a broader dynamic range in their photos, ensuring details are visible in both highlights and shadows.
Is It Advisable to Turn On Lights for Real Estate Photography?
Yes, turning on lights in the property can enhance warmth and create an inviting atmosphere, especially in standout features such as lamps or overhead fixtures. This can supplement natural and artificial light sources, adding depth to images. Just be mindful of ensuring that the color temperature of artificial lights matches the surrounding light to avoid mismatched tones in the photographs.
Should Continuous Lighting Be Used in Real Estate Photography?
Continuous lighting can be a useful option as it provides a steady light source and allows photographers to see how the light interacts with the space in real-time. However, it may not be as powerful as flashes and can generate heat. For larger spaces or more control over lighting, flashes are often preferred, but continuous lighting remains a solid choice for more controlled environments.
Related Posts
Tips & Trick for Real Estate Photography & Videography
0
Images Processed Everyday
0
Happy Customer
0
Year Experience
MTTCOLOR
is the leading real estate photo and video editing service, trusted by thousands of satisfied customers around the globe. With over 10 years of experience in both photo and video editing for real estate we specialize in helping clients buy, sell, or rent properties with stunning, professionally edited images and videos. Let us bring your dream home to life with our expert real estate editing services.
Frequently asked questions
How much do your services cost?
We cater to customers at various price points, ranging from around $0.50 per image to over $3 per image. We understand that you may have a specific budget in mind for outsourcing. That's why we're very flexible with pricing. Feel free to propose your numbers, and we'll do our best to accommodate. We're also open to discussing everything to ensure a smoother process.
Please note that in Vietnam, it is customary for the customer to cover PayPal fees (or any transaction fees), and we recommend doing so. On our end, we cover currency conversion fees, which are quite similar. Think of it like splitting the bill at a restaurant.
How can I send files?
Simply upload your images on Dropbox, Google Drive, or Wetransfer and send us the link in an email. To make things easier, you should specify the number of input files along with any special requirements.
How does the process work?
Before using our services, you can send us a test order of up to 10 images, and we’ll do it FREE of charge just to understand your style. After that, we can agree on the pricing and proceed from there.
Outsourcing post-production has never been easier:
Step 1: You can either fill out the test order form or send your input directly to our email via Dropbox, Google Drive, FTP, or Wetransfer. We’ll send you a confirmation email to let you know we’ve received your order.
Step 2: Your images/videos will go through thorough editing and quality checks.
Step 3: Receive your package and complete the payment transfer. You can also send us any revision requests if needed.
What are your working hours?
We work 24/7, always available to support you.
Can I request urgent orders?
Yes, with a large team of editors, we can prioritize and accommodate rush delivery if possible. Please give us a heads-up via email at mttcolor8@gmail.com at your earliest convenience so we can check the feasibility and timeline for these special orders.
