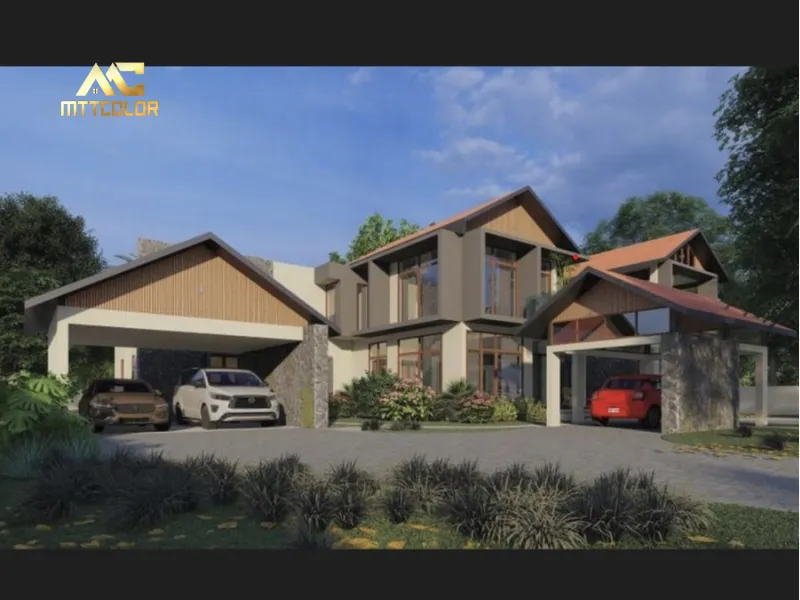
Revealing How To Edit HDR Real Estate Photos Extremely Easily

Learning how to edit HDR real estate photos starts with capturing multiple images at different exposure levels to preserve details in both bright and dark areas. Then, use software like Lightroom or Photoshop to merge the shots, tweaking contrast and colors to make the property look natural and inviting. This process enhances interiors, exteriors, and spaces, leaving a striking impression on viewers. Below, this article from MTTCOLOR will guide you step-by-step in no time.
What is HDR photography?
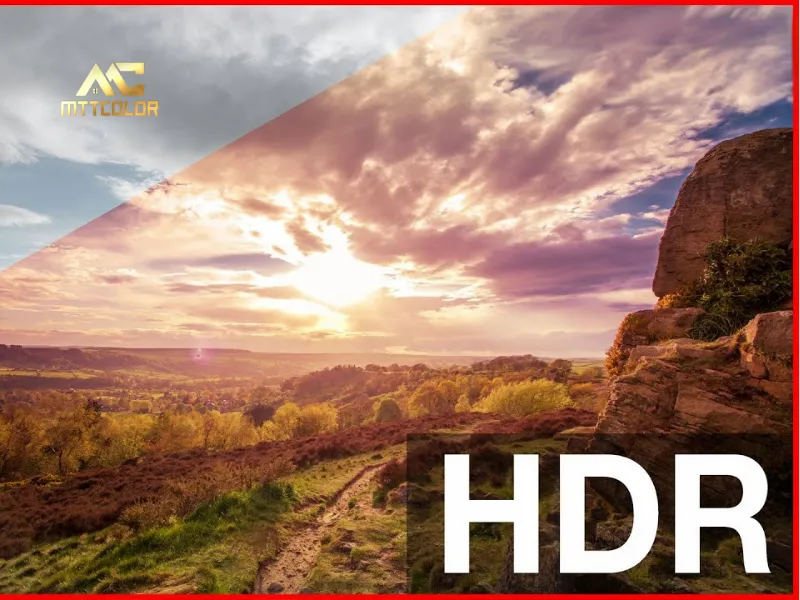
HDR photography, or High Dynamic Range photography, is a technique used to capture a wider range of light and color than what a standard camera sensor can typically record in a single exposure. It involves taking multiple photos of the same scene at different exposure levels usually one underexposed (darker), one correctly exposed, and one overexposed (brighter) and then combining them into a single image using specialized software.
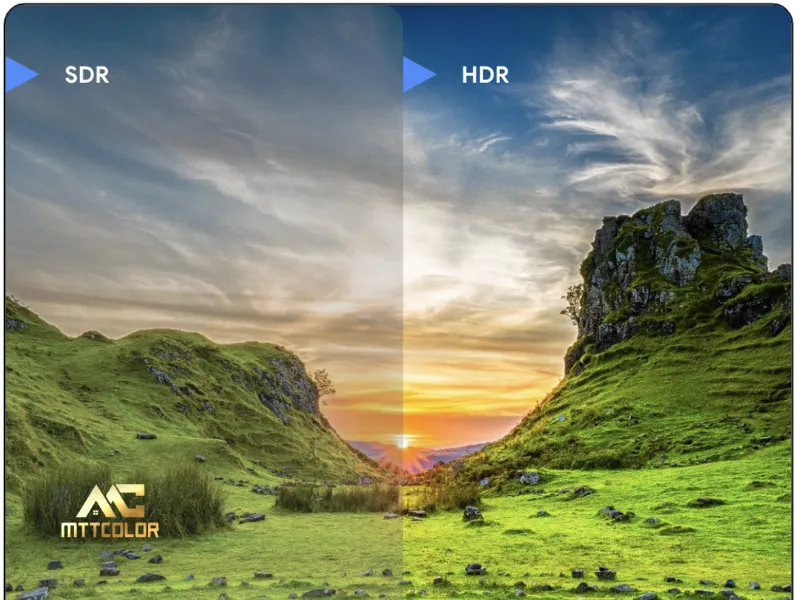
The goal is to preserve details in both the brightest highlights (like a sky or light source) and the darkest shadows (like deep foliage or interiors), which might otherwise be lost due to the limitations of a camera’s dynamic range. The result is an image that more closely resembles what the human eye can perceive in real life, with enhanced contrast, richer colors, and a more balanced tonal range.
Photographers often use HDR for scenes with tricky lighting, like landscapes at sunrise or sunset, or interiors with bright windows and dim corners. Software like Adobe Photoshop, Lightroom, or dedicated HDR tools like Photomatix can merge these exposures, and modern cameras or even smartphones often have built-in HDR modes that automate the process. The final look can range from natural and subtle to dramatic and surreal, depending on how it’s processed.
Benefits of HDR Photo Editing
HDR photo editing offers several benefits that enhance the quality and impact of images, particularly in challenging lighting conditions. Here are the key advantages:
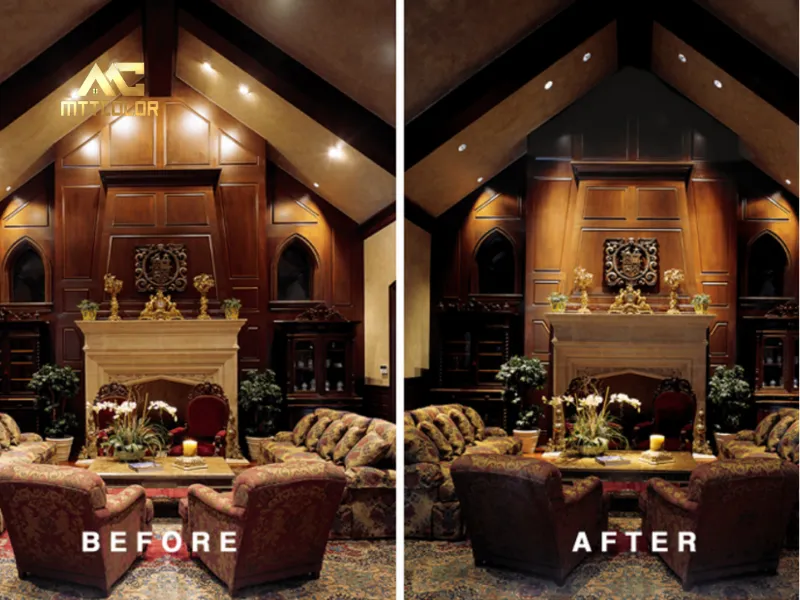
Improved Detail in Highlights and Shadows
HDR editing allows you to recover details that might be lost in a single exposure. Bright areas like skies or light sources retain texture instead of blowing out to white, while dark areas like shadows or interiors reveal hidden elements instead of turning into flat black patches.
Wider Dynamic Range
By merging multiple exposures, HDR captures a broader range of light intensities, creating a more balanced image that mirrors how the human eye perceives a scene. This is especially useful in high-contrast situations, like landscapes with a bright sun and deep shadows.
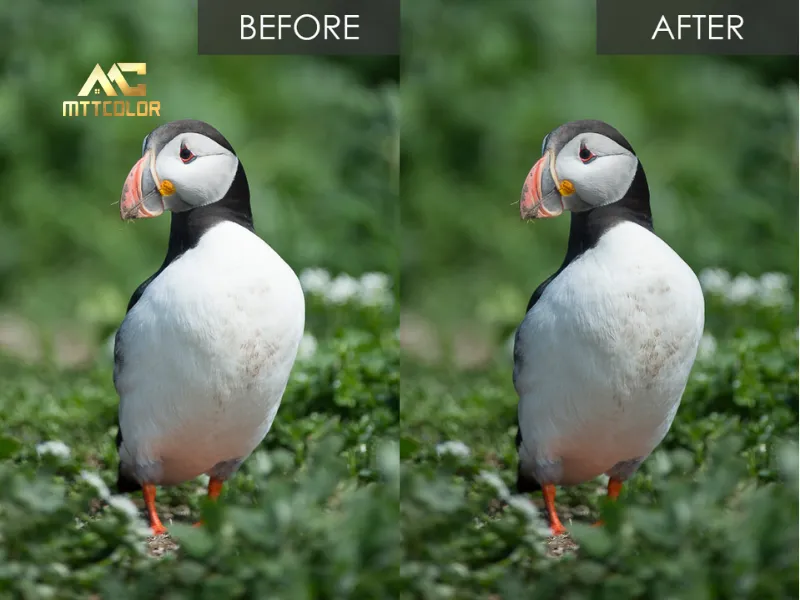
Enhanced Color Vibrancy
HDR processing often boosts color depth and saturation, making images pop with richer, more lifelike hues. Skies can appear more vivid, and subtle tones in nature or objects stand out better.
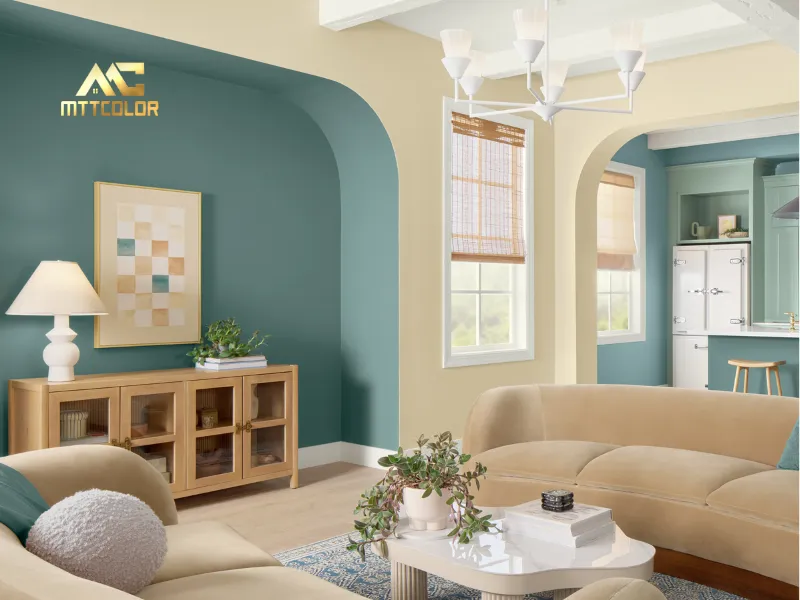
Realistic Representation
When done subtly, HDR can produce photos that feel closer to real-world vision, avoiding the unnatural clipping of light or dark areas that standard photography might produce. This makes it ideal for architectural shots or natural scenes.
Creative Flexibility
HDR editing gives photographers control over the final look. You can opt for a natural finish or push the boundaries with a dramatic, artistic style think surreal landscapes or bold urban shots depending on your vision.
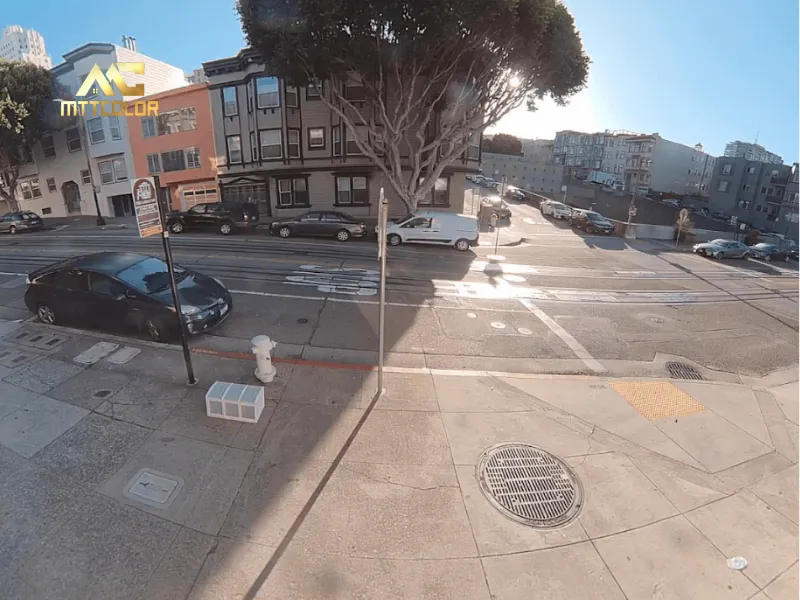
Better Results in Difficult Lighting
It’s a game-changer for scenarios like backlit subjects, interiors with mixed lighting (e.g., bright windows and dim rooms), or twilight photography, where a single exposure struggles to balance the extremes.
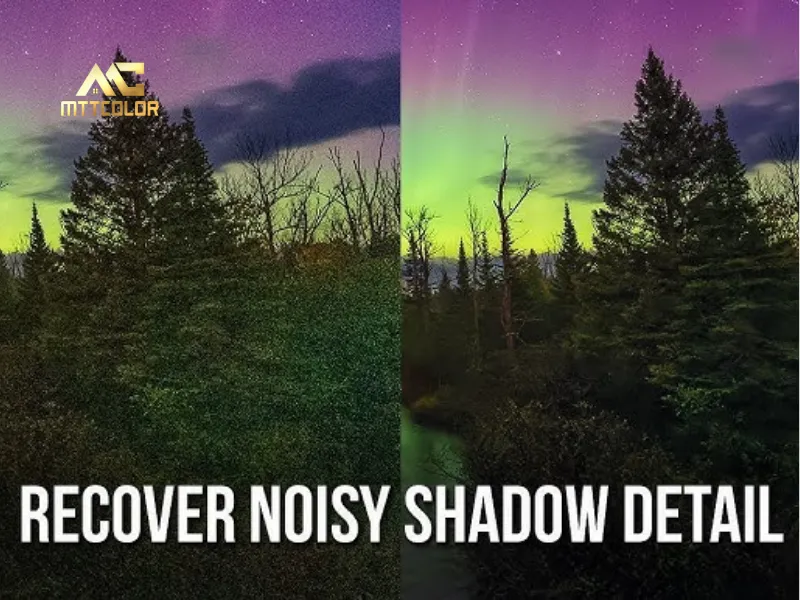
Noise Reduction in Shadows
Since HDR combines multiple exposures, it can reduce graininess or noise that often appears when brightening underexposed areas in a single shot, leading to cleaner images.
How to Create HDR Photos
Step 1: Set Up Your Camera
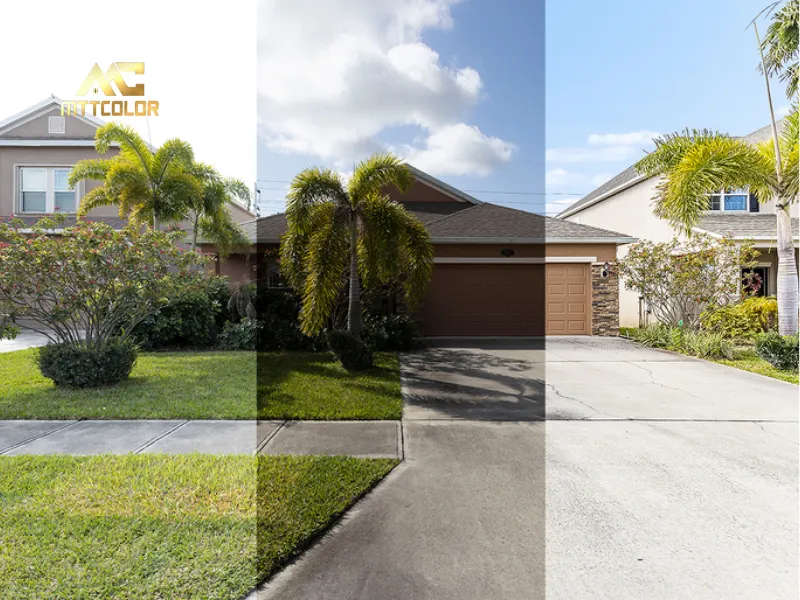
Configure your camera to capture multiple shots at different exposure levels. Adjust the number of images and exposure increments (e.g., -2, 0, +2 EV) based on the scene’s dynamic range.
Step 2: Stabilize with a Tripod
Secure your camera on a tripod to maintain a consistent frame across all shots, preventing any shifts.
Step 3: Minimize Movement
Use a remote shutter release or the camera’s timer to avoid shake when taking each photo.
Step 4: Shoot in RAW
Opt for RAW format to capture the most data possible, enhancing your editing flexibility and image quality.
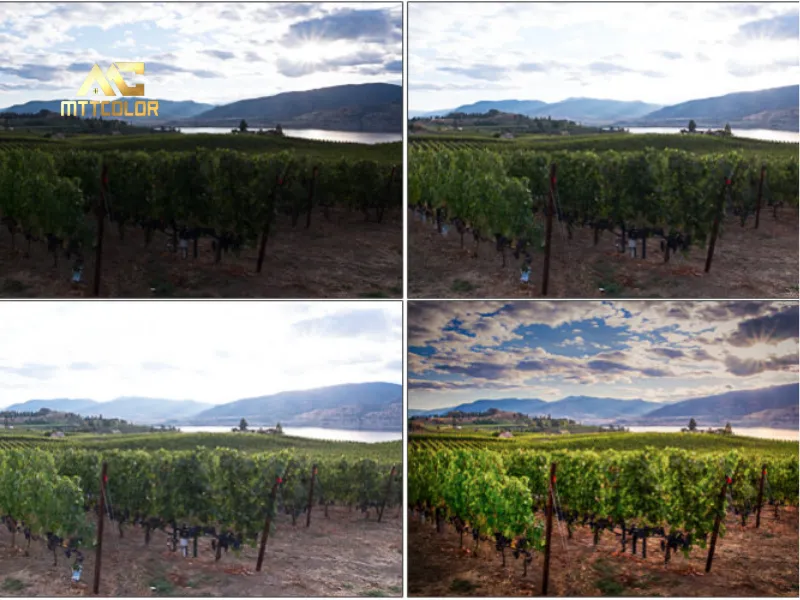
Step 5: Merge in Software
Import the exposures into HDR editing software and combine them into a single, balanced image.
How to Easily Edit HDR Real Estate Photos in Lightroom
Import and Infuse Photos
Step 1: Import and Organize Your Photos
Start by importing your images into Lightroom. Once imported, sort them by filename to keep the sequence intact for the HDR process.
Step 2: Stack Your Images
To prepare for HDR creation, select your photos, right-click, and choose “Stacking” > “Group into Stack.” Alternatively, highlight all the images and select “Auto – Stack by Capture Time” from the menu Lightroom will neatly group them for you.
Step 3: Initiate the Blending Process
For blending multiple stacks (if desired), select all the stacks, then navigate to File > Plug-in Extras > “Blend Exposures using LR/Enfuse.” This will launch the blending dialog box.
Step 4: Enable Auto-Alignment
In the “Auto-Align” tab, ensure the “Auto-align images before blending” option is checked. This allows Lightroom to perfectly align your photos before merging them.
Step 5: Configure Output Settings
Since you’ve stacked the images, go to the “Output” tab and select “Batch Mode.” Then, under “Output Files” in the same tab, choose “Create combined images in the same folder as the images in the stack” to keep everything organized.
Saving Your Infused Files
Step 6: Save and Reimport the Blended Files
To store the blended files in the same folder as your originals (still within the same tab after blending), check the “Reimport images into Lightroom” option. This ensures the final blended images automatically appear in Lightroom for review.
- You’ll also see a “Stack with Originals” option. If selected, the blended image will join the existing stack, appearing as the topmost photo.
- Alternatively, if you skip stacking with originals, the blended image will sit alongside the stack in the folder. Either approach works—choose what suits your workflow.
Step 7: Start the Blending Process
Click “Infuse Images” to begin. You can monitor the progress in the top-left corner of the screen. Note that blending multiple stacks may take a little longer, so be patient.
Step 8: Locate Your Blended Photos
Once blending is complete, if the images don’t immediately show up, head to the Library module, select the folder where your originals are stored, and refresh it. This will reveal the newly blended files.
Some Situations When HDR Is Not The Optimal Choice
While HDR photography is a powerful tool for capturing detail in high-contrast scenes, it’s not always the best choice. Here are some situations where HDR might not be optimal:
Moving Subjects
If your scene includes moving elements—like people walking, cars driving, or leaves blowing in the wind—HDR can create ghosting or blurry artifacts. The multiple exposures won’t align perfectly, resulting in an unnatural or messy image.
Low-Contrast Scenes
In evenly lit environments with minimal difference between highlights and shadows (e.g., an overcast day or a softly lit room), HDR offers little benefit. A single exposure can usually handle the scene well enough, making HDR processing unnecessary.
Time Constraints
HDR requires taking multiple shots and post-processing, which can slow you down. In fast-paced situations—like event photography or street shooting—stopping for bracketed exposures and editing later might not be practical.
Desired Silhouettes or Dramatic Contrast
If you’re aiming for an artistic effect with strong silhouettes or intentional loss of detail (e.g., a dark figure against a bright sunset), HDR’s tendency to balance everything can undermine your vision.
Subtle or Minimalist Aesthetics
HDR often enhances detail and vibrancy, which can clash with a soft, understated, or moody style. For portraits or fine art photography where simplicity is key, a single exposure might better preserve the intended mood.
Overprocessed Look
In some cases, HDR can lead to an exaggerated, “cartoonish” appearance—especially if overdone. If your goal is a natural or realistic image, and you’re not confident in subtle processing, sticking to standard techniques might be safer.
Limited Editing Skill or Tools
HDR requires software and some know-how to merge and tone-map effectively. Without the right tools or experience, the results might disappoint, making a single well-exposed shot a better option.
To create stunning photos for any industry, especially real estate, advanced image editing skills are essential, as each shot captures a unique setting. We hope the steps outlined above will help you produce beautiful images to impress your clients.
READ MORE
Top 6 Best Camera Equipment For Real Estate Photography
Real Estate Photography Lighting Best Tips and Techniques
Best Tripod for Real Estate Photography (Top Picks 2025)
Related Posts
Tips & Trick for Real Estate Photography & Videography

By: MTT COLOR
May 8, 2025
Best Tripod for Real Estate Photography (Top Picks 2025)
In the competitive world of property listings, image quality plays a key role in attracting potential buyers. One essential tool that real estate photographers can’t do without is a solid tripod. The best tripod for real estate photography helps capture sharp, stable, and well-composed images—especially when shooting interiors or using HDR techniques. At MTT Color, […]
Read more
By: MTT COLOR
May 7, 2025
Real Estate Photo Enhancement for High-Converting Listings
In today’s competitive housing market, first impressions happen online. And when buyers scroll through dozens of listings in seconds, high-quality visuals are no longer optional—they’re essential. That’s why real estate photo enhancement is one of the most powerful tools you can use to market a property effectively. At MTT Color, we specialize in turning ordinary […]
Read more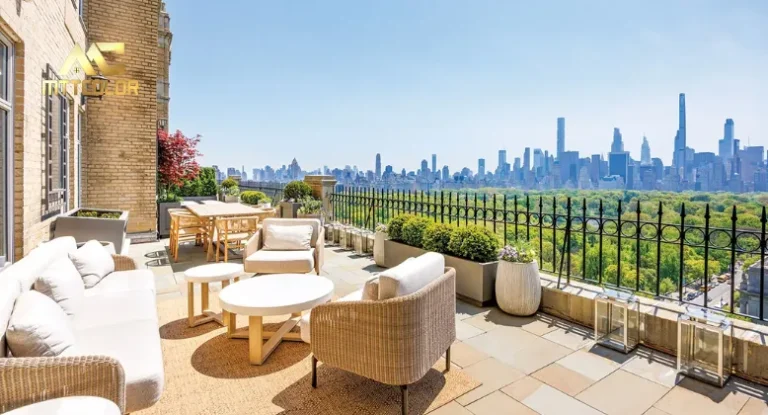
By: MTT COLOR
April 26, 2025
6 Most Popular Luxury Real Estate Photography Trends Today
In the luxury property market, visuals are more than just decoration. They are the silent salespeople that speak directly to a buyer’s desires. A single captivating image can evoke emotion, build trust and elevate a property’s perceived value instantly. As digital-first buyers continue to demand immersive, story-driven experiences, the role of luxury real estate photography […]
Read more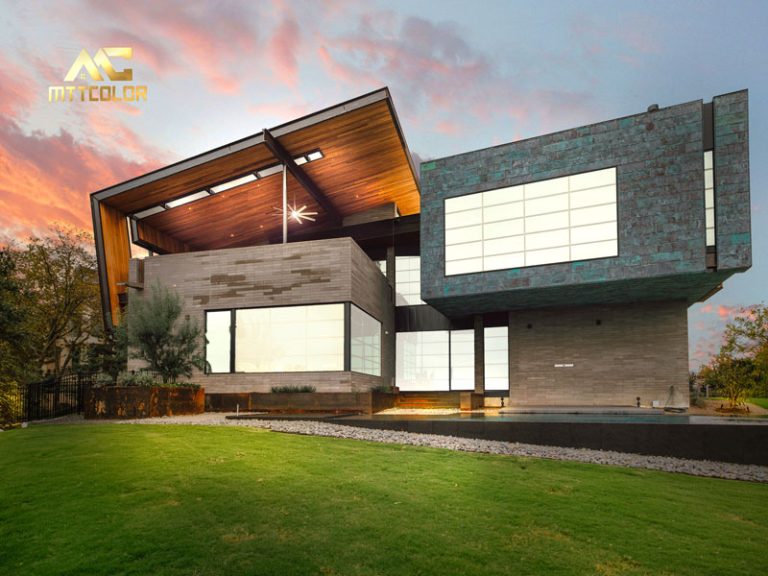
By: MTT COLOR
April 18, 2025
How to Become a Real Estate Photographer: The Complete Beginner’s Guide
Are you passionate about photography and looking for a career that combines creativity with real-world impact? Learning how to become a real estate photographer can open doors to a rewarding profession in a high-demand industry. In 2025, the US real estate market relies heavily on stunning visuals to attract buyers, making this an ideal time […]
Read more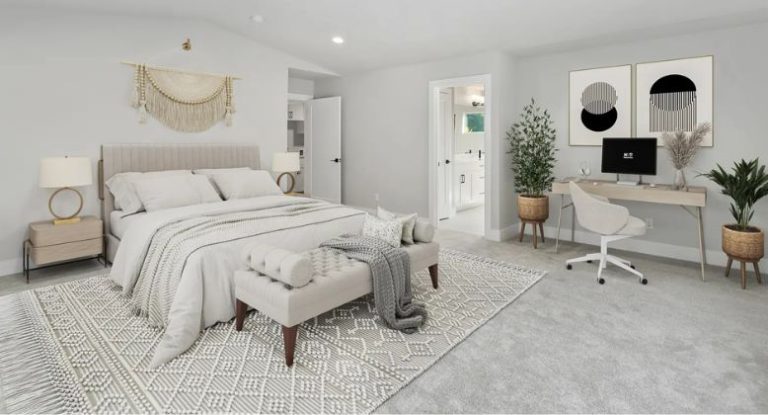
By: MTT COLOR
April 15, 2025
Top 10 Real Estate Staging Companies Specializing in Virtual Staging
In today’s fast-paced real estate market, staging companies play a vital role in turning ordinary listings into attractive, high-converting properties. With the rise of digital platforms, virtual staging has become a game-changer—allowing sellers to showcase their homes at their best without the expense or logistics of traditional staging. We at MTT Color present this curated […]
Read more
0
Images Processed Everyday
0
Happy Customer
0
Year Experience
MTTCOLOR
is the leading real estate photo and video editing service, trusted by thousands of satisfied customers around the globe. With over 10 years of experience in both photo and video editing for real estate we specialize in helping clients buy, sell, or rent properties with stunning, professionally edited images and videos. Let us bring your dream home to life with our expert real estate editing services.
Frequently asked questions
How much do your services cost?
We cater to customers at various price points, ranging from around $0.50 per image to over $3 per image. We understand that you may have a specific budget in mind for outsourcing. That's why we're very flexible with pricing. Feel free to propose your numbers, and we'll do our best to accommodate. We're also open to discussing everything to ensure a smoother process.
Please note that in Vietnam, it is customary for the customer to cover PayPal fees (or any transaction fees), and we recommend doing so. On our end, we cover currency conversion fees, which are quite similar. Think of it like splitting the bill at a restaurant.
How can I send files?
Simply upload your images on Dropbox, Google Drive, or Wetransfer and send us the link in an email. To make things easier, you should specify the number of input files along with any special requirements.
How does the process work?
Before using our services, you can send us a test order of up to 10 images, and we’ll do it FREE of charge just to understand your style. After that, we can agree on the pricing and proceed from there.
Outsourcing post-production has never been easier:
Step 1: You can either fill out the test order form or send your input directly to our email via Dropbox, Google Drive, FTP, or Wetransfer. We’ll send you a confirmation email to let you know we’ve received your order.
Step 2: Your images/videos will go through thorough editing and quality checks.
Step 3: Receive your package and complete the payment transfer. You can also send us any revision requests if needed.
What are your working hours?
We work 24/7, always available to support you.
Can I request urgent orders?
Yes, with a large team of editors, we can prioritize and accommodate rush delivery if possible. Please give us a heads-up via email at mttcolor8@gmail.com at your earliest convenience so we can check the feasibility and timeline for these special orders.