15 Incredibly Simple Methods How to Edit Real Estate Photos
Images for a real estate project are incredibly important, serving as a powerful tool for those specializing in selling or renting properties. However, achieving high-quality photos requires a careful editing process tailored to each scene. Below, MTTColor will introduce you to 15 super easy ways to edit real estate photos.
How to edit photos for real estate
Editing real estate photos plays a crucial role in the success of any business involved in photography or real estate that aims to achieve standout results. When it comes to software and tools, most real estate professionals are familiar with Adobe Lightroom and Photoshop, though there are still many noteworthy alternatives on the market.
So, let’s dive into exploring a straightforward and effective 15 step process for editing real estate photos.
HDR Blending & Bracketing
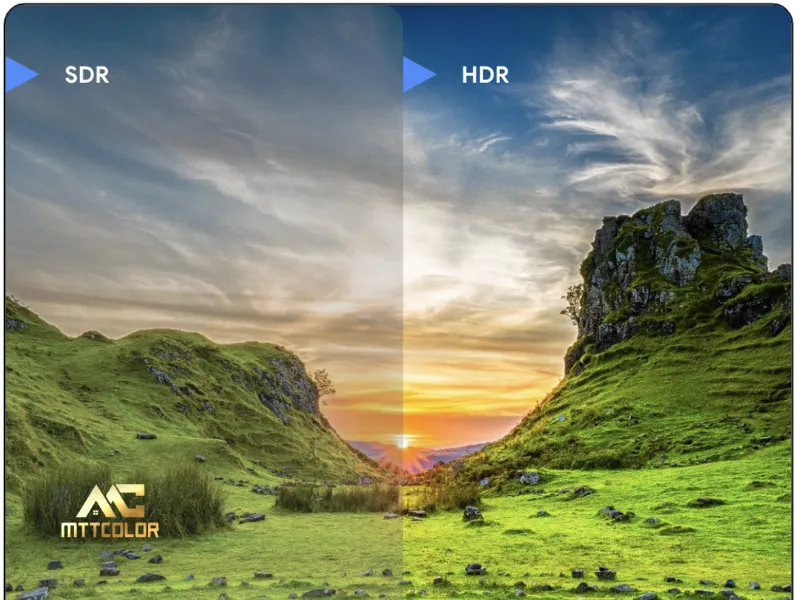
HDR (High Dynamic Range) is definitely one of the most favored photo editing techniques in real estate photography. This approach uses multiple photos taken at different exposure levels, which are then combined during post-processing to create a final image that’s balanced and eye-catching.
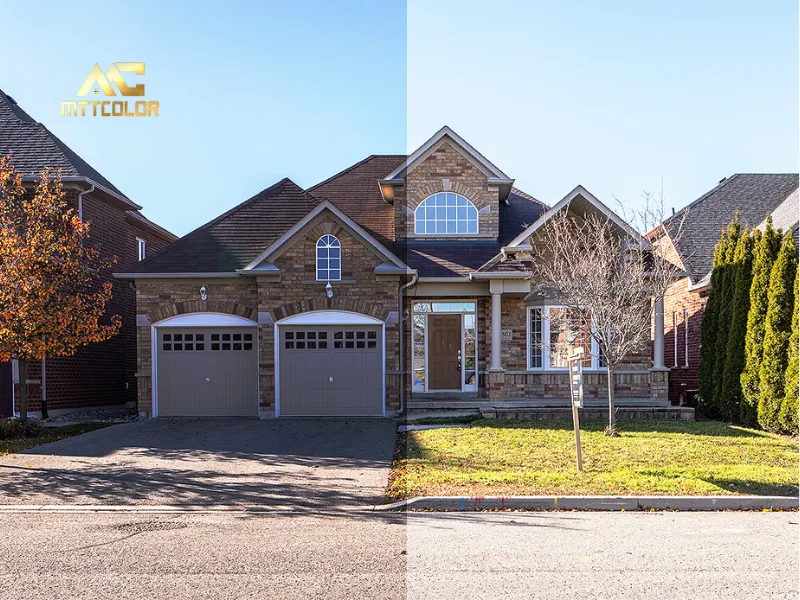
The outcome is a crisp, bright photo with ideally even exposure. To make an HDR image, you should shoot at least three pictures of the same scene, each with a different exposure setting. Afterward, in Lightroom, you can blend them together to subtly bring out both the bright and dark areas.
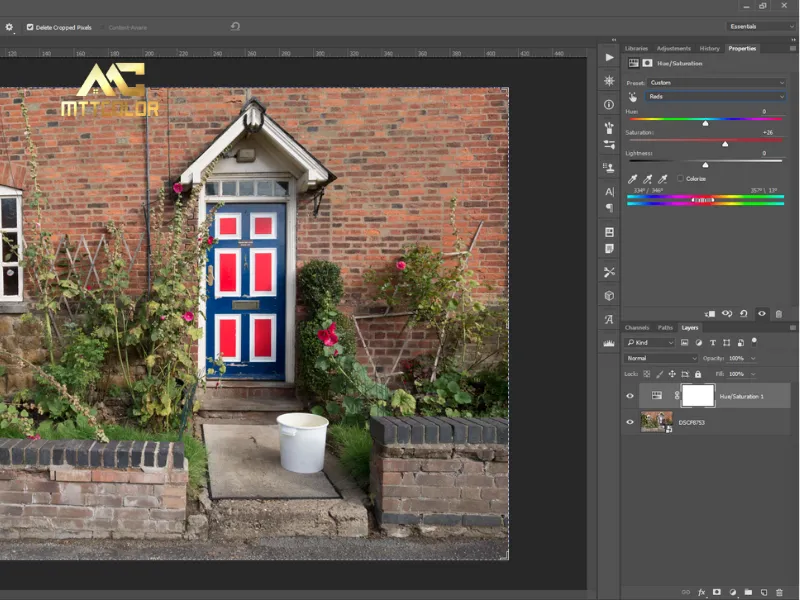
Adjusting Saturation Levels
Brightness and color saturation are two key factors to focus on when editing photos. A picture can end up looking overly vivid or lifeless for a variety of reasons, such as:
- The impact of natural light and artificial lighting.
- The camera’s configuration settings.
- Or even the improper use of flash.
Luckily, with just a few simple adjustments in most photo editing software, you can easily tweak the tones to make your image more vibrant and appealing. If you’d like to dive deeper into fine-tuning saturation and balancing colors, check out our detailed blog post on color correction techniques in Photoshop.
Line Straightening
In interior real estate photography, converging or misaligned vertical and horizontal lines are a common challenge. This perspective distortion can arise from various factors, such as:
- The natural curvature of the camera lens,
- The photographer’s position in the space or how they hold the camera,
- Or even the room’s structure and size contributing to the imbalance.
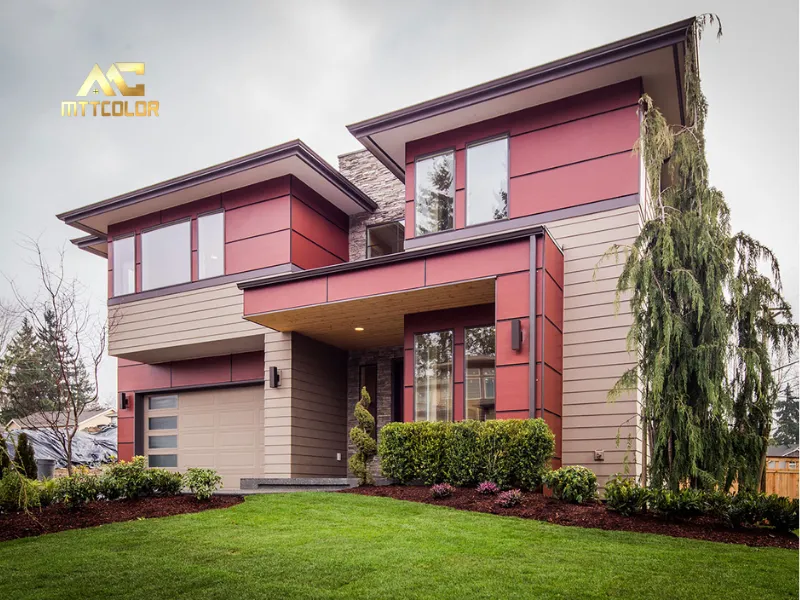
Thankfully, you can easily address this issue with a straightforward editing technique known as perspective correction. This method realigns distorted lines, delivering a more harmonious and accurate image.
Noise Reduction
Graininess or blurriness can significantly diminish an image’s sharpness and quality, making it appear unclear or unprofessional. Homebuyers always want to see vibrant, detailed photos of the properties they’re considering.
Unwanted noise in photos can stem from several causes, including:
- Sudden camera shake,
- Excessively long exposure times,
- Or issues related to lens focus.
The good news is that among real estate photo editing techniques, these flaws are usually quite easy to fix! In Photoshop, just head to Filter > Noise > Reduce Noise to handle it.
Additionally, you can rely on the expert team at PhotoUp to remove noise, delivering sharper, more impressive, and captivating photos.
Color Casting Corrections
Color casting happens when a specific tone or color temperature disrupts the harmony of a photo, making it unpleasant for viewers.
These issues often go unnoticed during shooting but become obvious once you review the finished image. Here are some common scenarios:
- A ceiling with a distinct color spreading an odd hue onto the walls,
- Warm light from bulbs casting an unwanted yellow tint over furniture,
- Or cold blue light from fluorescent or LED bulbs affecting the room’s ambiance.
Fortunately, with editing techniques, you can easily rebalance and remove these unwanted tones, restoring a natural and appealing look to the photo.
Adding Objects
Sometimes, when reviewing freshly shot real estate photos, you realize that adding just one small detail could make the image far more striking.
Some classic examples include:
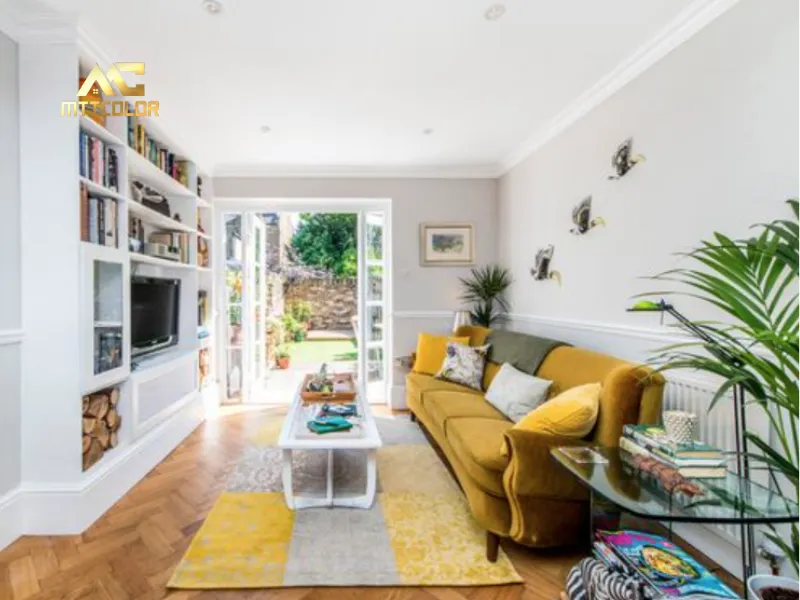
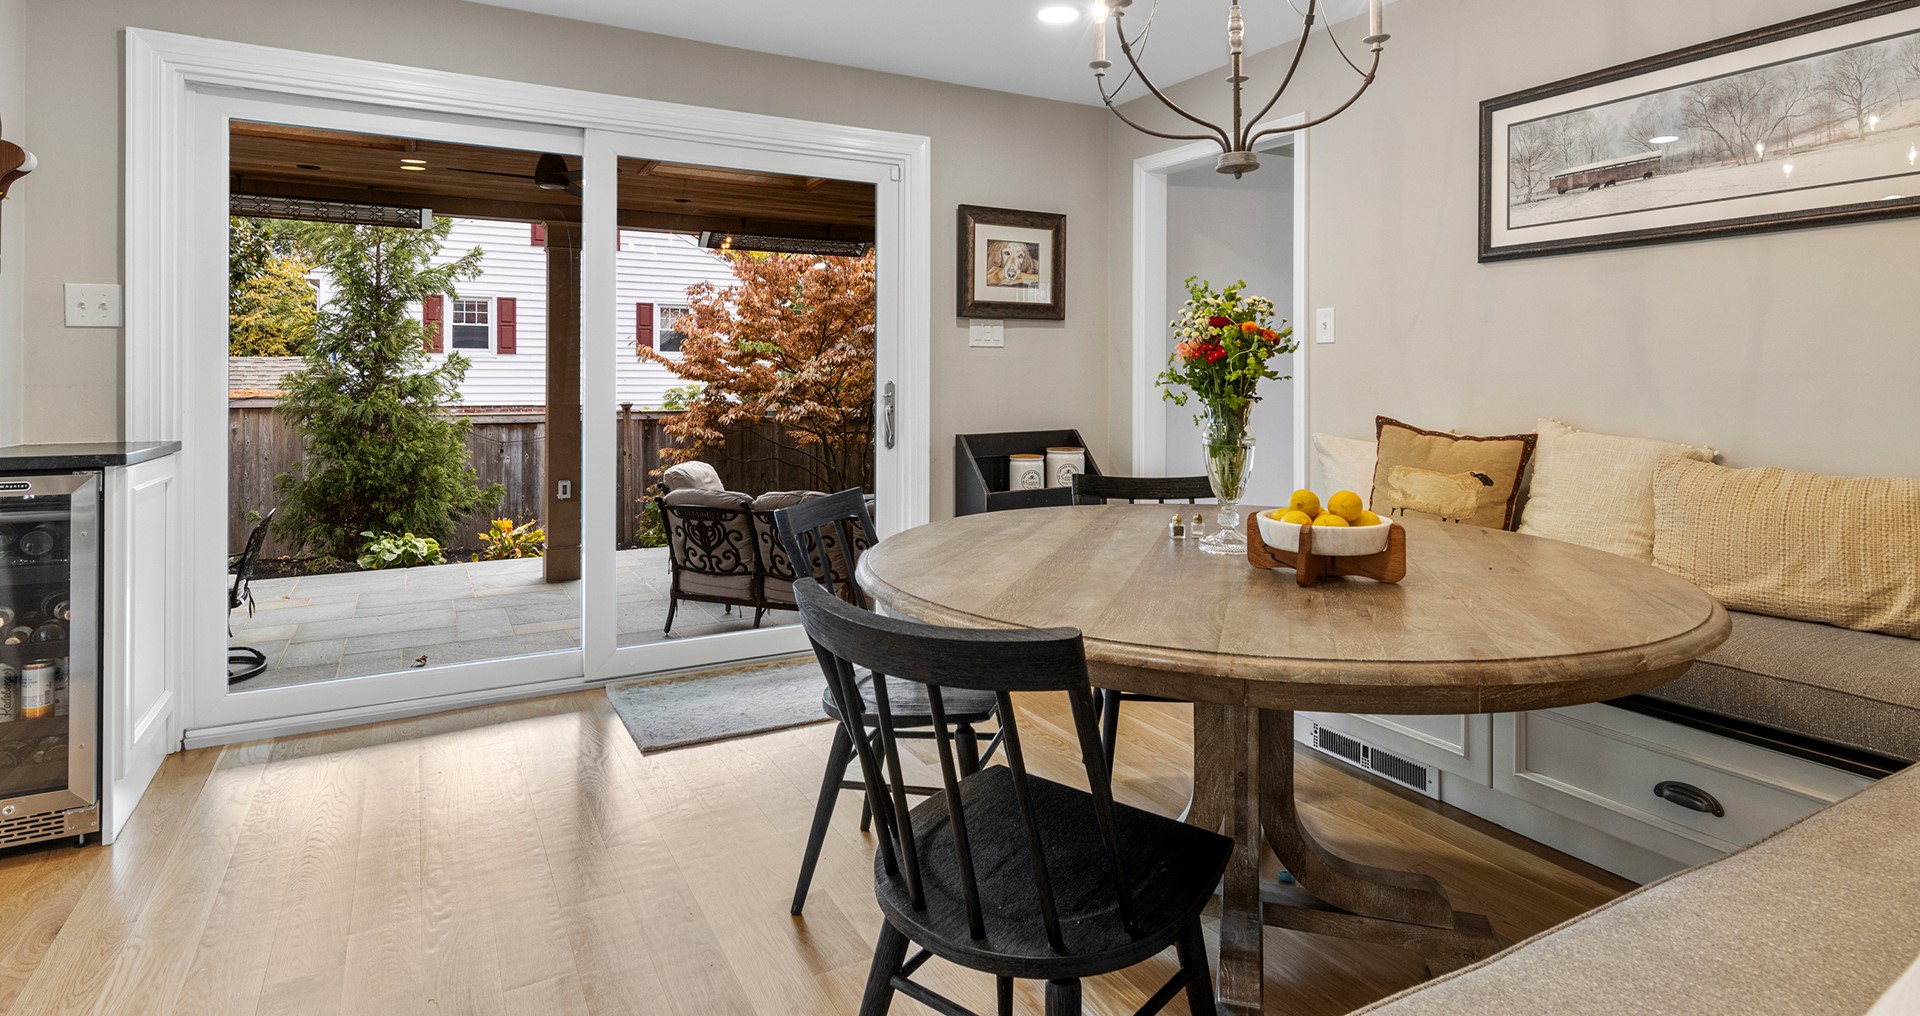
- Placing a vibrant vase of flowers on the dining table or kitchen counter,
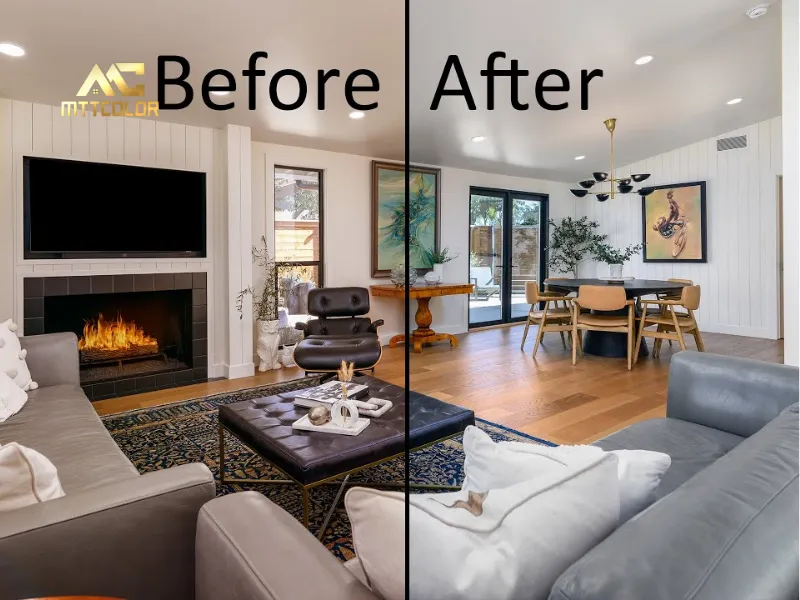
- Adding a warm, flickering fire in the fireplace,
- Positioning a cozy armchair on the porch,
- Or tossing colorful pillows onto outdoor furniture.
Inserting these elements into a photo isn’t a simple editing task in real estate photography. That’s why, in cases like these, you can turn to the professional editing team at MTTCOLOR—they’ll handle it quickly, effectively, and at a reasonable cost.
Object Removal
Often, when reviewing photos, a real estate photographer will notice unnecessary details that detract from the image’s appeal. These unwanted objects might include:
- Tangled electrical cords or cables from lights or electronics,
- Telephone wires or power lines running outside the house,
- A car parked in the driveway or on a nearby street,
- Messy dishes in the sink, smudged windows, or pet hair clinging to furniture.
Luckily, these issues can be fully addressed in Photoshop using the Clone Stamp tool. To use it, simply select the tool, hold the Alt key to pick a source area, then gently apply it to seamlessly remove those unwanted elements.
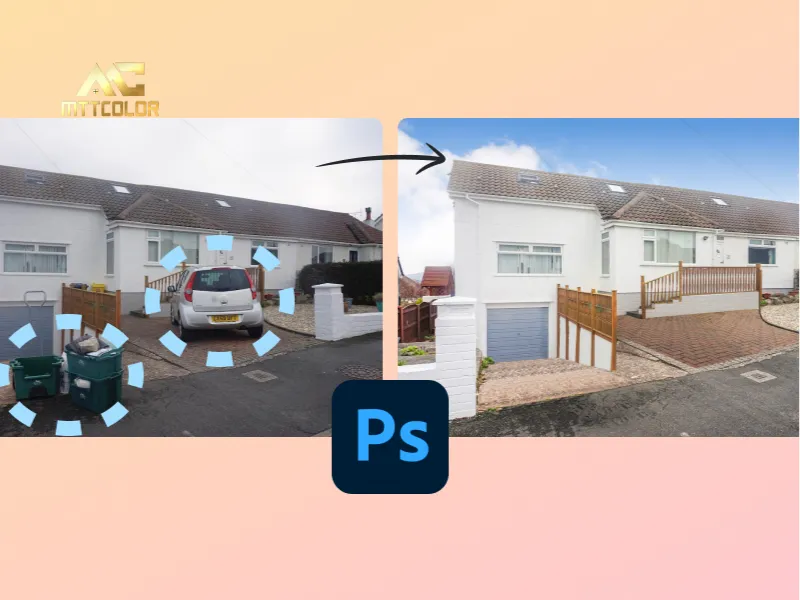
Sky Replacement
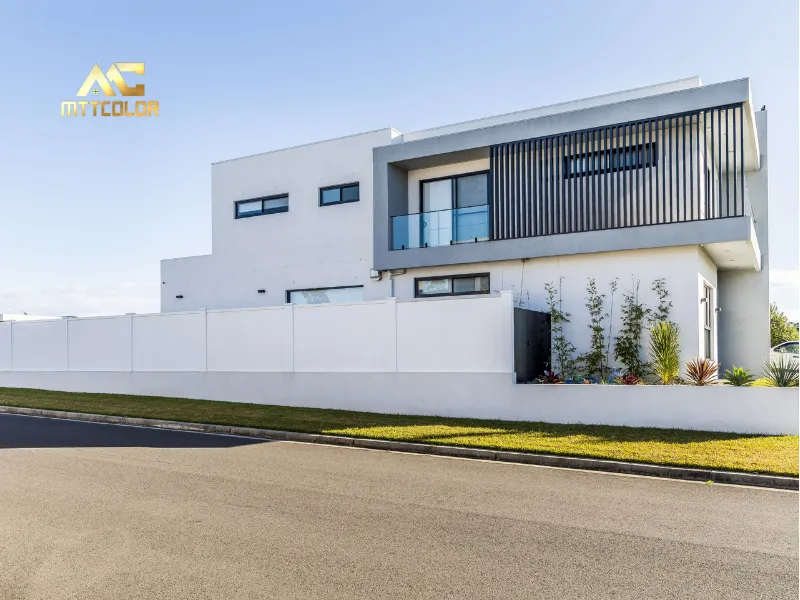
No matter how skilled real estate photographers are, controlling the weather remains beyond their reach. Overcast days often leave a gray, dreary atmosphere in photos, dulling the home’s beauty and making it less appealing.
On the other hand, a clear blue sky with bright sunshine brings a cheerful vibe and enhances the photo’s allure. Under natural light, the colors of the house and its surrounding landscape pop, becoming more vibrant and captivating than ever.
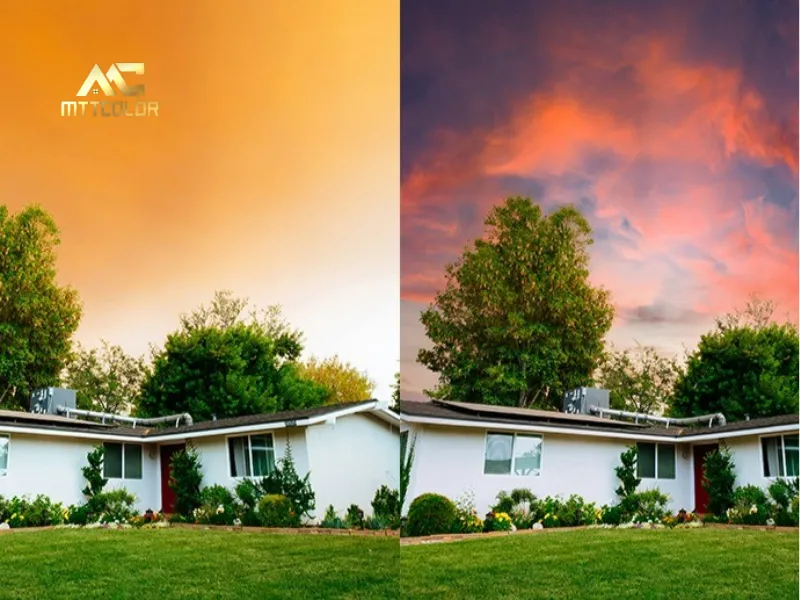
Fortunately, swapping out the sky in a photo is a relatively simple editing technique, allowing you to easily add a crisp, blue, or striking sky to any image.
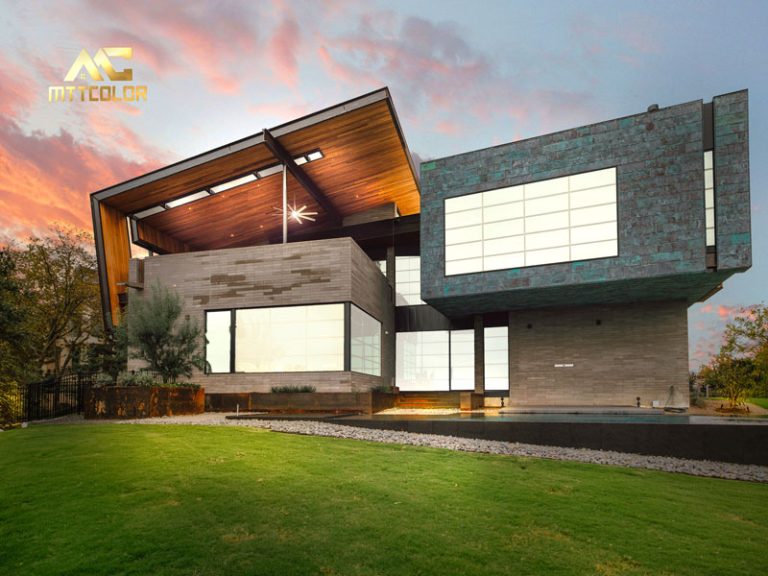
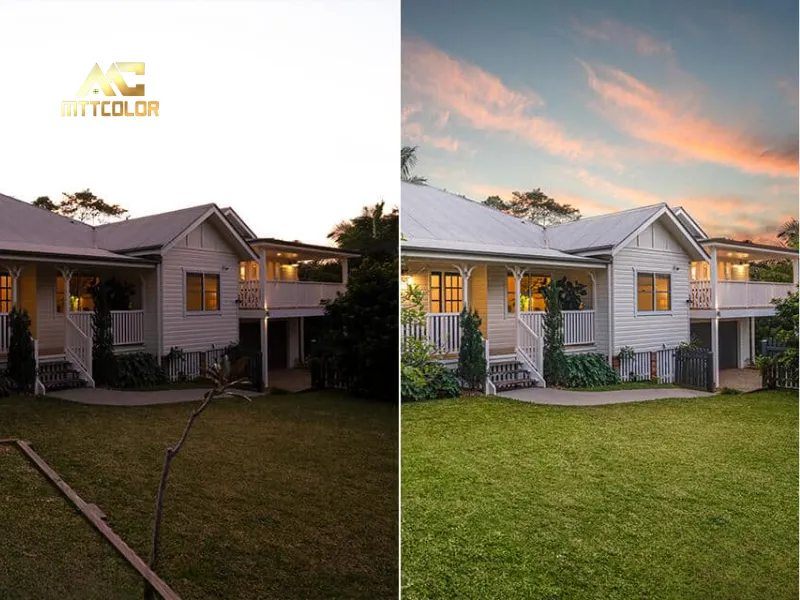
Twilight Effects
Photographing a home at dawn or dusk can bring a unique charm to exterior shots. However, capturing high-quality images in those soft, hazy lighting conditions isn’t always straightforward.
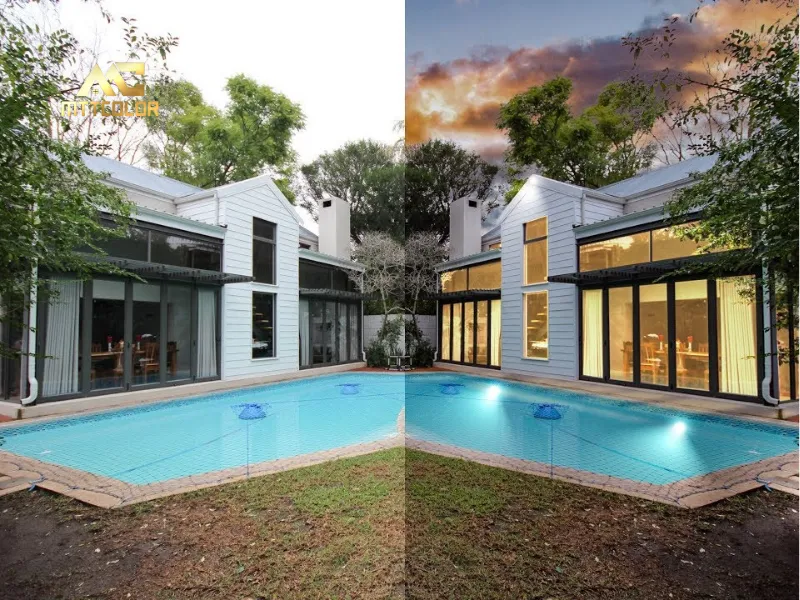
Luckily, photo editing software once again comes to the rescue! Adding a twilight effect to the sky and outdoor lighting is not only simple but also offers several benefits, such as:
- Infusing an elegant, luxurious feel into the real estate image,
- Adding a touch of drama or heightening the emotional impact of the scene,
- Eliminating worries about weather or the time of day during the shoot.
With just a few basic steps, you can apply a twilight effect, transforming your real estate photos into something more captivating and standout as you explore editing techniques.
Grass Greening and Landscape Enhancing
A lush, vibrant green lawn is undoubtedly a valuable highlight for any property. However, depending on the season, water shortages, or harsh temperatures, the grass can turn yellow, patchy, or unattractive. Nothing dims a home’s beauty faster than a withered lawn.

Fortunately, with the help of Lightroom and Photoshop, you can easily tweak the grass’s color and even enhance other landscape elements in the photo to create a flawless, striking impression.
Window Masking
Excessive glare or blurriness often comes from intense natural light pouring through a room’s windows. Additionally, curtains can sometimes look cluttered, or the windows themselves might be smudged, detracting from the photo’s overall appeal.
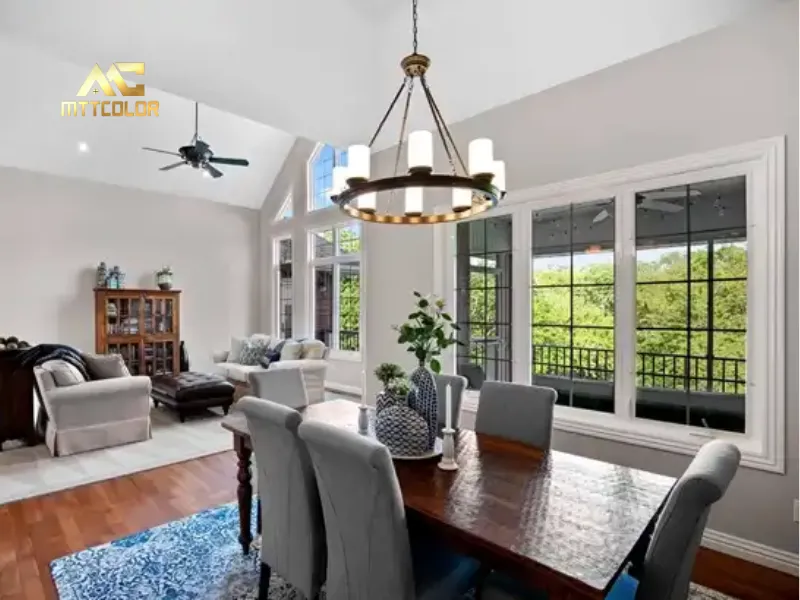
The window masking technique in photo editing is an effective fix for these issues. It even lets you completely transform the view outside the window, crafting a fresh and more captivating perspective.
Eliminating Ghosting
Motion blur occurs when an image gets fuzzy due to the movement of objects, like leaves swaying in the wind a common issue in real estate photography. It can also pop up when shooting HDR photos.
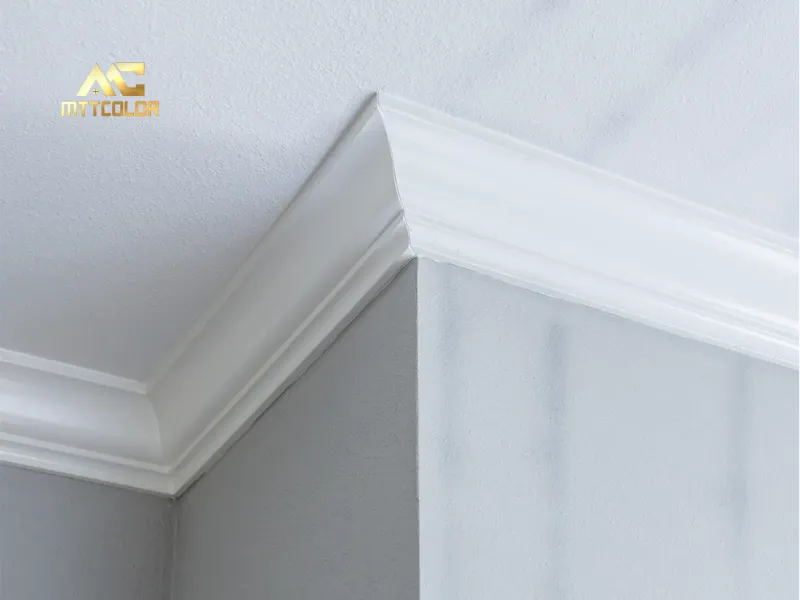
In some artistic photography styles, this effect might be used intentionally to enhance emotion or atmosphere. However, in real estate photos, motion blur makes images look soft and unprofessional.
Thankfully, removing motion blur in Photoshop is totally doable and straightforward, as long as you’re comfortable with the software.
Shadow Balancing
Harsh shadows can show up under any lighting condition, whether from a flash or natural light. When this happens, the photo often ends up with deep dark areas and blinding highlights from the light source.
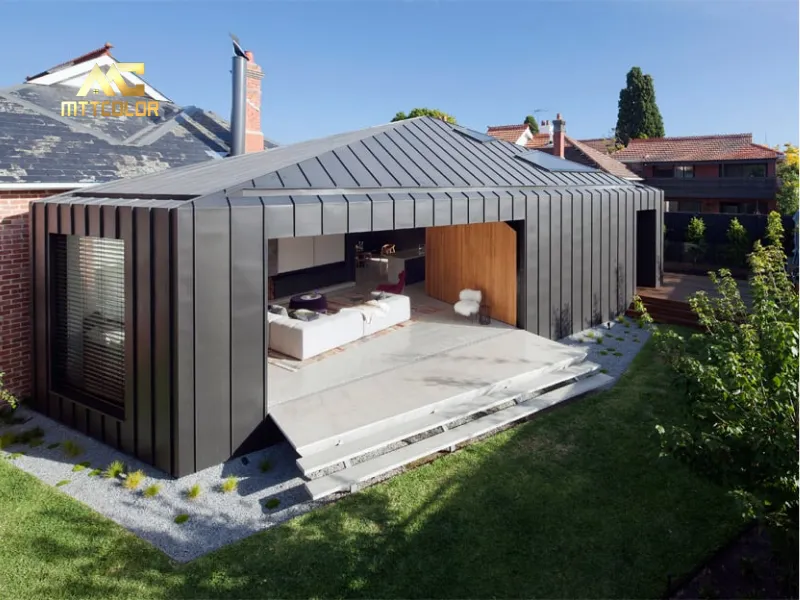
While strong shadows can sometimes add a dramatic effect to an image, in real estate photography, they tend to be distracting and reduce professionalism.
To fix this, you can use photo editing software to tweak the dark areas, tone down unnecessary highlights, and eliminate excessive glare, bringing balance back to the picture.
Use Batch Editing
This step in the real estate photo editing process is truly an ideal time-saver. When working with multiple photos that share similar traits, using Photoshop’s batch editing feature is a perfect choice. It cuts down on effort and lets you process several images at once, fast.
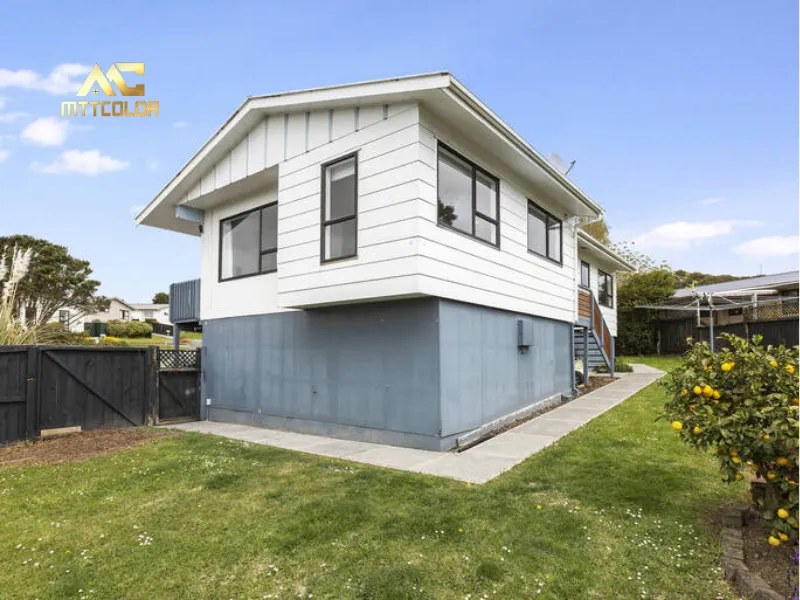
The process is simple just finish editing one photo, then sync those changes across the rest of the images with ease.
Don’t Over Edit Your Photos
Always keep in mind that the goal of editing real estate photos is to produce sharp, appealing images that still feel natural.
Over-editing can make a photo look unrealistic or even overly flashy. Pushing saturation or exaggerating colors too much is a common mistake in real estate photography, as buyers want honest images that truly reflect the property.
The power of real estate photography lies in helping agents close deals successfully. To do that, you need to deliver photos that are both striking and true to reality.
READ MORE
How To Edit Hdr Real Estate Photos Extremely Easily
Top 6 Best Camera Equipment For Real Estate Photography
Real Estate Photography Lighting Best Tips and Techniques
Above, MTTColor has shared with you an article outlining 15 ways to edit real estate photos, tailored to different settings. We hope this guide proves helpful, enabling you to create stunning images that delight your clients and make their viewing experience visually pleasing.
Related Posts
Tips & Trick for Real Estate Photography & Videography
0
Images Processed Everyday
0
Happy Customer
0
Year Experience
MTTCOLOR
is the leading real estate photo and video editing service, trusted by thousands of satisfied customers around the globe. With over 10 years of experience in both photo and video editing for real estate we specialize in helping clients buy, sell, or rent properties with stunning, professionally edited images and videos. Let us bring your dream home to life with our expert real estate editing services.
Frequently asked questions
How much do your services cost?
We cater to customers at various price points, ranging from around $0.50 per image to over $3 per image. We understand that you may have a specific budget in mind for outsourcing. That's why we're very flexible with pricing. Feel free to propose your numbers, and we'll do our best to accommodate. We're also open to discussing everything to ensure a smoother process.
Please note that in Vietnam, it is customary for the customer to cover PayPal fees (or any transaction fees), and we recommend doing so. On our end, we cover currency conversion fees, which are quite similar. Think of it like splitting the bill at a restaurant.
How can I send files?
Simply upload your images on Dropbox, Google Drive, or Wetransfer and send us the link in an email. To make things easier, you should specify the number of input files along with any special requirements.
How does the process work?
Before using our services, you can send us a test order of up to 10 images, and we’ll do it FREE of charge just to understand your style. After that, we can agree on the pricing and proceed from there.
Outsourcing post-production has never been easier:
Step 1: You can either fill out the test order form or send your input directly to our email via Dropbox, Google Drive, FTP, or Wetransfer. We’ll send you a confirmation email to let you know we’ve received your order.
Step 2: Your images/videos will go through thorough editing and quality checks.
Step 3: Receive your package and complete the payment transfer. You can also send us any revision requests if needed.
What are your working hours?
We work 24/7, always available to support you.
Can I request urgent orders?
Yes, with a large team of editors, we can prioritize and accommodate rush delivery if possible. Please give us a heads-up via email at mttcolor8@gmail.com at your earliest convenience so we can check the feasibility and timeline for these special orders.
