How to Make a Real Estate Virtual Tour Easily

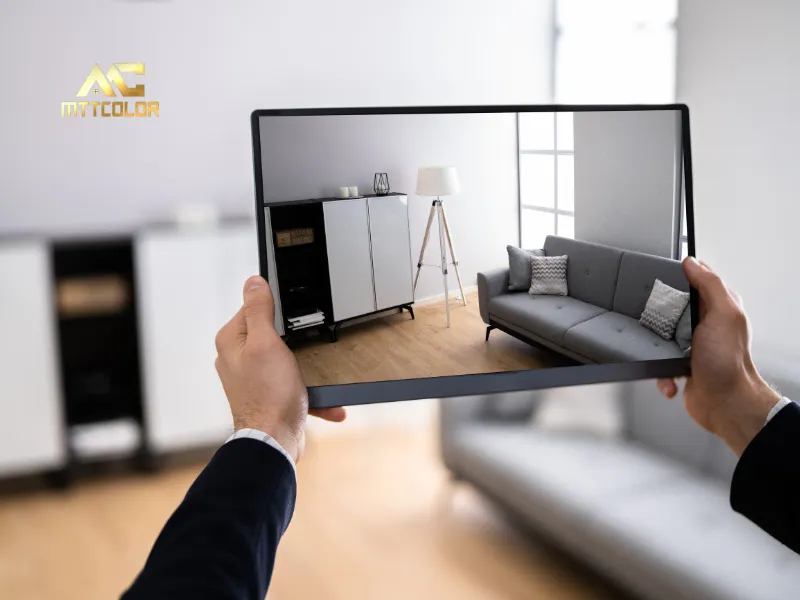
Offering a real estate virtual tour can greatly enhance your property listings and attract more buyers. Virtual tours provide a realistic experience without the need for in-person visits, saving time for everyone. In this guide, MTTCOLOR shares simple steps to help you create professional virtual tours easily.
How to make a virtual tour for real estate
Step 1: Choose Your Equipment and Platform
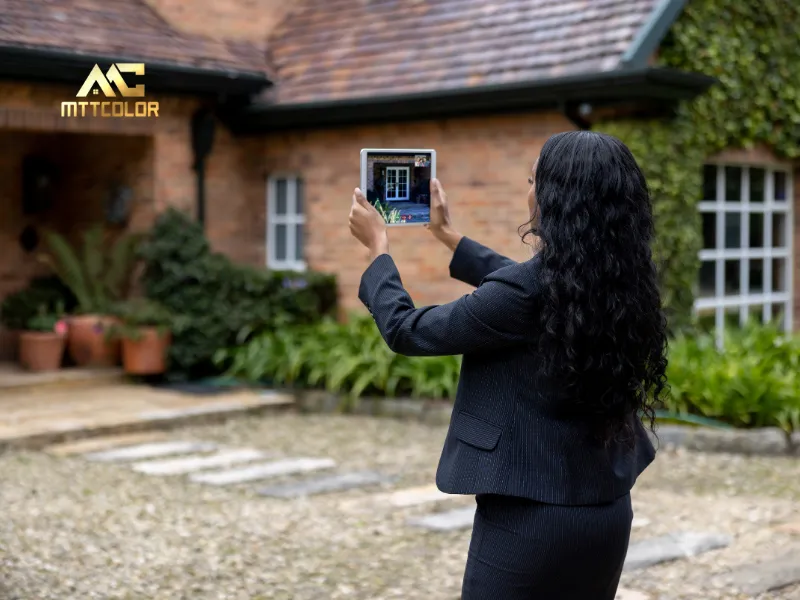
Today, creating a professional real estate virtual tour has never been easier thanks to the rise of affordable 360-degree cameras. According to Turner, “We’re in the golden age of 360-degree cameras,” with many excellent options priced between $250 and $500. These cameras are designed to be simple, requiring just one click to capture high-quality, full-room images without the need for focusing or complicated settings.
If you are working with a home of about 3,400 square feet, you can capture all necessary shots and complete a usable tour in under 20 minutes. For a 2,000-square-foot property, using a camera like the Ricoh Theta V, it typically takes just five to ten minutes to photograph the entire house. This speed makes it practical even for realtors handling multiple listings.
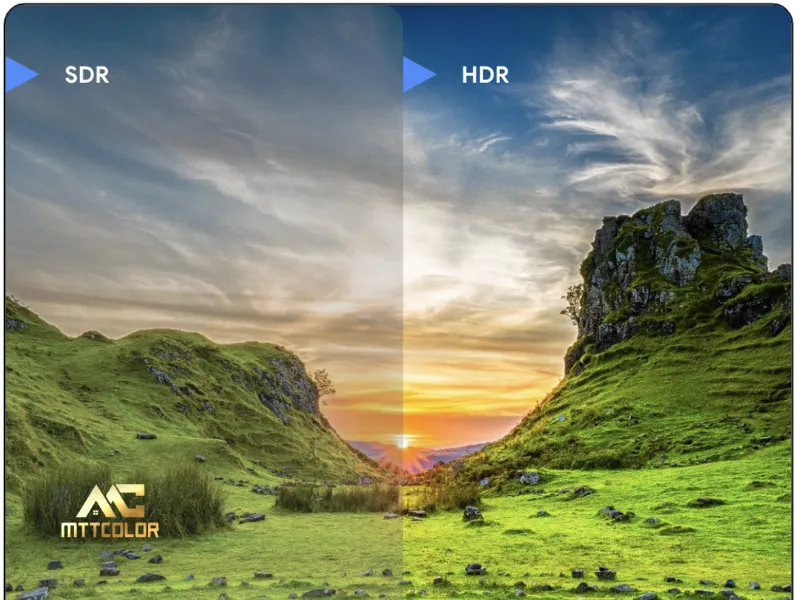
An important technique to maximize image quality is “bracketing.” As Peter Schravemade from BoxBrownie explains, bracketing involves taking multiple shots of the same view at different exposures. By combining three to five exposures into one final image, you ensure better balance between bright windows and darker interiors, creating stunning, professional-looking results.
If you prefer a more advanced solution, Matterport offers a 360-degree camera that also scans spaces to build a “dollhouse” floor plan. This format allows viewers to virtually walk through rooms with ease, offering a highly immersive experience. However, it is worth noting that Matterport tours require one to two hours to process and upload, making it a slower option compared to the Ricoh camera.
Whichever 360 camera you choose, you will need a compatible smartphone app or a dedicated hosting platform to complete your virtual tours. These platforms allow you to store, edit, and share your tours online, making it simple to integrate them into your listings and boost buyer engagement.
Step 2: Organize Photography, Lighting, and Camera Placement
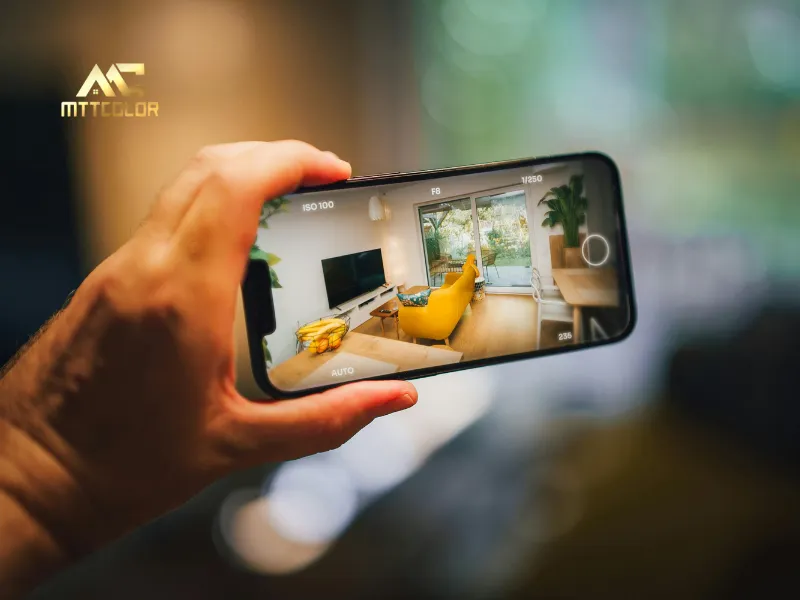
Once you finish capturing all rooms and exterior areas, review the photos on your smartphone app to ensure they are sharp, properly exposed, and well-centered. If any important space looks too dark or overly bright, consider retaking the shot with better exposure settings or using the bracketing feature to blend multiple images later.
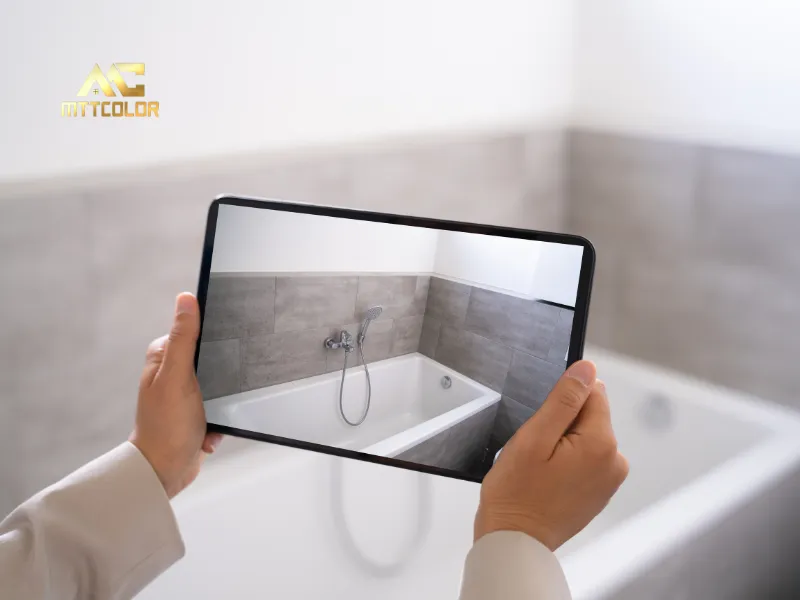
After confirming the quality of your shots, proceed to upload them to your hosting platform. Most platforms allow you to arrange the photos logically to match how buyers would naturally walk through the property. For example, start the virtual tour from the front door, move through the living spaces, highlight the kitchen and bedrooms, and finally showcase outdoor features like patios or gardens.
If you are using a Matterport system, the uploading process may take longer because the software automatically stitches the images into a 3D model. This model provides an interactive experience where viewers can navigate through the home floor by floor and room by room. Ensure you follow the platform’s guidelines for linking scan points accurately to deliver a seamless user experience.
Finally, after your virtual tour is complete, share the tour link widely across your property listings, social media, and email marketing campaigns. A well-crafted real estate virtual tour not only attracts more attention but also builds trust with potential buyers, helping properties sell faster and at better prices.
Step 3: Upload the Tour
When choosing a 360-degree tour platform, it is important to consider both your budget and your business needs. Subscription models like Immoviewer are ideal if you consistently have multiple listings and want a predictable monthly expense. On the other hand, platforms like Box Brownie offer flexibility through a pay-as-you-go model, which works well for realtors who only occasionally need virtual tours.
For more advanced and fully interactive experiences, Matterport remains a premium choice, although it comes with a higher cost ranging from $250 to $400 per tour. This investment can be worthwhile for luxury properties or when targeting high-end buyers who expect immersive 3D experiences.
Additionally, many platforms today provide helpful features such as automatic photo stitching, customizable branding, and analytics tracking to see how users interact with your tours. Taking advantage of these tools can further enhance your marketing efforts and provide valuable insights into buyer behavior.
In conclusion, selecting the right tour provider depends on how often you need virtual tours, the type of properties you market, and the level of user experience you want to deliver. Evaluating your options carefully ensures you maximize the value of every virtual tour you create.
Step 4: Create the Tour, From Walkthrough to Exit
Understanding how each platform handles photo sequencing and editing is crucial to delivering a smooth and professional real estate virtual tour. Platforms like Immoviewer and Box Brownie simplify the process by automatically arranging uploaded photos based on the sequence they were taken. This means if you follow the natural flow of the property while capturing images, your virtual tour will appear organized without extra effort.
For those using Matterport, the system automatically processes the uploaded photos into a 3D model. After the basic model is ready, you can enhance the experience by adding features such as “Matter Tags,” highlight reels, embedded videos, and detailed room labels. These enhancements not only improve the tour’s interactivity but also provide valuable information to potential buyers.
If you prefer more manual control or want to customize your images further, software like Adobe Lightroom and Photoshop is an excellent option. Available for $9.99 per month through the Adobe Creative Cloud subscription, these programs allow for detailed photo editing and stitching, helping you create highly polished visuals. However, mastering these tools requires a bit more technical skill and time.
Timing is another important factor to consider. With Immoviewer, your virtual tours go live almost instantly after upload, provided you have a strong wireless connection. This makes it ideal for agents who need to market properties quickly. In contrast, Matterport’s process is more extensive, often requiring two hours for uploading and another 24 to 48 hours for full processing before the tour is ready to customize and publish.
Box Brownie, offering manual stitching services, maintains a consistent 24-hour turnaround. This provides a reliable middle ground for realtors who want professionally edited tours without the longer wait times associated with full 3D modeling platforms.
Choosing the right workflow depends largely on your project deadlines, the type of properties you are marketing, and how much customization you want in your final virtual tour. Planning ahead ensures a smoother process and better results for your listings.
Step 5: Publish and Market the Tour on Multiple Channels
Publishing your real estate virtual tour widely is essential for maximizing exposure and attracting serious buyers. Platforms like Realtor.com, multiple listing services (MLSs), and social media channels such as Facebook are perfect places to showcase your tours. You can also embed tour links into email campaigns, text messages, and property websites to further extend your reach.
One advantage of using Matterport is that the system automatically generates marketing materials from your 3D scans. It creates ready-to-use photos, GIFs, and short MP4 videos that you can quickly download and incorporate into your marketing efforts. These teaser videos are especially effective in capturing buyer attention on social media platforms.
No matter which platform you use, it is important to integrate virtual tours into every aspect of your property marketing. Whether you opt for a cost-effective service like Immoviewer or a premium immersive experience like Matterport, providing a virtual tour gives buyers the confidence to engage with your listings. In a time when buyers are cautious about visiting properties in person, virtual tours bridge the gap and make online property selection much easier.
Despite the clear advantages, Turner notes that nearly 95 percent of listings still do not feature a true virtual tour. He encourages agents not to worry excessively about perfect image quality. Instead, focus on getting a good, realistic virtual experience uploaded quickly. Even an affordable 360-degree camera can capture above-average images that deliver the engaging experience buyers are seeking today.
In short, starting with virtual tours now positions you as a tech-forward agent ready to meet modern buyer expectations. The tools are accessible, the demand is growing, and the opportunity to stand out has never been better.
Q&A
How do I start a virtual tour?
Starting a real estate virtual tour begins with choosing the right 360-degree camera and a hosting platform. After setting up your equipment, capture images following the natural flow of the property. Upload the photos to your platform, arrange them logically, and share the completed tour across your marketing channels.
How are virtual tours created?
Virtual tours are created by taking 360-degree photos of a property and stitching them together using specialized software or hosting platforms. Some platforms automate the process, arranging the photos into a smooth walkthrough experience. Others, like Matterport, build full 3D models that allow users to explore the property virtually.
What is virtual reality in real estate?
Virtual reality in real estate refers to immersive digital experiences that allow buyers to explore properties remotely. Using virtual tours or 3D models, potential buyers can walk through homes without being physically present. This technology enhances convenience, saves time, and expands the market reach for real estate agents.
Can I create a virtual tour for free?
Yes, it is possible to create a virtual tour for free using basic 360-degree camera apps and low-cost hosting platforms that offer free trial versions. However, for more polished and professional results, investing in dedicated virtual tour services or editing tools is highly recommended. Free options are great for getting started but may have limitations in quality and features.
Creating a real estate virtual tour is now easier and more affordable than ever. With the right tools and a simple workflow, you can showcase properties beautifully and reach more buyers. At MTTCOLOR, we are here to guide you every step of the way. Start creating stunning virtual tours today and take your property marketing to the next level.
Related Posts
Tips & Trick for Real Estate Photography & Videography
By: MTT COLOR
May 9, 2025
Best 360 Cameras for Virtual Tours in 2025: Top Picks for Every Budget
Searching for the best 360 camera for virtual tours in 2025? With immersive experiences becoming essential in real estate, hospitality, and tourism, choosing the right camera is crucial for creating professional tours that engage your audience. This guide will help you navigate the options and find the perfect 360 camera for your specific needs and […]
Read more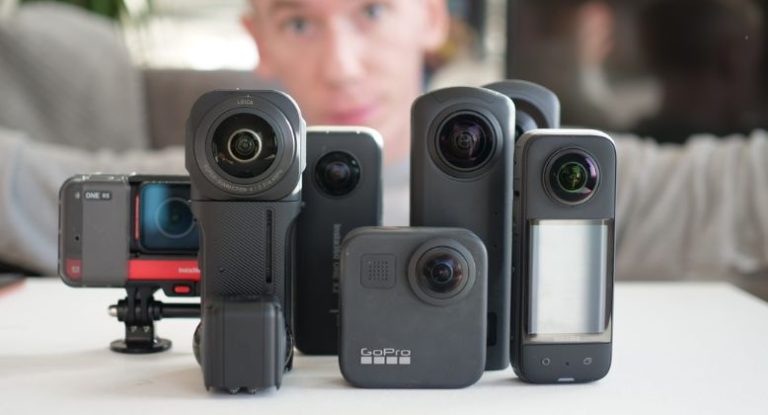
By: MTT COLOR
May 7, 2025
Top Best 360 Degree Camera Virtual Tours in 2025
Selecting the right 360 degree camera virtual tour equipment transforms real estate listings for agents, marketers, and developers. MTTColor curates this guide to the best 360 cameras for 2025, detailing key features, top models, and real-world applications. Discover how these tools create immersive virtual tours that boost engagement and sales. Read on to find the […]
Read more
By: MTT COLOR
May 7, 2025
How Do I Make a Virtual Tour? Step-by-Step Beginner Guide
In the age of digital-first impressions, creating an immersive experience can set your business or property apart. So, how do I make a virtual tour? It’s easier than you think. Whether you’re a real estate agent, retailer, or educator, a virtual tour lets you showcase your space online in an interactive, engaging way. At MTT […]
Read more
By: MTT COLOR
May 7, 2025
What Is a Virtual Tour? A Complete Guide for Real Estate
In a digital-first world, consumers expect to explore physical spaces without stepping outside their homes. So, what is a virtual tour? It’s a digital representation of a real-world environment—created using 360° photos, video walkthroughs, or 3D scanning technology—that allows users to navigate spaces remotely. At MTT Color, we’ve seen how this technology transforms not only […]
Read more
By: MTT COLOR
May 7, 2025
Virtual Staging Meaning: Real Estate Explained Simply
In today’s competitive real estate market, visuals sell faster than words. That’s why more agents and homeowners are turning to virtual staging. But what exactly is the virtual staging meaning? And how does it differ from virtual tours or traditional home staging? In this complete guide by MTT Color, you’ll learn virtual stagin meaning, how […]
Read more
0
Images Processed Everyday
0
Happy Customer
0
Year Experience
MTTCOLOR
is the leading real estate photo and video editing service, trusted by thousands of satisfied customers around the globe. With over 10 years of experience in both photo and video editing for real estate we specialize in helping clients buy, sell, or rent properties with stunning, professionally edited images and videos. Let us bring your dream home to life with our expert real estate editing services.
Frequently asked questions
How much do your services cost?
We cater to customers at various price points, ranging from around $0.50 per image to over $3 per image. We understand that you may have a specific budget in mind for outsourcing. That's why we're very flexible with pricing. Feel free to propose your numbers, and we'll do our best to accommodate. We're also open to discussing everything to ensure a smoother process.
Please note that in Vietnam, it is customary for the customer to cover PayPal fees (or any transaction fees), and we recommend doing so. On our end, we cover currency conversion fees, which are quite similar. Think of it like splitting the bill at a restaurant.
How can I send files?
Simply upload your images on Dropbox, Google Drive, or Wetransfer and send us the link in an email. To make things easier, you should specify the number of input files along with any special requirements.
How does the process work?
Before using our services, you can send us a test order of up to 10 images, and we’ll do it FREE of charge just to understand your style. After that, we can agree on the pricing and proceed from there.
Outsourcing post-production has never been easier:
Step 1: You can either fill out the test order form or send your input directly to our email via Dropbox, Google Drive, FTP, or Wetransfer. We’ll send you a confirmation email to let you know we’ve received your order.
Step 2: Your images/videos will go through thorough editing and quality checks.
Step 3: Receive your package and complete the payment transfer. You can also send us any revision requests if needed.
What are your working hours?
We work 24/7, always available to support you.
Can I request urgent orders?
Yes, with a large team of editors, we can prioritize and accommodate rush delivery if possible. Please give us a heads-up via email at mttcolor8@gmail.com at your earliest convenience so we can check the feasibility and timeline for these special orders.