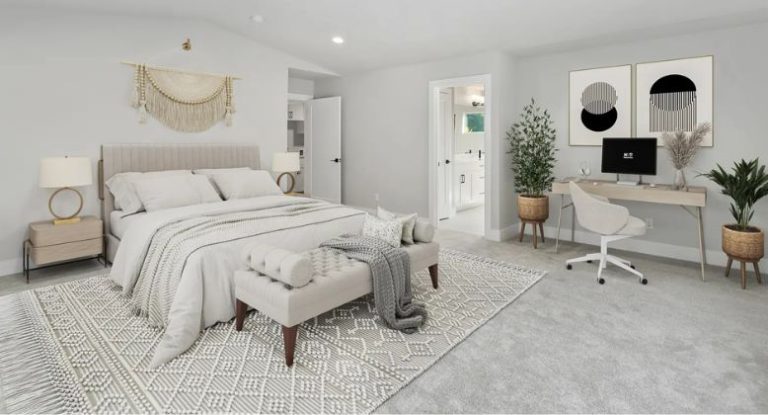
How to Take Real Estate Photos That Attract More Buyers Fast
To help you take real estate photos that are both beautiful and elegant, in this article MTT Color shares tips on how to take real estate photos that attract buyers, enhance property value, and boost sales effectively. Check it out now.
In today’s digital age, high-quality images play a decisive role in successful real estate marketing. According to market research, listings with professional images receive 61% more views and sell significantly faster than listings with low-quality images.
Whether you’re a new real estate agent, a homeowner wanting to sell your own property, or an amateur photographer interested in this field, this article by MTT Color will guide you on how to take real estate photos that attract potential buyers.
Why Quality Images Matter
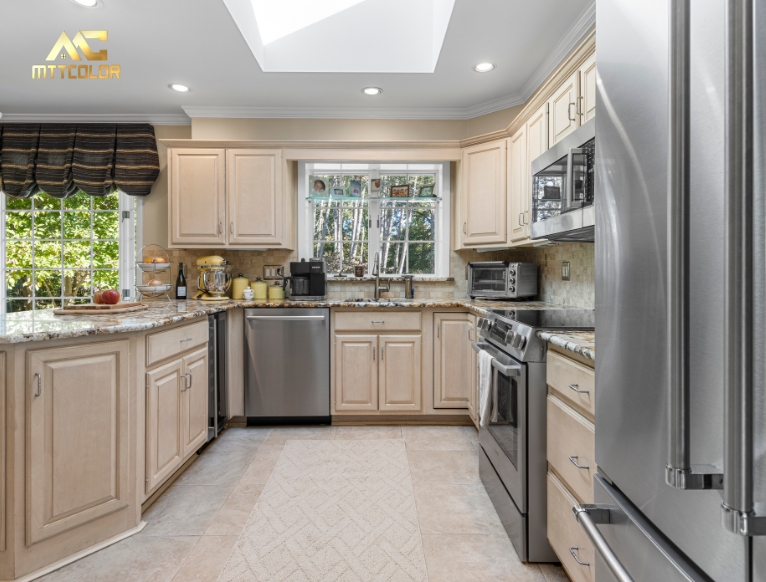
“First impressions last” – this saying is especially true in real estate. High-quality images:
- Create a strong impression from the first glance
- Help buyers visualize living spaces
- Increase click-through rates on platforms like Zillow and Realtor.com
- Build a professional image and create trust
- Influence the perceived value of the property
According to a Realtor.com survey, 85% of home buyers say that quality images are the most important factor when browsing online listings. Therefore, investing time to learn real estate photography can truly bring significant returns.
How to Take Real Estate Photos Like A Pro
Clean and Organize the Space
Before taking out your camera, ensure the space is perfectly prepared:
- Remove personal items and unnecessary objects
- Clean every corner thoroughly
- Arrange furniture appropriately to create a sense of spacious and open areas
- Add small decorative details like fresh flowers, books, pillows… to create a cozy feeling
Plan Your Shoot
- Identify the “valuable” shooting angles for each room
- List all areas to be photographed (interior, exterior, nearby amenities if any)
- Choose the best time for optimal lighting (usually daytime)
Equip Yourself with the Right “Weapons”
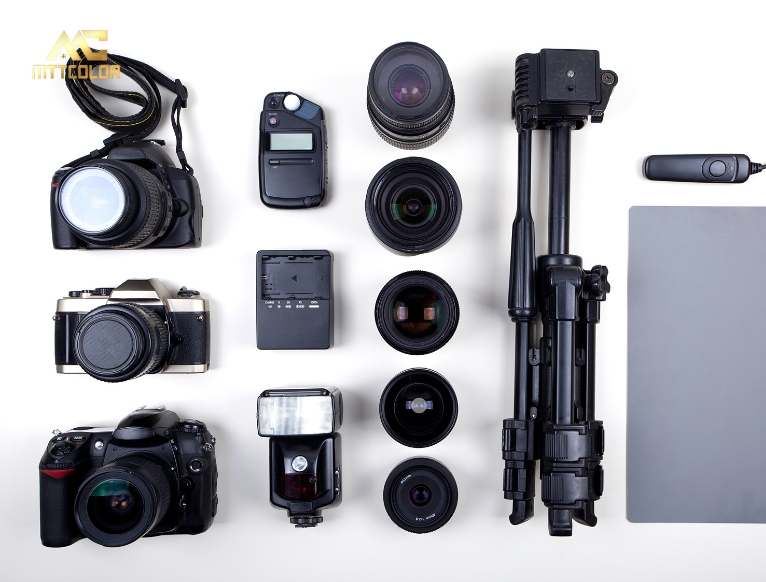
Camera: Doesn’t Have to Be the Most Expensive
- DSLR/Mirrorless cameras: Offer advantages in quality and flexibility. Brands like Canon, Nikon, Sony provide many options suitable for all budgets.
- Smartphones: A cost-effective option. New iPhone models or Samsung Galaxy have good photography capabilities, especially with sufficient lighting. Use professional photography apps for increased control.
Lenses: Expand Your Vision
- Wide-angle lens: Essential for interior photography. A 16-35mm lens is a popular choice among professional real estate photographers.
- Standard/Kit lens: Use when details are needed or for distant exterior shots.
Tripod: An Indispensable Friend
Benefits of using a tripod:
- Prevents camera shake
- Ensures sharp images
- Supports composition
- Facilitates HDR shooting
Additional Lighting (If Needed)
- External flash
- LED panels However, prioritize using natural light effectively.
Master Real Estate Photography Techniques
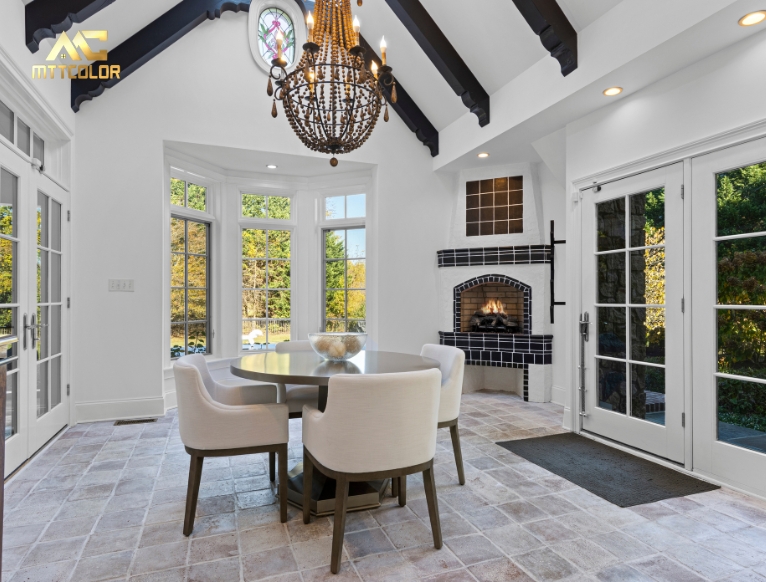
Maximize Natural Light
- Open all curtains and blinds
- Avoid shooting directly into strong light sources
- Use the “golden hour” for exterior shots
Basic Camera Settings
- Shooting mode: Priority aperture (Av/A) or Manual (M)
- ISO: Keep as low as possible (usually 100-400)
- Aperture: f/8 – f/11 for good depth of field
- White balance (WB): Adjust according to lighting conditions
- Shoot in RAW format (if possible) for better post-processing capabilities
Composition and “Valuable” Shooting Angles
- Apply the rule of thirds
- Shoot at eye level or slightly lower
- Ensure vertical lines (walls, doors) are straight
- Shoot from corners to show as much space as possible
- Focus on valuable features (beautiful views, modern kitchen, hardwood floors…)
HDR (High Dynamic Range) Technique
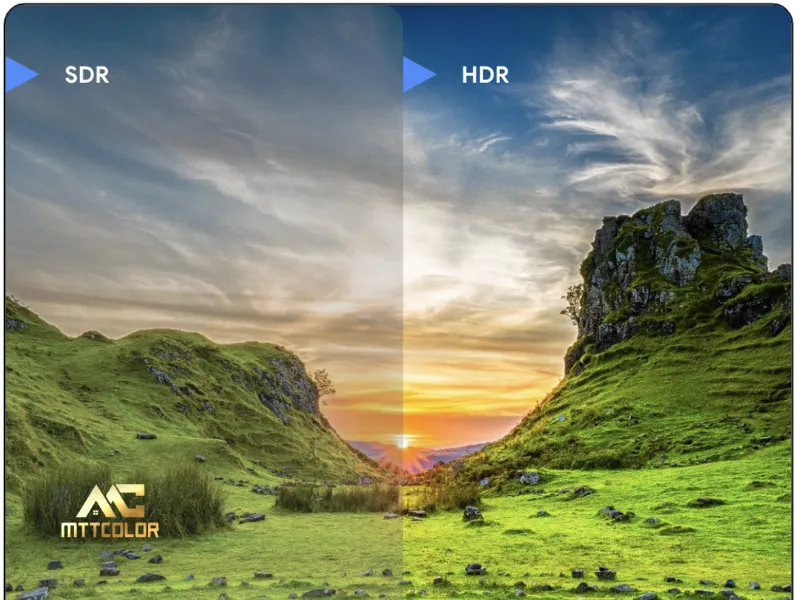
HDR is a method of combining multiple images with different exposures to create a balanced image between light and dark areas. This is especially useful for spaces with large windows or high contrast lighting.
How to do it:
- Take 3-5 images at different exposure levels (bracketing)
- Combine images in software like Adobe Lightroom or Photoshop
Post-Processing: Adding “Magic”
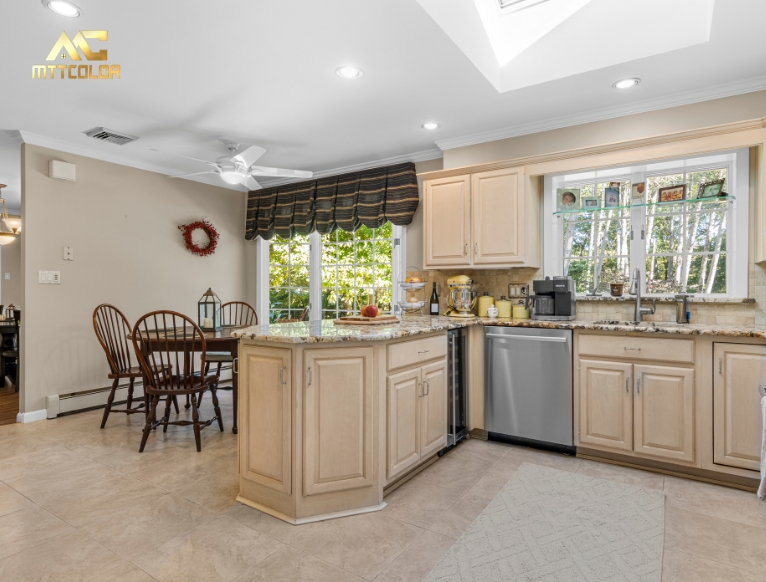
Why Edit Photos?
- Fine-tune light and color for accuracy
- Sharpen images
- Fix distorted vertical lines (due to wide-angle lens)
- Remove small imperfections
Basic Editing Steps (Using Adobe Lightroom/Photoshop)
- Adjust Exposure, Contrast
- Adjust Highlights, Shadows
- Fix White Balance
- Increase Sharpness
- Apply Lens Corrections/Transformations
Note: Edit naturally, avoid making photos look artificial.
Common Mistakes to Avoid
- Photos too dark or too bright (blown highlights)
- Blurry, shaky images
- Vertical lines tilted or distorted
- Not cleaning properly before shooting
- Shooting angle too narrow or too high/low
- Overusing editing effects
As famous photographer Destin Sparks once said: “Photography is the story I fail to put into words.” In real estate, your photos tell the story of the home and the living experiences it can provide.
High-quality real estate photography doesn’t necessarily require expensive equipment or years of professional experience. By understanding and applying the basic principles of preparation, equipment, shooting techniques, and editing, you can create images that attract buyers.
READ MORE
How to Find the Best Real Estate Photographer Near You TodayTop 10 Real Estate Staging Companies
6 Most Popular Luxury Real Estate Photography Trends Today
In this article, MTT Color has compiled professional tips to help you take impressive real estate photos that wow buyers. We hope you’ll apply these and achieve the results you desire. Don’t hesitate to share this article if you find this content useful.
Related Posts
Tips & Trick for Real Estate Photography & Videography
0
Images Processed Everyday
0
Happy Customer
0
Year Experience
MTTCOLOR
is the leading real estate photo and video editing service, trusted by thousands of satisfied customers around the globe. With over 10 years of experience in both photo and video editing for real estate we specialize in helping clients buy, sell, or rent properties with stunning, professionally edited images and videos. Let us bring your dream home to life with our expert real estate editing services.
Frequently asked questions
How much do your services cost?
We cater to customers at various price points, ranging from around $0.50 per image to over $3 per image. We understand that you may have a specific budget in mind for outsourcing. That's why we're very flexible with pricing. Feel free to propose your numbers, and we'll do our best to accommodate. We're also open to discussing everything to ensure a smoother process.
Please note that in Vietnam, it is customary for the customer to cover PayPal fees (or any transaction fees), and we recommend doing so. On our end, we cover currency conversion fees, which are quite similar. Think of it like splitting the bill at a restaurant.
How can I send files?
Simply upload your images on Dropbox, Google Drive, or Wetransfer and send us the link in an email. To make things easier, you should specify the number of input files along with any special requirements.
How does the process work?
Before using our services, you can send us a test order of up to 10 images, and we’ll do it FREE of charge just to understand your style. After that, we can agree on the pricing and proceed from there.
Outsourcing post-production has never been easier:
Step 1: You can either fill out the test order form or send your input directly to our email via Dropbox, Google Drive, FTP, or Wetransfer. We’ll send you a confirmation email to let you know we’ve received your order.
Step 2: Your images/videos will go through thorough editing and quality checks.
Step 3: Receive your package and complete the payment transfer. You can also send us any revision requests if needed.
What are your working hours?
We work 24/7, always available to support you.
Can I request urgent orders?
Yes, with a large team of editors, we can prioritize and accommodate rush delivery if possible. Please give us a heads-up via email at mttcolor8@gmail.com at your earliest convenience so we can check the feasibility and timeline for these special orders.
