Optimize HDR Real Estate Photography
What Is HDR Photography?
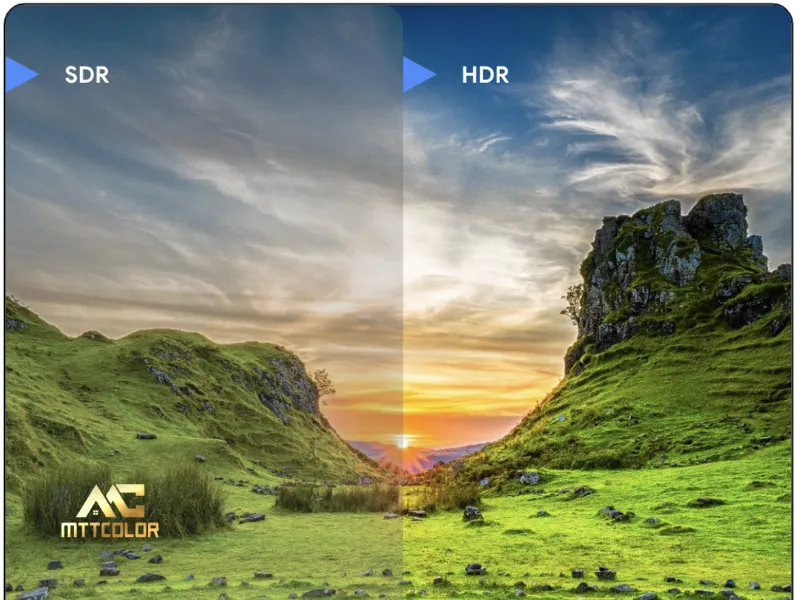
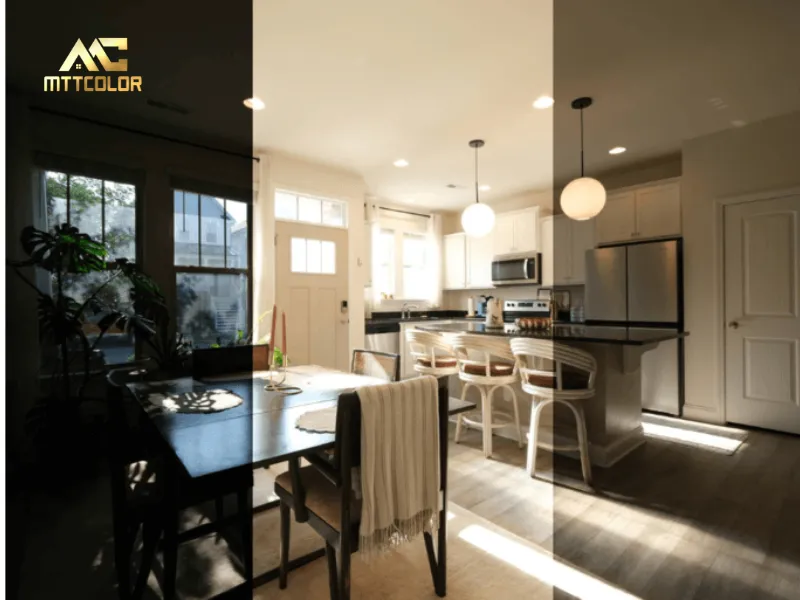
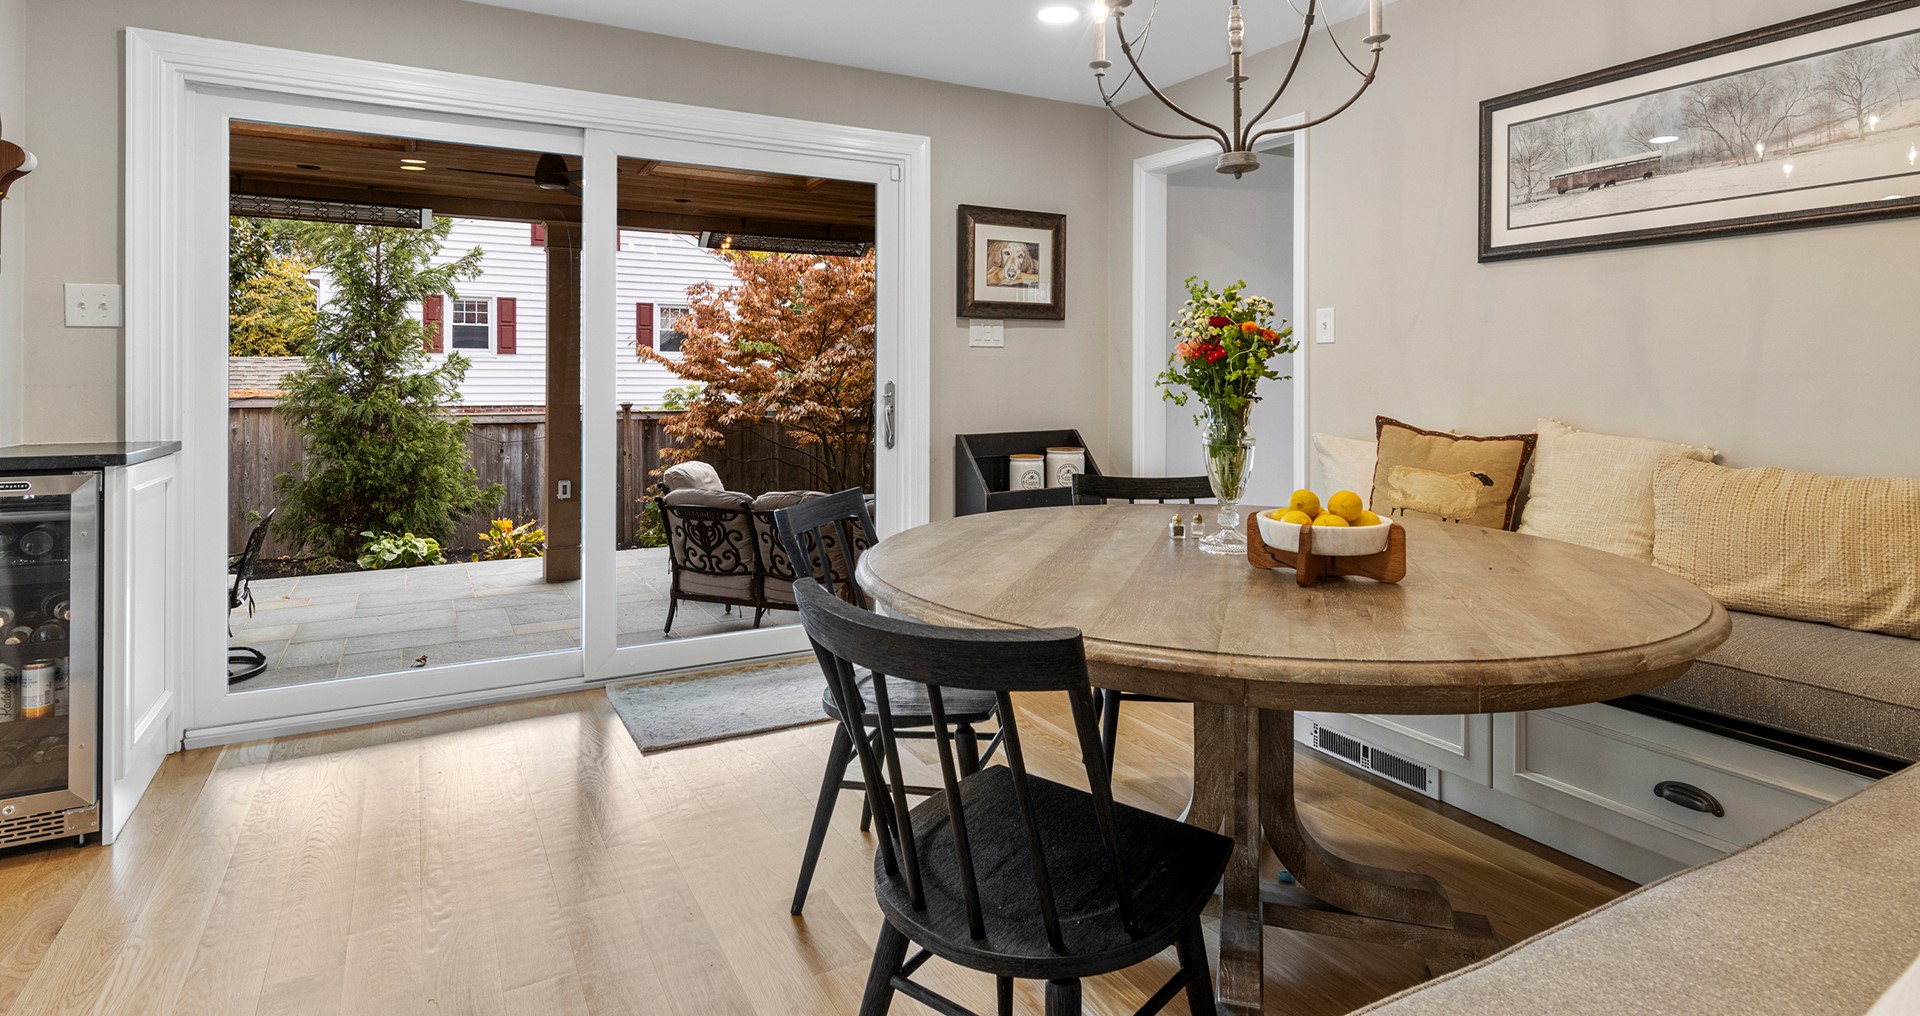
HDR photography, or High Dynamic Range photography, is a technique that captures a wider range of light and detail than a single camera shot can achieve. By taking multiple images at different exposure levels—typically underexposed, correctly exposed, and overexposed—and blending them with software like Adobe Lightroom or Photomatix, HDR creates a balanced photo with rich details in both bright and dark areas. For HDR real estate photography, this means showcasing bright windows and shadowy interiors in one clear, eye-catching image—a critical advantage in property marketing.
When Should You Use HDR Photography?
HDR photography shines in situations with high contrast lighting, making it ideal for real estate. Use HDR real estate photography when:
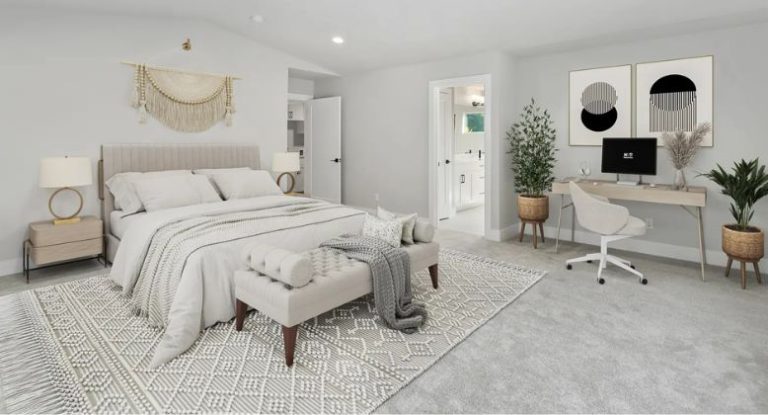
- Shooting interiors with bright windows and dim rooms to avoid blown-out highlights or dark shadows.
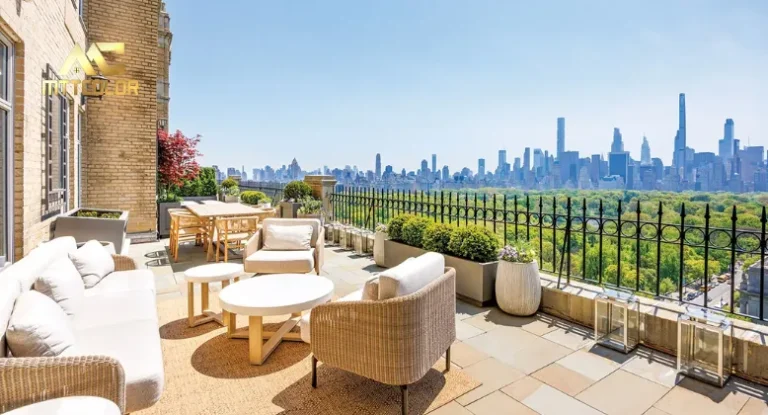
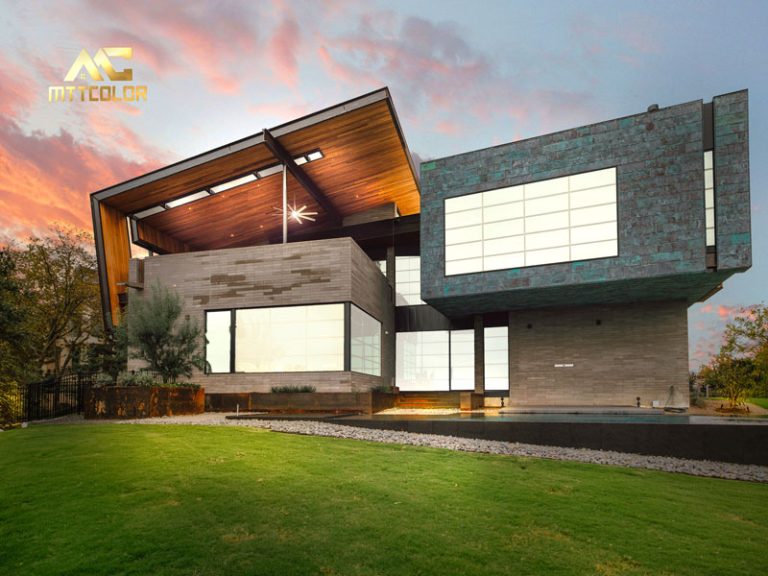
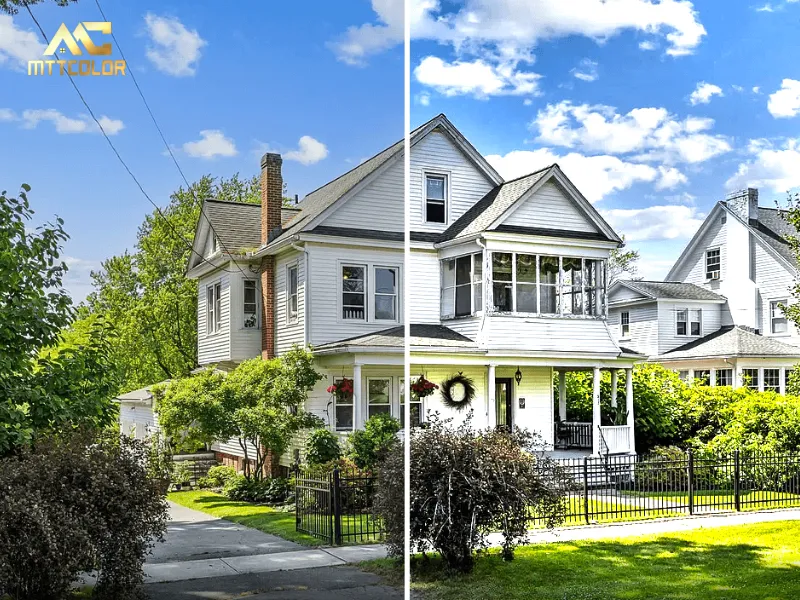
- Capturing exteriors on cloudy days or during sunrise/sunset for vibrant skies and balanced foregrounds.
- Highlighting luxury properties where every detail—inside and out—needs to stand out.
Avoid HDR for moving subjects (e.g., people or pets) or low-contrast scenes where a single exposure suffices, as it can overcomplicate the process without adding value.
Techniques for High Dynamic Range (HDR) Photography
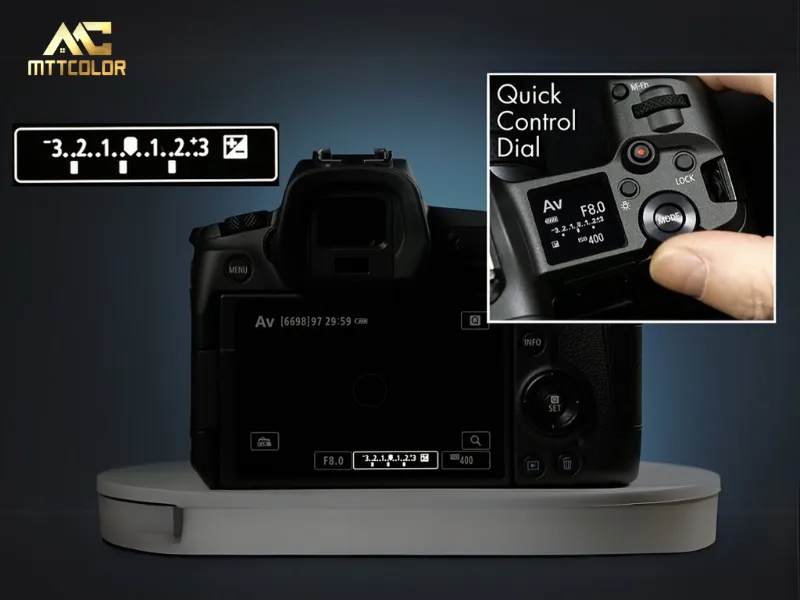
Mastering HDR requires both shooting and editing skills. Here’s how to nail HDR real estate photography like a pro:
Capturing Ambient Exposure
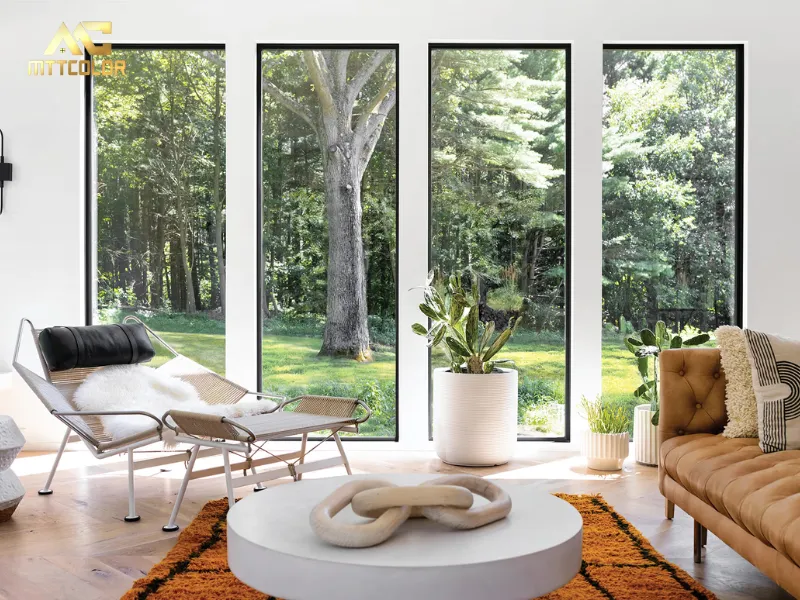
Start by capturing the natural light of the scene. Set your camera to Aperture Priority mode (e.g., f/8-f/11 for sharp depth) and use Auto Exposure Bracketing (AEB) to take 3-5 shots at varying exposures (e.g., -2, 0, +2 EV). This ensures you capture the full dynamic range of the property, from bright exteriors to cozy interiors.
The Importance of HDR in Real Estate Photography
In the U.S. real estate market, where buyers browse listings on platforms like Zillow and Redfin, HDR real estate photography is a must. According to the National Association of Realtors, homes with professional photos sell 32% faster. HDR enhances this advantage by:
- Boosting Appeal: Balanced lighting and vivid colors make properties pop online.
- Increasing Value: Detailed images elevate perceived quality, encouraging higher offers.
- Saving Time: Clear visuals reduce buyer hesitation, speeding up sales.
For realtors and photographers, HDR is a proven tool to stand out in competitive markets like California or New York.
5 Tips for Effective HDR Photography
High Dynamic Range (HDR) photography can transform your images, especially in real estate, where stunning visuals are key to attracting buyers. Here are five detailed tips to ensure your HDR real estate photography is effective, professional, and impactful.
1. Shoot During Soft Natural Light and Evaluate Lighting Conditions
Timing is everything in HDR photography. Shooting during soft natural light—like early morning or late afternoon—minimizes harsh shadows and extreme contrasts, making it easier to capture balanced exposures. For HDR real estate photography, this ensures properties look warm and inviting. Before shooting:
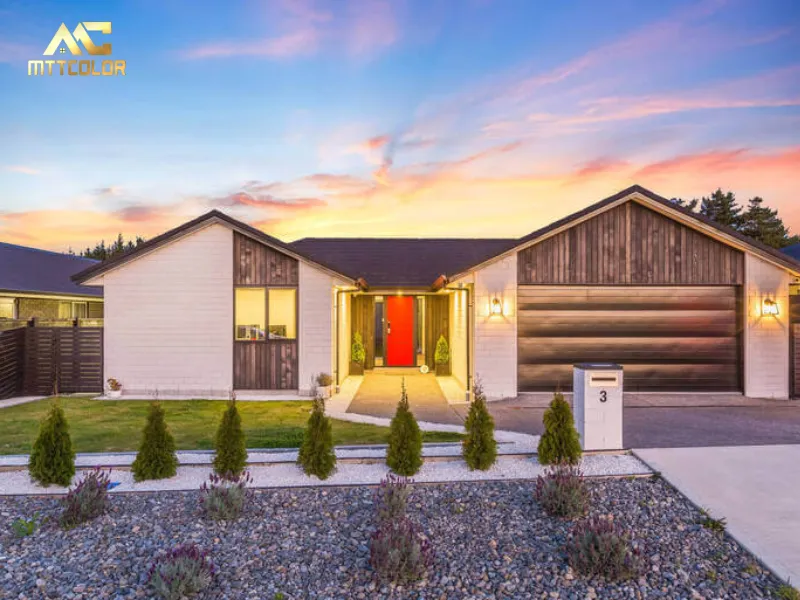
- Check the weather: Overcast days soften light naturally, while sunny days need careful timing.
- Evaluate the scene: Look for bright windows, dark corners, or reflective surfaces that might challenge a single shot. HDR shines in these high-contrast situations.
- Example: A house shot at golden hour (sunset) will have a cozy glow, enhancing curb appeal without overexposed skies.
2. Use a Tripod and Shoot Bracketed Exposures
Stability and consistency are critical for HDR. Using a tripod keeps your camera steady across multiple shots, ensuring perfect alignment when blending exposures. Bracketed exposures—taking 3-5 photos at different light levels—are the backbone of HDR real estate photography. Here’s how:
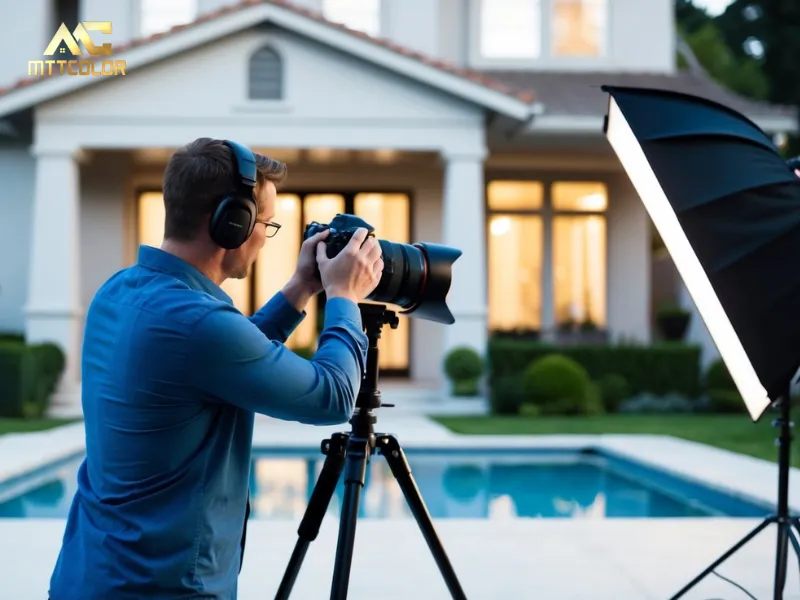
- Set up your tripod: Position it to frame the property perfectly, avoiding movement.
- Use Auto Exposure Bracketing (AEB): Set your camera to shoot at -2, 0, and +2 EV (or more for extreme lighting).
- Why it works: One shot captures shadows, another highlights, and the middle balances them—ideal for interiors with bright windows.
Pro tip: Test your camera’s AEB settings beforehand to save time on-site.
3. Shoot in RAW Format and Choose the Right Software
For the best HDR results, always shoot in RAW format. Unlike JPEG, RAW retains more data, giving you flexibility to adjust exposure, colors, and details during editing. Pair this with the right software to unlock the full potential of HDR real estate photography:
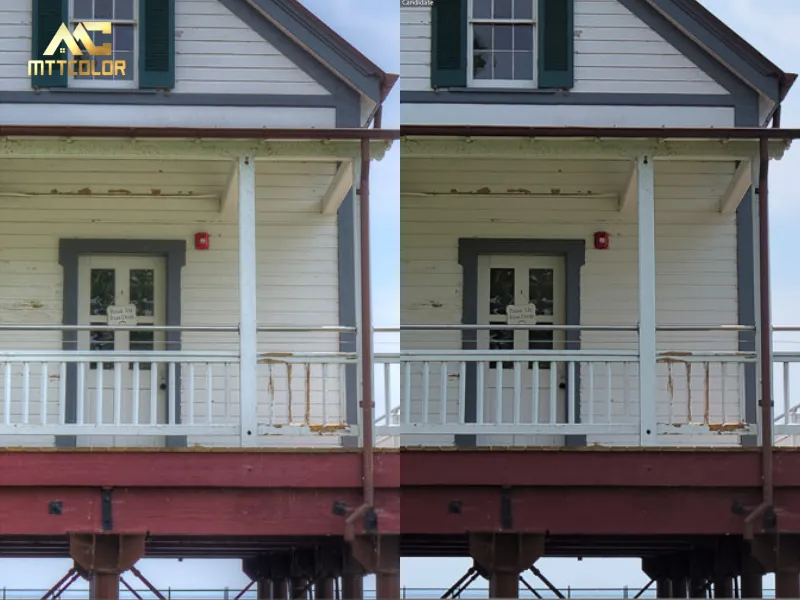
- Why RAW?: It preserves details in bright skies and dark rooms, crucial for property shots.
- Software options:
- Adobe Lightroom: Great for batch processing and natural HDR blending.
- Photomatix Pro: Offers advanced tone mapping for dramatic yet realistic effects.
- Aurora HDR: User-friendly with powerful presets for quick results.
- Workflow: Import RAW files, merge exposures, and tweak settings for clarity and vibrancy.
Investing in quality tools ensures your HDR images stand out.
4. Maintain a Natural Look, Avoid Over-Editing
HDR can make photos pop, but over-editing can ruin them. The goal of HDR real estate photography is to enhance, not distort, a property’s true appearance. Buyers want realism, not a cartoonish effect. Follow these steps:
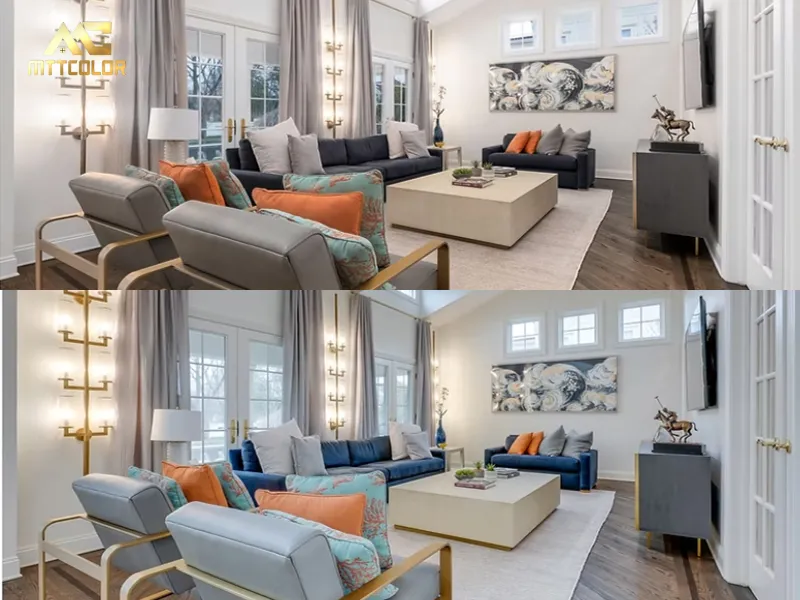
- Adjust subtly: Increase brightness and contrast gradually; avoid oversaturating colors.
- Check realism: Compare your HDR image to the original—does it still feel authentic?
- Avoid pitfalls: Too much sharpening or tone mapping can create halos or unnatural edges.
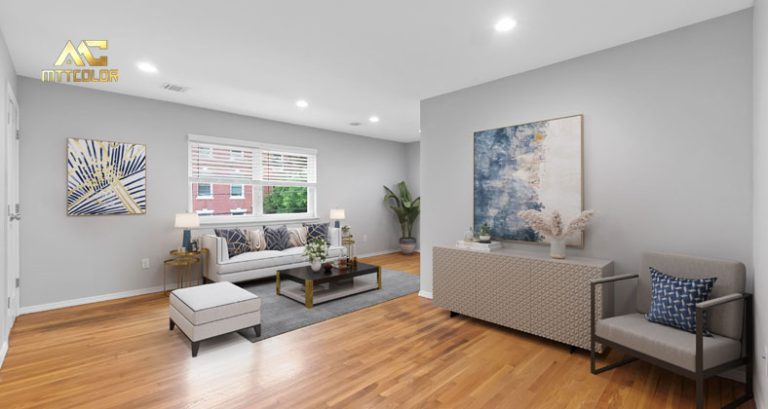
- Example: A well-edited HDR interior should show clear furniture details and window views without looking “fake.”
Practice restraint to build trust with potential buyers.
5. Optimize HDR Images for Online Platforms
Your HDR photos are only effective if they load fast and look great online. For HDR real estate photography, optimizing images for platforms like Zillow, Redfin, or MLS is essential to reach buyers. Here’s how:
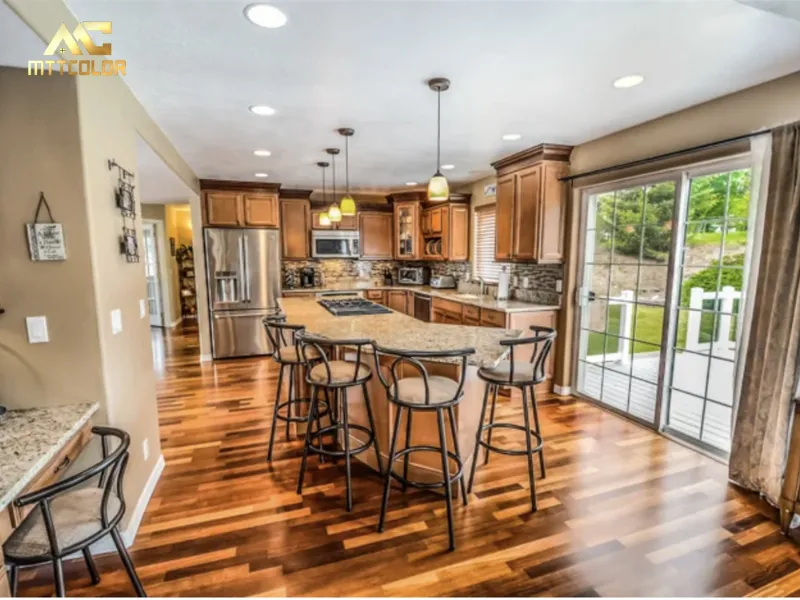
- Resize properly: Aim for 1200-2000 pixels wide to balance quality and speed.
- Compress files: Use tools like TinyPNG or Photoshop to keep files under 2MB.
- Add metadata: Include alt text (e.g., “Optimized HDR real estate photography of modern home”)
- Test display: Upload a sample to ensure colors and details render well on mobile and desktop.
Optimized images drive more views, inquiries, and ultimately, sales.
READ MORE
How to Capture Twilight Real Estate Photography to Attract Clients
How to take real estate photos with iPhone to attract customers
Introducing the Best Real Estate Photography Equipment in 2025
HDR real estate photography is more than a trend—it’s a vital tool for creating standout property listings. By mastering this technique, you can deliver high-quality images that attract buyers, increase property value, and accelerate sales. Whether you’re shooting a cozy condo or a luxury estate, these tips will help you harness the power of HDR. Ready to elevate your listings? Start experimenting with HDR real estate photography today and watch your properties shine online!
Related Posts
Tips & Trick for Real Estate Photography & Videography
0
Images Processed Everyday
0
Happy Customer
0
Year Experience
MTTCOLOR
is the leading real estate photo and video editing service, trusted by thousands of satisfied customers around the globe. With over 10 years of experience in both photo and video editing for real estate we specialize in helping clients buy, sell, or rent properties with stunning, professionally edited images and videos. Let us bring your dream home to life with our expert real estate editing services.
Frequently asked questions
How much do your services cost?
We cater to customers at various price points, ranging from around $0.50 per image to over $3 per image. We understand that you may have a specific budget in mind for outsourcing. That's why we're very flexible with pricing. Feel free to propose your numbers, and we'll do our best to accommodate. We're also open to discussing everything to ensure a smoother process.
Please note that in Vietnam, it is customary for the customer to cover PayPal fees (or any transaction fees), and we recommend doing so. On our end, we cover currency conversion fees, which are quite similar. Think of it like splitting the bill at a restaurant.
How can I send files?
Simply upload your images on Dropbox, Google Drive, or Wetransfer and send us the link in an email. To make things easier, you should specify the number of input files along with any special requirements.
How does the process work?
Before using our services, you can send us a test order of up to 10 images, and we’ll do it FREE of charge just to understand your style. After that, we can agree on the pricing and proceed from there.
Outsourcing post-production has never been easier:
Step 1: You can either fill out the test order form or send your input directly to our email via Dropbox, Google Drive, FTP, or Wetransfer. We’ll send you a confirmation email to let you know we’ve received your order.
Step 2: Your images/videos will go through thorough editing and quality checks.
Step 3: Receive your package and complete the payment transfer. You can also send us any revision requests if needed.
What are your working hours?
We work 24/7, always available to support you.
Can I request urgent orders?
Yes, with a large team of editors, we can prioritize and accommodate rush delivery if possible. Please give us a heads-up via email at mttcolor8@gmail.com at your earliest convenience so we can check the feasibility and timeline for these special orders.
