Real Estate Photography Lighting: Best Tips and Techniques
Lighting plays a crucial role in real estate photography, directly impacting image quality and the appeal of a property to potential buyers or renters. Proper lighting usage highlights key features, creates a warm atmosphere, and makes property listings stand out in a competitive market.
In this guide, MTT Color will help you explore the best lighting techniques, essential equipment, and common mistakes to avoid, ensuring you master lighting in real estate photography.
Understanding the Basics of Lighting in Real Estate Photography
The Role of Lighting in Photography
Lighting is a core element of photography, influencing mood, depth, and image clarity. In real estate photography, proper lighting ensures accurate color representation and enhances the perception of space.
Natural vs. Artificial Lighting
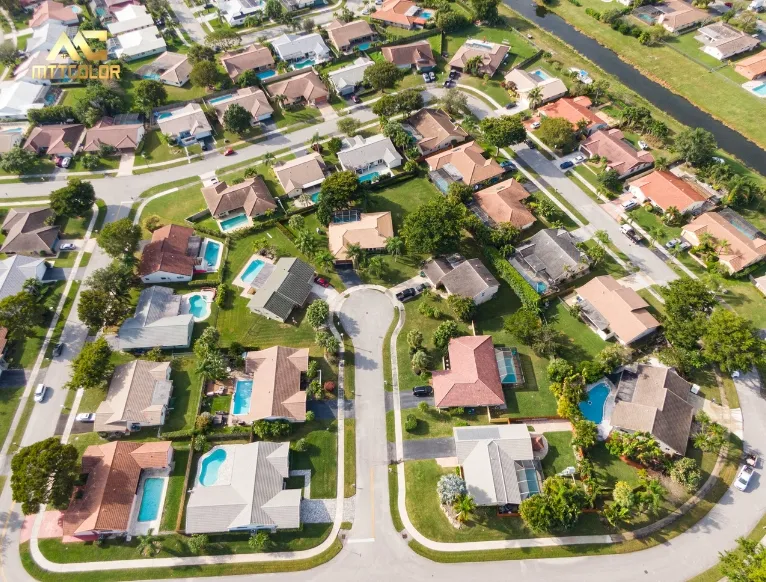
- Natural Light: The ideal light source for photography is natural light. The best time to use it is during the day, especially in the morning or late afternoon (golden hour) for optimal image quality.
- Artificial Light: Essential for night photography or low-light environments. Equipment includes flash, LED panels, and strobe lights to control brightness and eliminate shadows.
Key Lighting Terms Every Photographer Should Know
To master lighting in photography, you need to understand the following key terms:
- Exposure: The amount of light hitting the camera sensor.
- White Balance: Adjusting color temperature to ensure accurate colors.
- Color Temperature: Measured in Kelvin (K), distinguishing warm light (tungsten) from cool light (daylight).
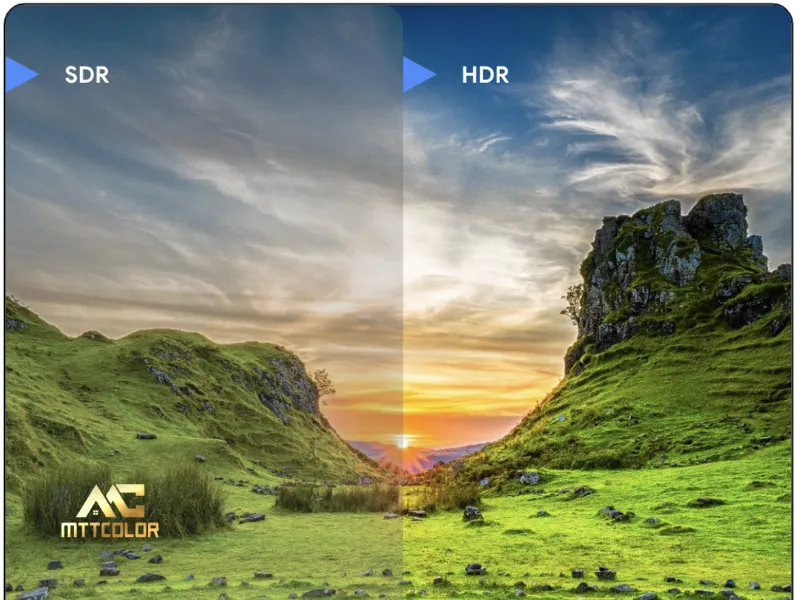
- HDR (High Dynamic Range): A technique that combines multiple exposure levels to achieve balanced lighting.
Essential Lighting Equipment for Real Estate Photography
Lighting equipment is essential for creating high-quality real estate images. Here are some must-have tools:
Softbox and LED Light Panels
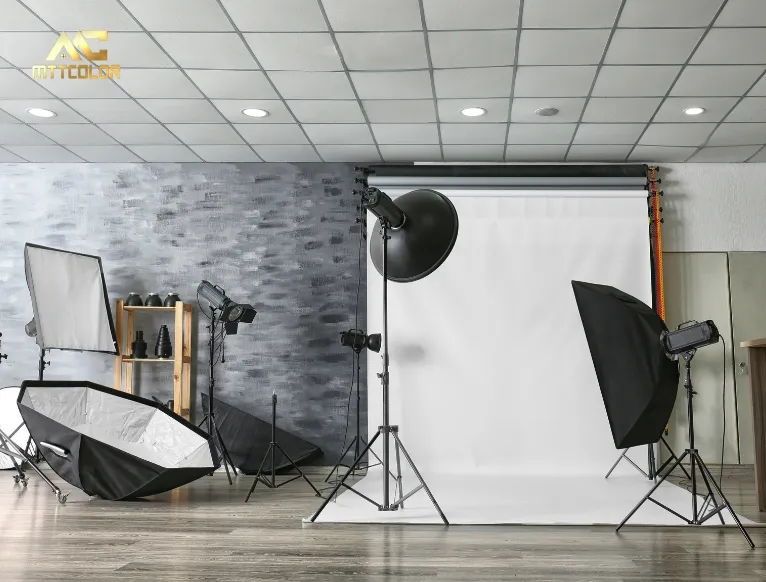
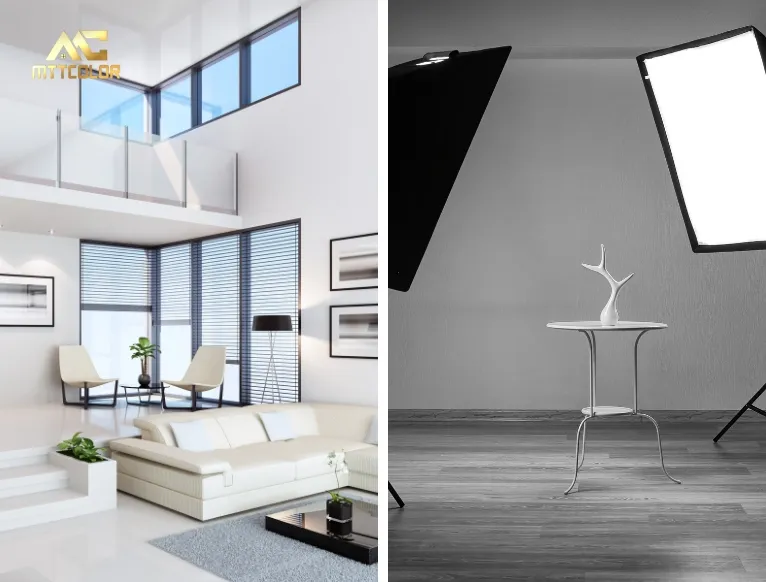
Softboxes diffuse light to reduce harsh shadows, while LED panels provide even lighting for both photos and videos.
Strobe Lights and Flash
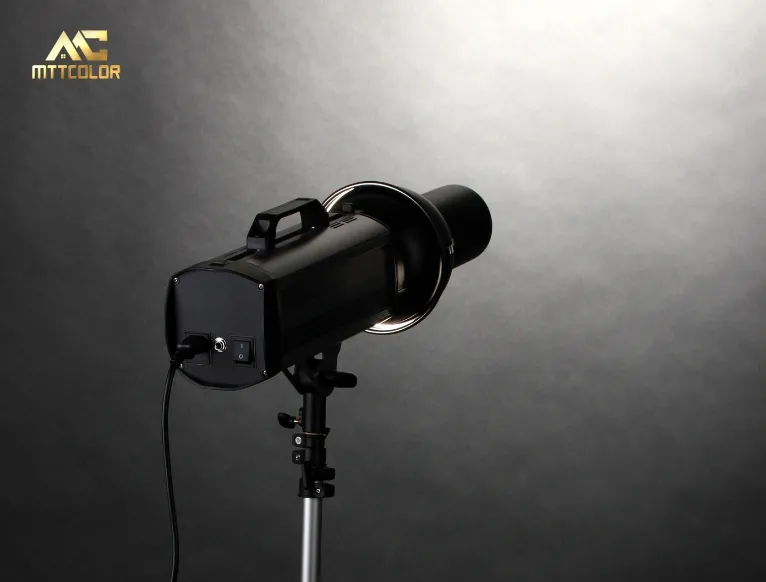
Strobe lights produce strong bursts of light, useful for balancing brightness between interiors and exteriors. Flash helps eliminate dark corners.
Reflectors and Diffusers
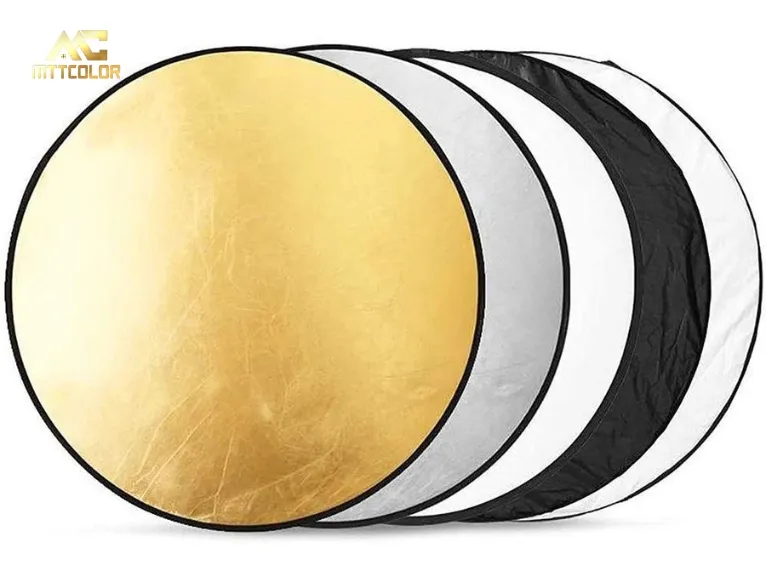
Reflectors bounce light to brighten dark areas, while diffusers soften strong light sources for a more natural look.
Tripods and Light Stands
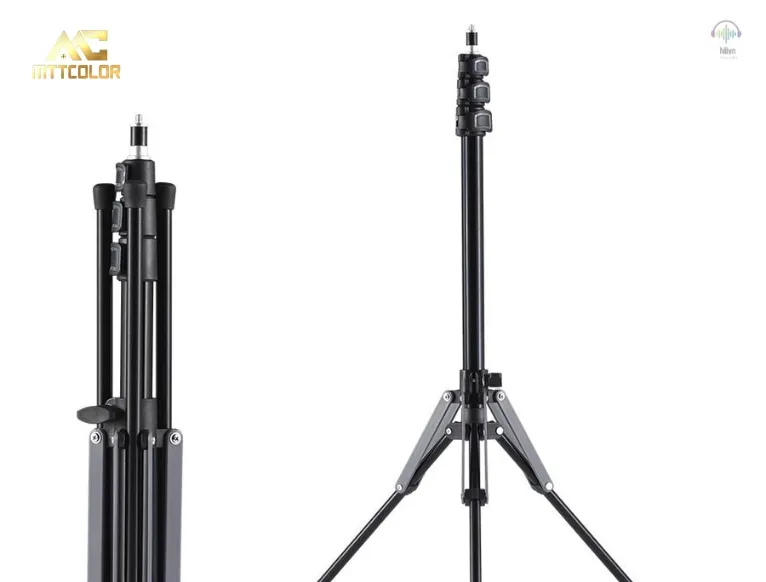
A tripod keeps the camera stable for consistent angles and sharp images, while light stands position artificial light sources accurately.
Best Lighting Techniques for Real Estate Photography
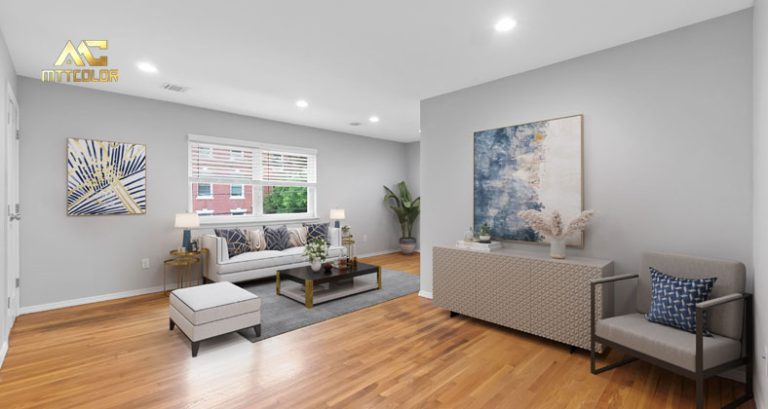
Using Natural Light for Stunning Interior Shots
Tips to optimize natural light for interior photography:
- Shoot during the best daylight hours.
- Open curtains and windows to maximize natural light.
- Use reflectors to distribute light evenly.
Using Flash Without Harsh Shadows
- Use an external flash to avoid overexposed spots.
- Diffuse the flash for softer lighting.
- Adjust flash intensity for balanced exposure.
Professional Lighting Setup for Interior Spaces
- Combine softboxes and LED panels for consistent lighting.
- Use multiple light sources to eliminate unwanted shadows.
The Importance of HDR and Exposure Blending
- Combine multiple exposure levels for well-balanced images.
- HDR is particularly useful in high-contrast environments.
Common Lighting Mistakes and How to Fix Them
Overexposed or Underexposed Images
- Adjust ISO, shutter speed, and aperture to control exposure.
- Use bracketing to capture multiple exposure levels.
Inconsistent Color Temperature
- Set the correct white balance to maintain color consistency.
- Avoid mixing warm and cool light in the same shot.
Unwanted Shadows and Reflections
- Check for unwanted shadows that may distort the room’s appearance.
- Position lights carefully to reduce reflections on shiny surfaces.
Advanced Tips for Professional Real Estate Photography
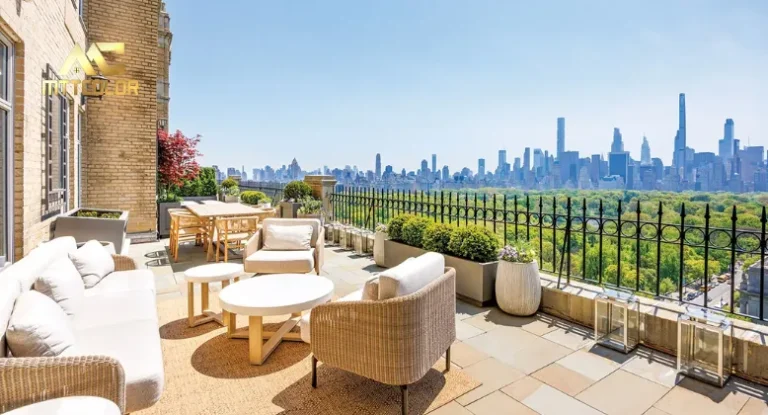
Utilizing Golden Hour for Exterior Shots
Golden hour provides soft, warm lighting that enhances the appeal of real estate exteriors.
Enhancing Photos with Post-Processing
- Adjust brightness, contrast, and white balance in editing software.
- Use exposure blending techniques to correct lighting inconsistencies.
Creating a Consistent Lighting Style Across Listings
- Establish a standard lighting setup for all shoots.
- Use the same white balance settings to ensure uniformity.
Mastering lighting in real estate photography requires an understanding of light sources, proper equipment usage, and precise lighting techniques. Experimenting with different lighting setups will help refine your skills and create professional real estate images that attract buyers.
READ MORE
Best Tripod for Real Estate Photography (Top Picks 2025)
Detailed Real Estate Drone Photography for Beginners
How to Choose lights for real estate photography for Beginners
We hope this guide from MTT Color provides valuable insights into real estate photography lighting. Feel free to share this article if you find it helpful!
Related Posts
Tips & Trick for Real Estate Photography & Videography
0
Images Processed Everyday
0
Happy Customer
0
Year Experience
MTTCOLOR
is the leading real estate photo and video editing service, trusted by thousands of satisfied customers around the globe. With over 10 years of experience in both photo and video editing for real estate we specialize in helping clients buy, sell, or rent properties with stunning, professionally edited images and videos. Let us bring your dream home to life with our expert real estate editing services.
Frequently asked questions
How much do your services cost?
We cater to customers at various price points, ranging from around $0.50 per image to over $3 per image. We understand that you may have a specific budget in mind for outsourcing. That's why we're very flexible with pricing. Feel free to propose your numbers, and we'll do our best to accommodate. We're also open to discussing everything to ensure a smoother process.
Please note that in Vietnam, it is customary for the customer to cover PayPal fees (or any transaction fees), and we recommend doing so. On our end, we cover currency conversion fees, which are quite similar. Think of it like splitting the bill at a restaurant.
How can I send files?
Simply upload your images on Dropbox, Google Drive, or Wetransfer and send us the link in an email. To make things easier, you should specify the number of input files along with any special requirements.
How does the process work?
Before using our services, you can send us a test order of up to 10 images, and we’ll do it FREE of charge just to understand your style. After that, we can agree on the pricing and proceed from there.
Outsourcing post-production has never been easier:
Step 1: You can either fill out the test order form or send your input directly to our email via Dropbox, Google Drive, FTP, or Wetransfer. We’ll send you a confirmation email to let you know we’ve received your order.
Step 2: Your images/videos will go through thorough editing and quality checks.
Step 3: Receive your package and complete the payment transfer. You can also send us any revision requests if needed.
What are your working hours?
We work 24/7, always available to support you.
Can I request urgent orders?
Yes, with a large team of editors, we can prioritize and accommodate rush delivery if possible. Please give us a heads-up via email at mttcolor8@gmail.com at your earliest convenience so we can check the feasibility and timeline for these special orders.
