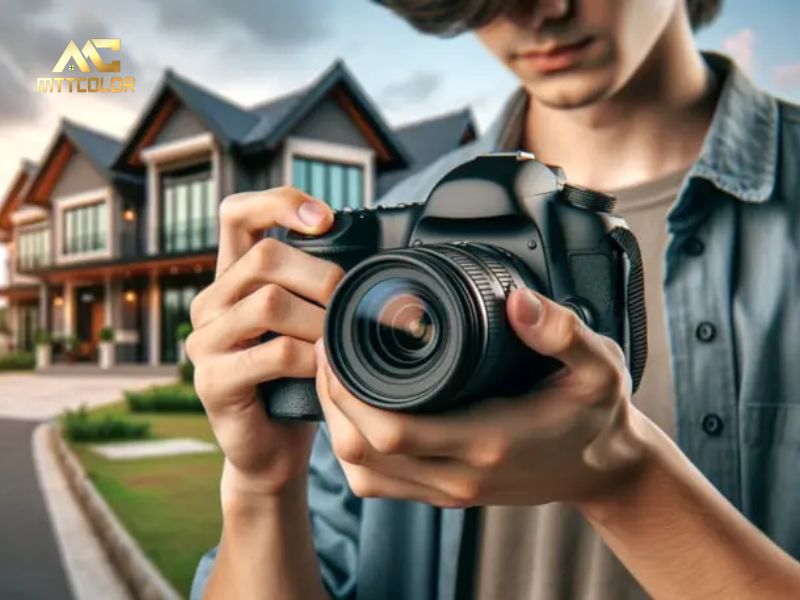
Top Real Estate Videography Tips for Stunning Videos in 2025
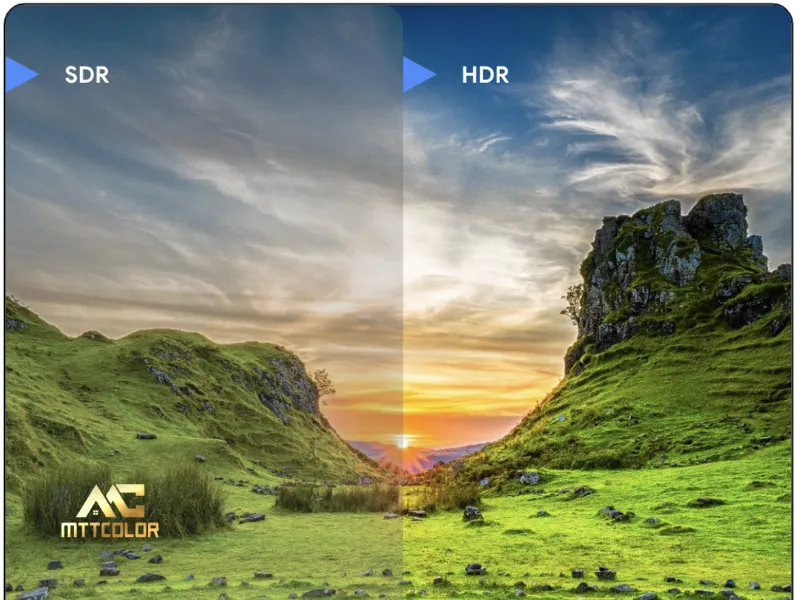

Why Real Estate Videography Boosts Property Sales
In today’s digital-first market, real estate videography is a game-changer. Videos generate 80% more inquiries than static images, according to a 2023 National Association of Realtors report, by offering immersive experiences that photos can’t match. We’ve seen listings with professional videos close 32% faster, as they allow buyers and tenants to visualize living or working in a space. For commercial properties—like office towers or retail plazas—videos highlight layout, scale, and amenities, making them irresistible to investors. Our real estate videography tips empower you to create content that drives engagement and conversions.
Preparing for a Successful Real Estate Video Shoot
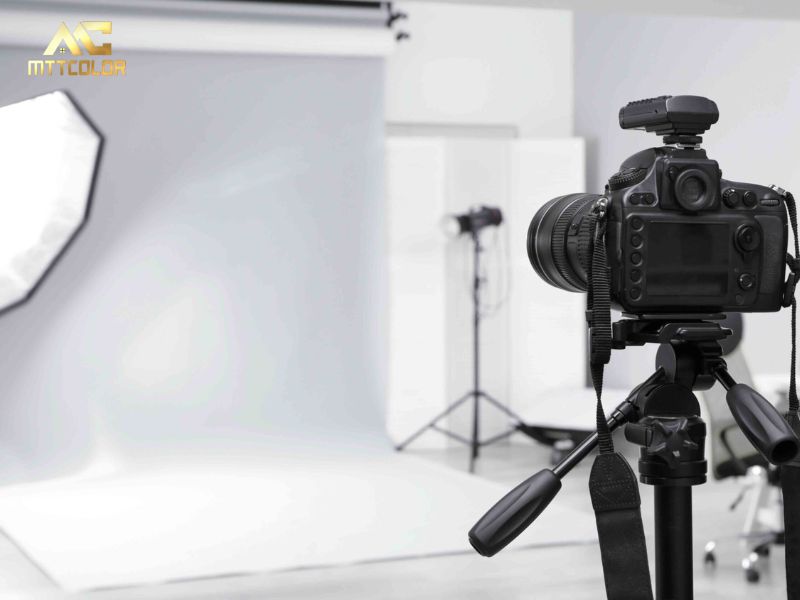
Preparation is the foundation of stellar real estate videography. We recommend a strategic approach to ensure your shoot captures the property’s full potential.
Staging the Property Effectively
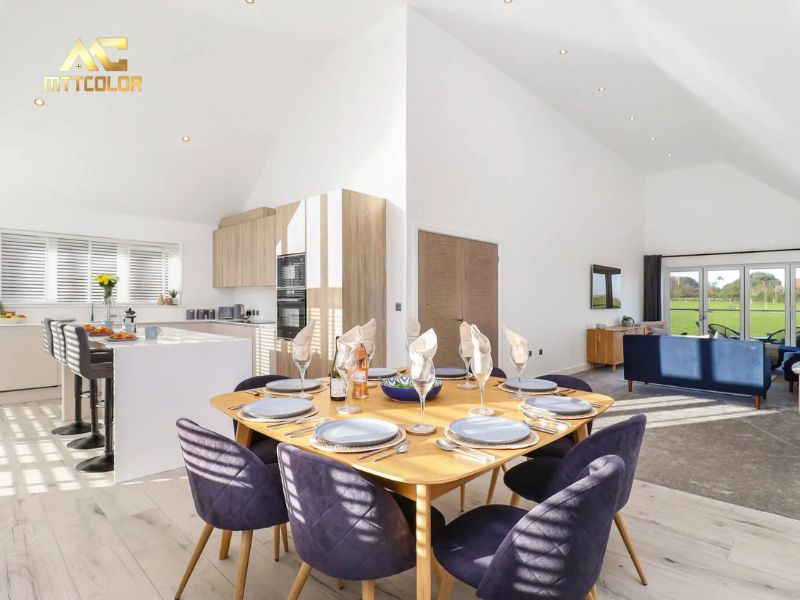
Staging sets the tone for your video. Clear clutter, arrange furniture to highlight space, and add subtle decor—like plants or artwork—to create warmth. For commercial properties, ensure desks are tidy and signage is visible. Virtual staging, offered by MTTColor, can digitally furnish vacant spaces for as low as $50 per scene, enhancing appeal without physical staging costs. Zillow’s 2024 Trends Report notes that staged properties receive 50% more views, making this step critical.
Mastering Lighting for Quality Footage
Lighting is pivotal in real estate videography. Shoot during the golden hour (early morning or late afternoon) for soft, natural exterior light. For interiors, combine LED panels (5,000K for daylight balance) with window light to avoid harsh shadows. We adjust curtains to diffuse bright windows, ensuring even exposure. Photographyforrealestate.net recommends a minimum of 3,200 lumens for indoor shoots to achieve professional-grade footage.
Planning a Shot List
A shot list keeps your shoot efficient. Plan 8–12 key shots, such as:
- Exterior flyovers (with drones for commercial properties).
- Walkthroughs of main areas (lobbies, offices, or retail spaces).
- Close-ups of unique features (modern fixtures or parking areas). We allocate 2–3 hours for a 5,000 sq ft property, ensuring every angle is covered. A detailed shot list, per Videomaker.com, cuts production time by 30% and ensures no critical feature is missed.
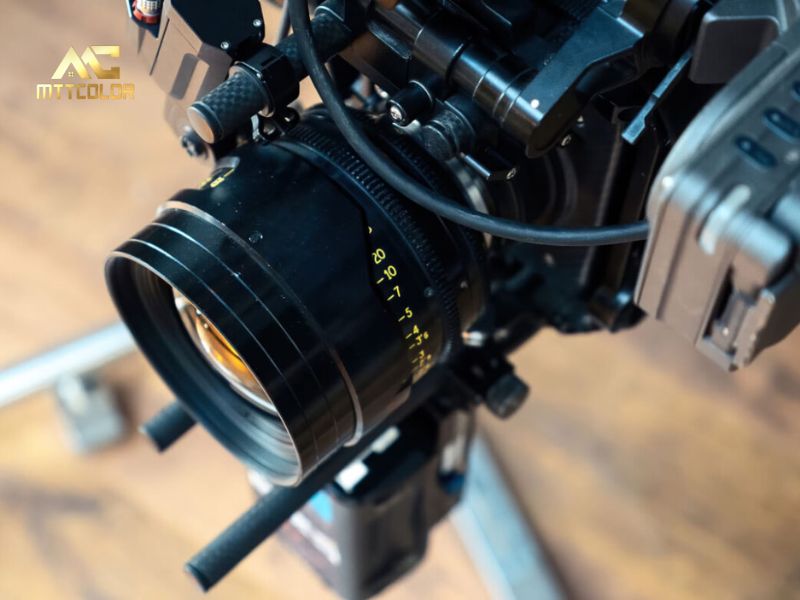
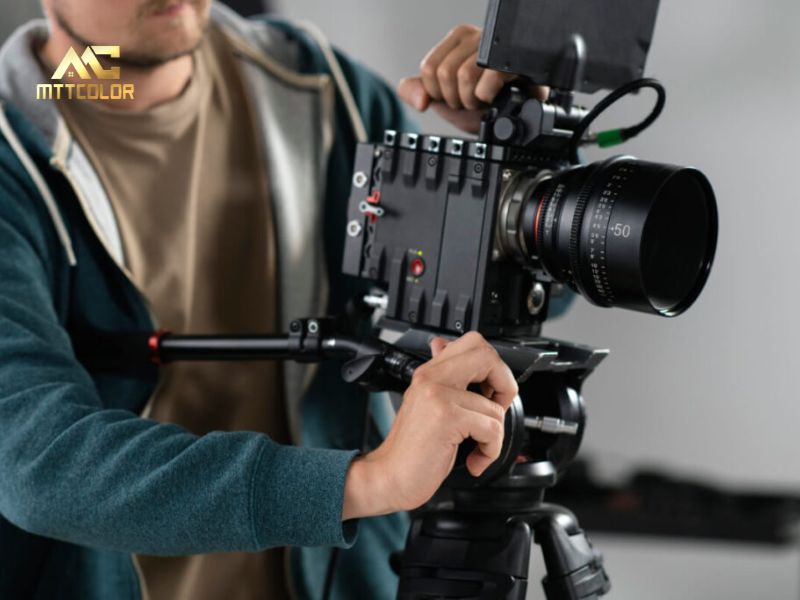
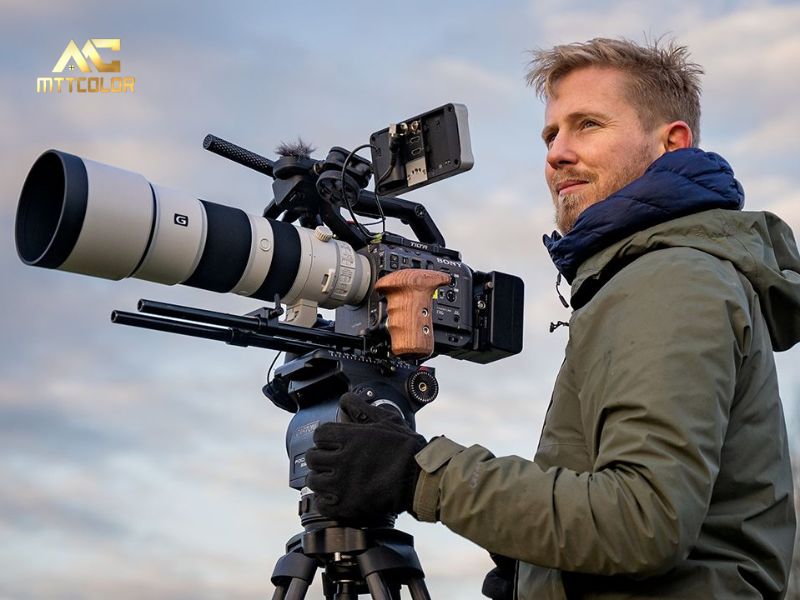
Choosing the Right Equipment for Real Estate Videography
The right gear elevates your real estate videography tips from amateur to professional. We break down essential tools for 2025.
Cameras and Smartphones

High-quality cameras like the Sony A7 IV (4K, 33MP) or Canon EOS R6 deliver crisp footage, ideal for commercial listings. For budget-conscious creators, smartphones like the iPhone 15 Pro (with 4K ProRes) offer surprising quality when paired with apps like Filmic Pro. We recommend shooting in 4K at 30fps for versatility across platforms, as advised by Digitalcameraworld.com.
Wide-Angle Lenses
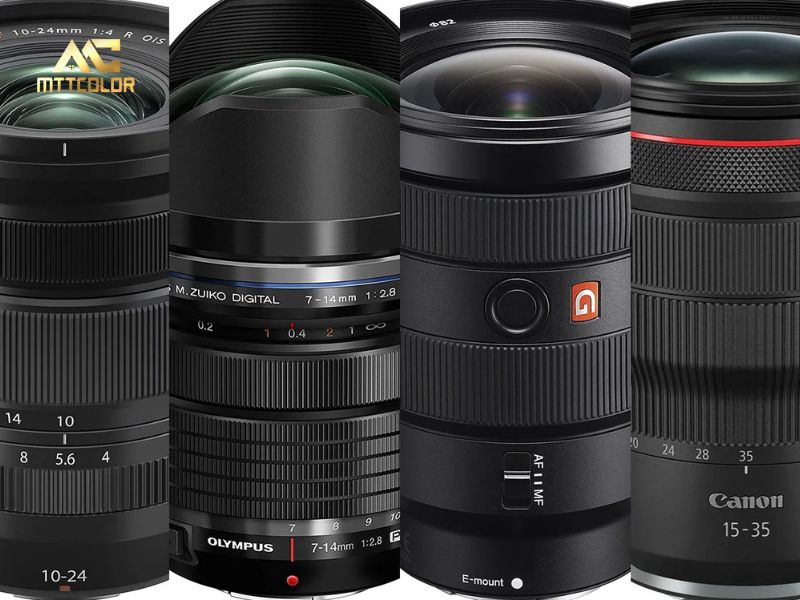
Wide-angle lenses (16–35mm) are essential for capturing spacious interiors and expansive exteriors. The Sony G Master 16–35mm f/2.8 or Canon RF 15–35mm f/2.8L ensures distortion-free footage, perfect for tight office spaces or retail storefronts. We avoid ultra-wide lenses (below 14mm) to prevent unnatural warping, a tip backed by Lensrentals.com.
Gimbals and Stabilizers
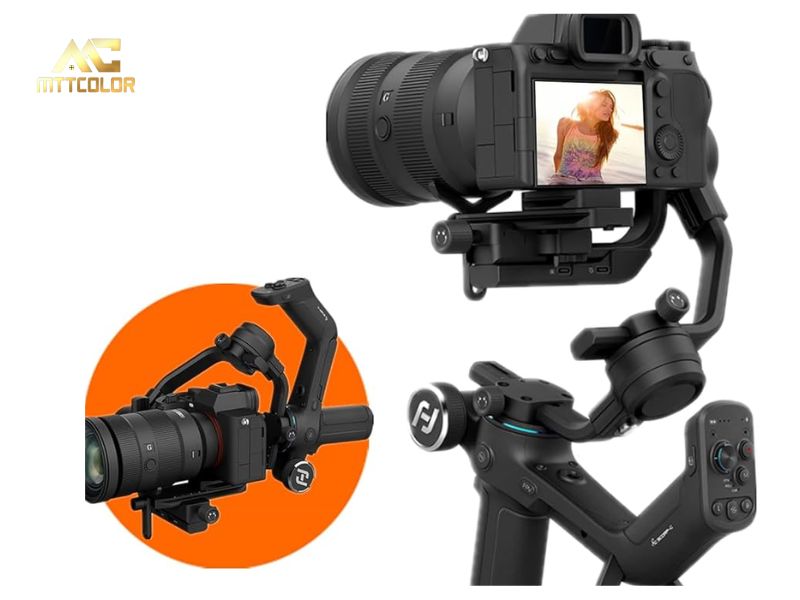
Smooth footage is non-negotiable. Gimbals like the DJI Ronin-SC or Zhiyun Weebill 3 provide fluid motion for walkthroughs, costing $300–$500. For simpler shoots, a Joby GorillaPod stabilizes smartphones. We use gimbals for 80% of our shots, ensuring professional-grade stability, as recommended by Cinema5D.com.
Real Estate Videography Tips for Better Shooting
Our proven real estate videography tips focus on technique to capture footage that resonates with viewers.
Optimal Camera Settings
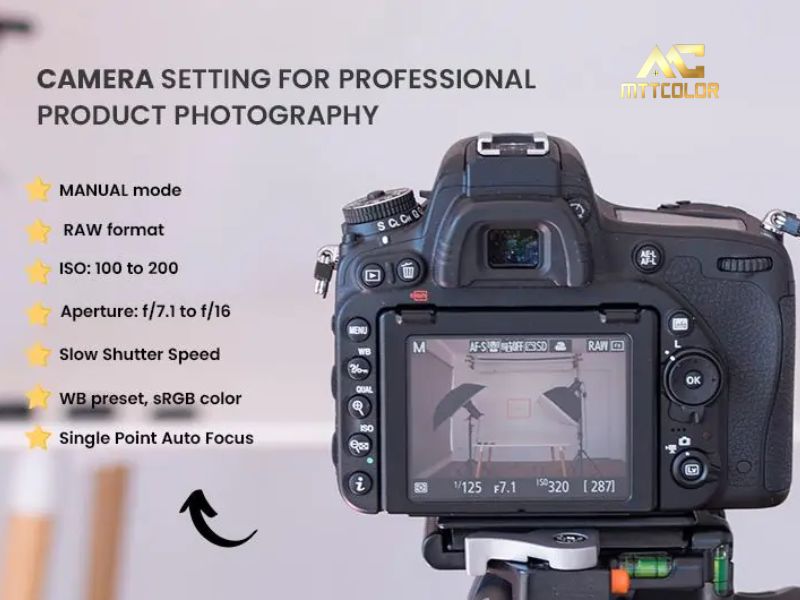
Set your camera to 4K at 30fps, with a shutter speed of 1/60s and ISO below 800 to minimize noise. Use an aperture of f/4–f/8 for sharp depth of field in interiors. Enable Log profiles (like S-Log3) for flexible color grading in post-production. We adjust white balance to 5,500K for daylight shots, ensuring natural tones, per Videomaker.com guidelines.
Composition and Camera Movements
Follow the rule of thirds to frame key features, like a conference table or storefront sign, for balanced visuals. Use slow pans (3–5 seconds) and tilts to guide viewers through spaces. We limit zooms to avoid disorientation, opting for slider shots with tools like the Neewer Carbon Fiber Slider ($150). Premiumbeat.com suggests keeping movements subtle to maintain viewer focus.
Using Drone Footage
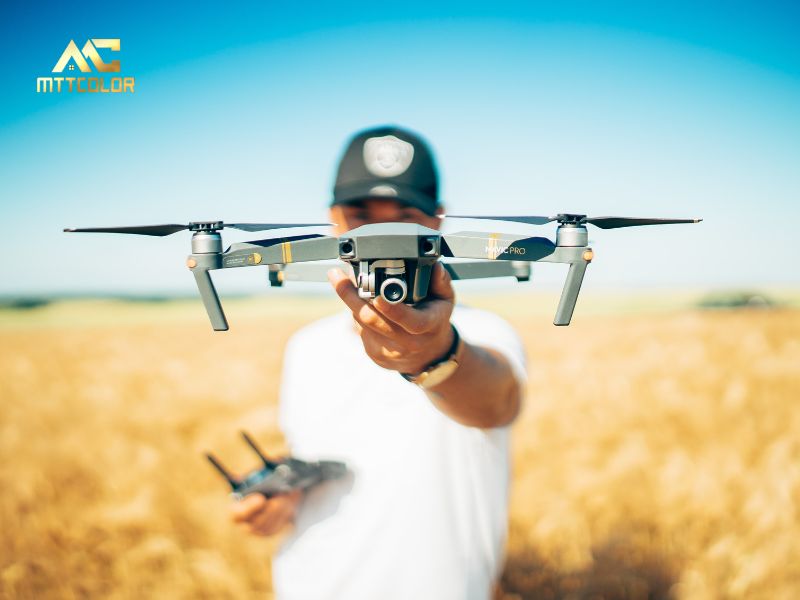
Drones add cinematic flair to real estate videography. The DJI Mavic 3 Pro captures 5.1K aerials, showcasing commercial property scale and location. We fly at 50–100 feet for safety and compliance with FAA regulations, focusing on sweeping shots of parking lots or rooftops. Drone footage boosts engagement by 40%, per a 2024 CoStar analysis.
Highlighting Key Property Features
Every property has unique selling points. For offices, showcase open-plan layouts or tech-equipped meeting rooms. Retail spaces shine with vibrant storefronts and accessible parking. Mixed-use developments benefit from shots of communal areas or transit proximity. We use close-ups and slow pans to emphasize details, like marble countertops or energy-efficient windows, ensuring viewers connect emotionally with the space.
Post-Production Tips for Polished Videos
Post-production transforms raw footage into professional content. Our real estate videography tips for editing ensure a polished final product.
Editing and Color Grading
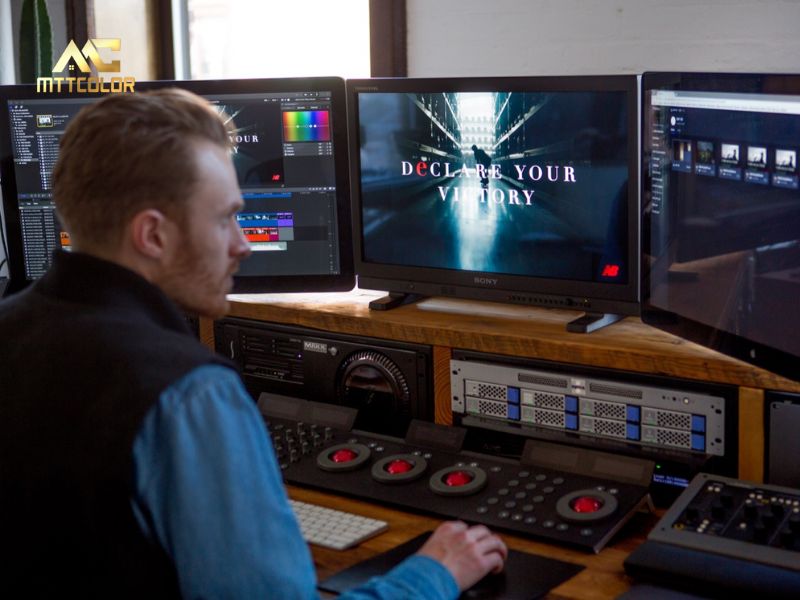
Use software like Adobe Premiere Pro or DaVinci Resolve to cut clips to a 2–3 minute video, ideal for online attention spans. Remove shaky footage and align transitions with property flow (e.g., exterior to lobby). Color grading enhances mood—use LUTs for warm tones in retail or neutral tones for offices. We aim for 80% color accuracy, per Coloristfactory.com, to keep visuals authentic.
Adding Music and Text
Royalty-free music from Epidemic Sound (starting at $15/month) adds energy without overpowering narration. Choose upbeat tracks for retail or calming ones for offices. Add text overlays—property size, location, or amenities—using Arial or Roboto fonts at 24pt for readability. We keep text minimal (under 10% of runtime) to avoid distraction, as advised by Motionarray.com.
Common Mistakes to Avoid in Real Estate Videography
Steer clear of these pitfalls:
- Poor Lighting: Avoid shooting in harsh midday light or dim interiors without supplemental LEDs.
- Overediting: Excessive filters or fast cuts can make videos look amateurish.
- Ignoring Audio: Muffled sound or background noise detracts from professionalism—use a Rode VideoMic Pro ($200).
- Skipping Drones: Omitting aerials for commercial properties misses a chance to showcase scale. We’ve seen 30% lower engagement on videos with these errors, per a 2024 Redfin study.
Frequently Asked Questions About Real Estate Videography Tips
- How long should a real estate video be? Aim for 2–3 minutes to maintain viewer interest.
- Do I need a drone? For commercial properties, drones are essential for showcasing location and size.
- Can smartphones replace cameras? High-end smartphones work for small projects, but cameras offer superior control.
- What’s the cost? MTTColor’s videography starts at $500 for a 5,000 sq ft shoot, including editing.
Related Posts
Tips & Trick for Real Estate Photography & Videography
By: MTT COLOR
May 9, 2025
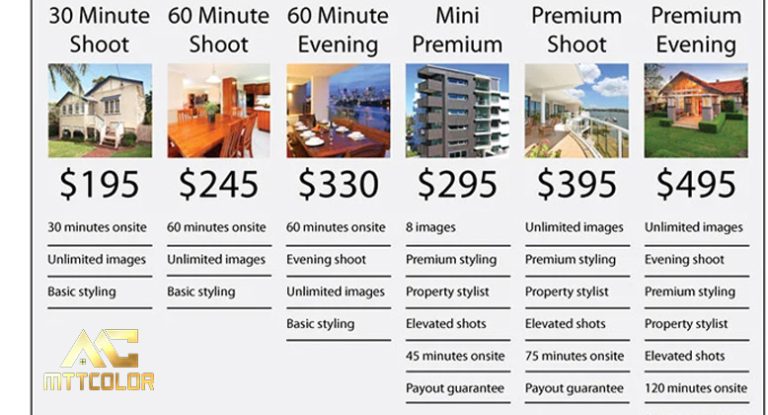
Real Estate Video Pricing in 2025: What You Should Expect to Pay
In a visual-first real estate market, professional video has become one of the most powerful tools to capture buyer attention and showcase property value. At MTT COLOR, we specialize in producing high-impact real estate videos that help listings stand out across platforms. But how much should you expect to pay for a high-quality listing video? […]
Read more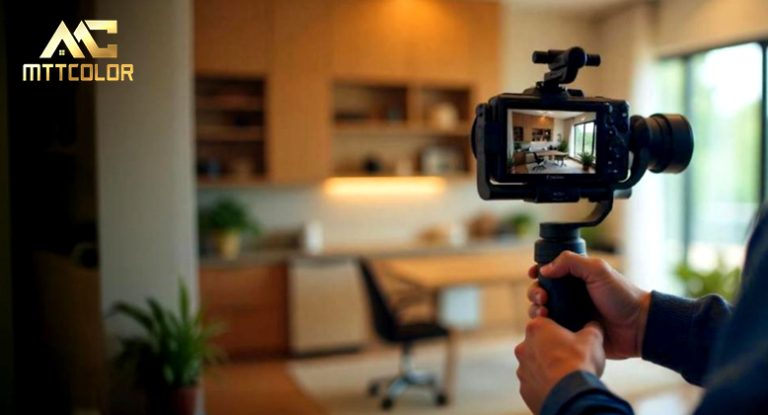
By: MTT COLOR
May 7, 2025
Videography for real estate attract potential customers
In a digital-first real estate market, standing out requires more than just professional photos. Today’s buyers expect immersive experiences that help them connect emotionally with a property before ever stepping inside. That’s where videography for real estate becomes a game-changer. At MTTCOLOR is a unit specializing in providing video editing services.we specialize in creating compelling, […]
Read more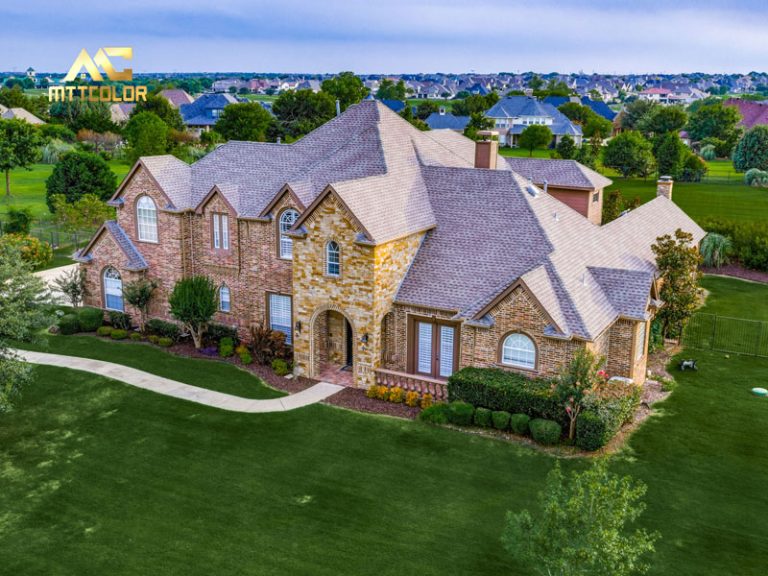
By: MTT COLOR
May 7, 2025
Drone Video for Real Estate: Complete 2025 Guide to Boost Sales
Drone video for real estate has revolutionized property marketing, becoming one of the most powerful tools in 2025. With 82% of buyers saying they want to see drone footage when viewing properties online, this technology is no longer just an option—it’s essential for competitive agents and developers. Drone video for real estate transforms listings into […]
Read more
By: MTT COLOR
May 7, 2025
Video Walkthrough Real Estate: Sell Listings Visually
Today’s homebuyers expect more than just pictures—they want to experience a property before they ever set foot inside. That’s where video walkthrough real estate content comes in. This powerful visual tool helps agents and sellers present homes with clarity, flow, and emotion—making listings more engaging and easier to trust. At MTT Color, we’ve helped countless […]
Read more
By: MTT COLOR
May 7, 2025
Commercial Real Estate Video Marketing: How to Stand Out in a Competitive Market
In 2025, commercial real estate video marketing is a game-changer for US agents and firms aiming to capture attention in a crowded market. Videos showcase properties dynamically, engage potential clients, and drive faster sales. This guide explores why commercial real estate video marketing is vital, the best video types, platforms, creation tips, SEO strategies, 2025 […]
Read more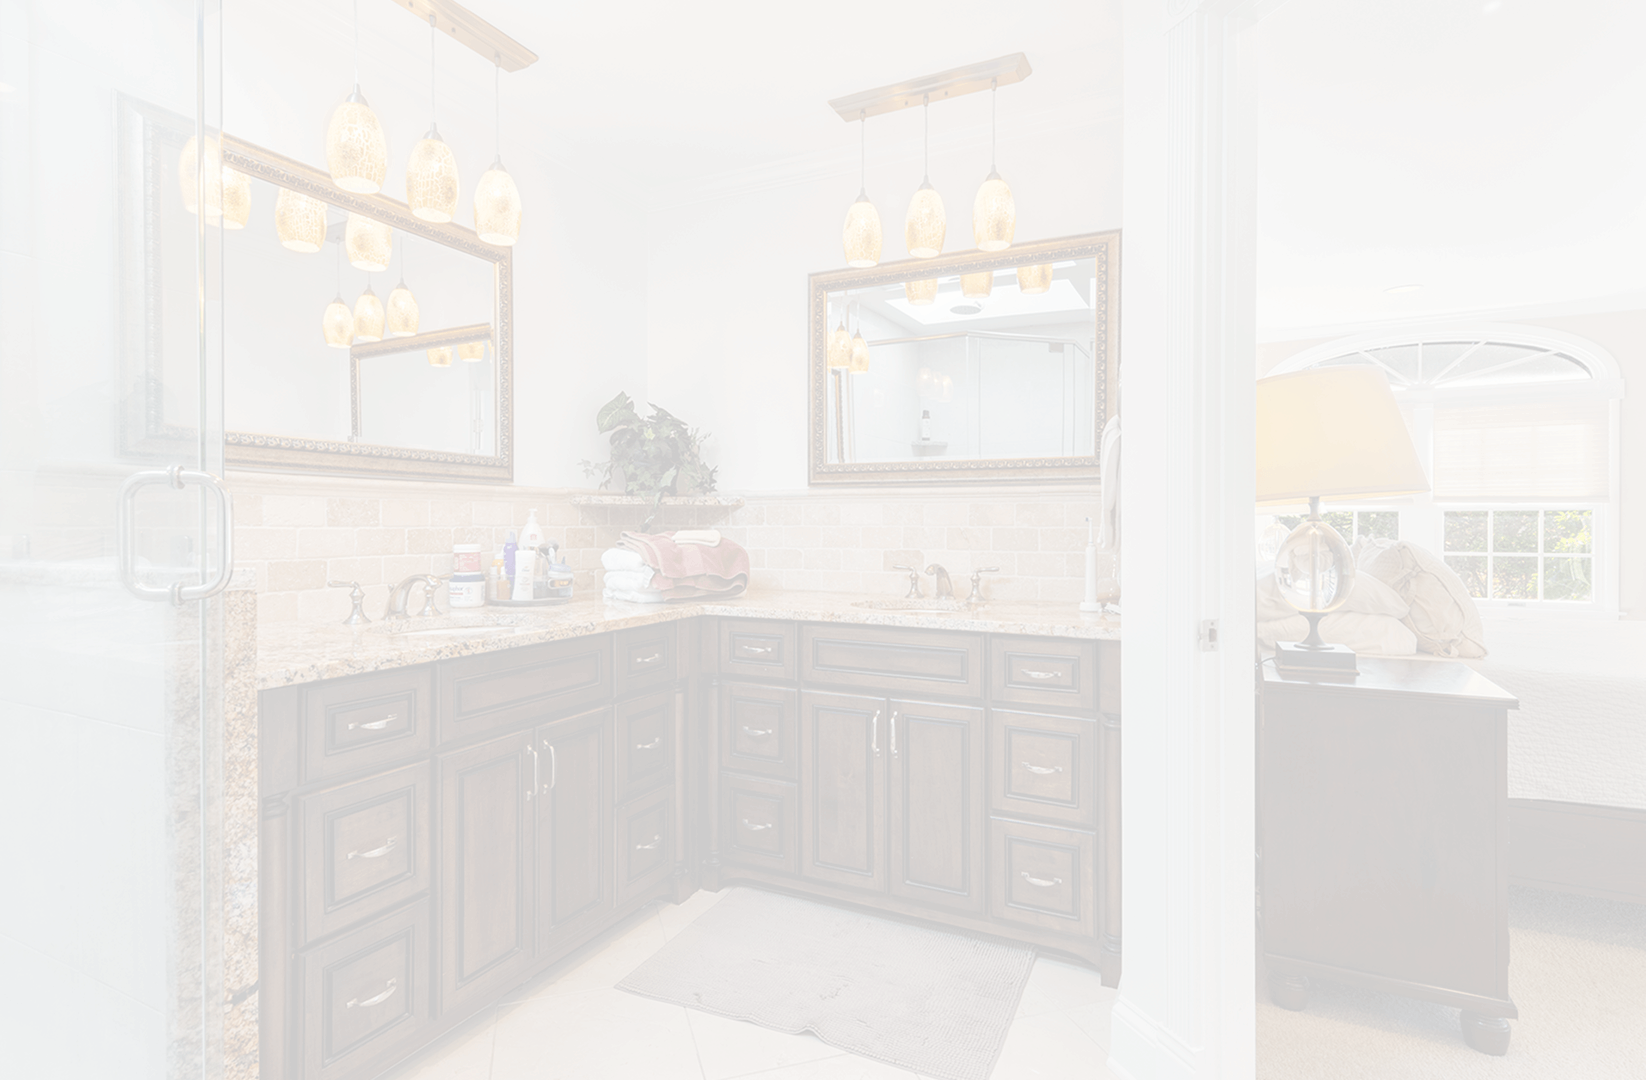
0
Images Processed Everyday
0
Happy Customer
0
Year Experience
MTTCOLOR
is the leading real estate photo and video editing service, trusted by thousands of satisfied customers around the globe. With over 10 years of experience in both photo and video editing for real estate we specialize in helping clients buy, sell, or rent properties with stunning, professionally edited images and videos. Let us bring your dream home to life with our expert real estate editing services.
Frequently asked questions
How much do your services cost?
We cater to customers at various price points, ranging from around $0.50 per image to over $3 per image. We understand that you may have a specific budget in mind for outsourcing. That's why we're very flexible with pricing. Feel free to propose your numbers, and we'll do our best to accommodate. We're also open to discussing everything to ensure a smoother process.
Please note that in Vietnam, it is customary for the customer to cover PayPal fees (or any transaction fees), and we recommend doing so. On our end, we cover currency conversion fees, which are quite similar. Think of it like splitting the bill at a restaurant.
How can I send files?
Simply upload your images on Dropbox, Google Drive, or Wetransfer and send us the link in an email. To make things easier, you should specify the number of input files along with any special requirements.
How does the process work?
Before using our services, you can send us a test order of up to 10 images, and we’ll do it FREE of charge just to understand your style. After that, we can agree on the pricing and proceed from there.
Outsourcing post-production has never been easier:
Step 1: You can either fill out the test order form or send your input directly to our email via Dropbox, Google Drive, FTP, or Wetransfer. We’ll send you a confirmation email to let you know we’ve received your order.
Step 2: Your images/videos will go through thorough editing and quality checks.
Step 3: Receive your package and complete the payment transfer. You can also send us any revision requests if needed.
What are your working hours?
We work 24/7, always available to support you.
Can I request urgent orders?
Yes, with a large team of editors, we can prioritize and accommodate rush delivery if possible. Please give us a heads-up via email at mttcolor8@gmail.com at your earliest convenience so we can check the feasibility and timeline for these special orders.